Ireland (EUR)
Would you like to make your own place cards? In this article, we share six simple and beginner-friendly DIY place card ideas that are guaranteed to become more than just table markers, they turn into personal keepsakes your guests will be happy to save. It’s a fun way to elevate your table setting while also being the perfect opportunity to let your creativity flow, and who wouldn’t take any chance to bring out the craft box?

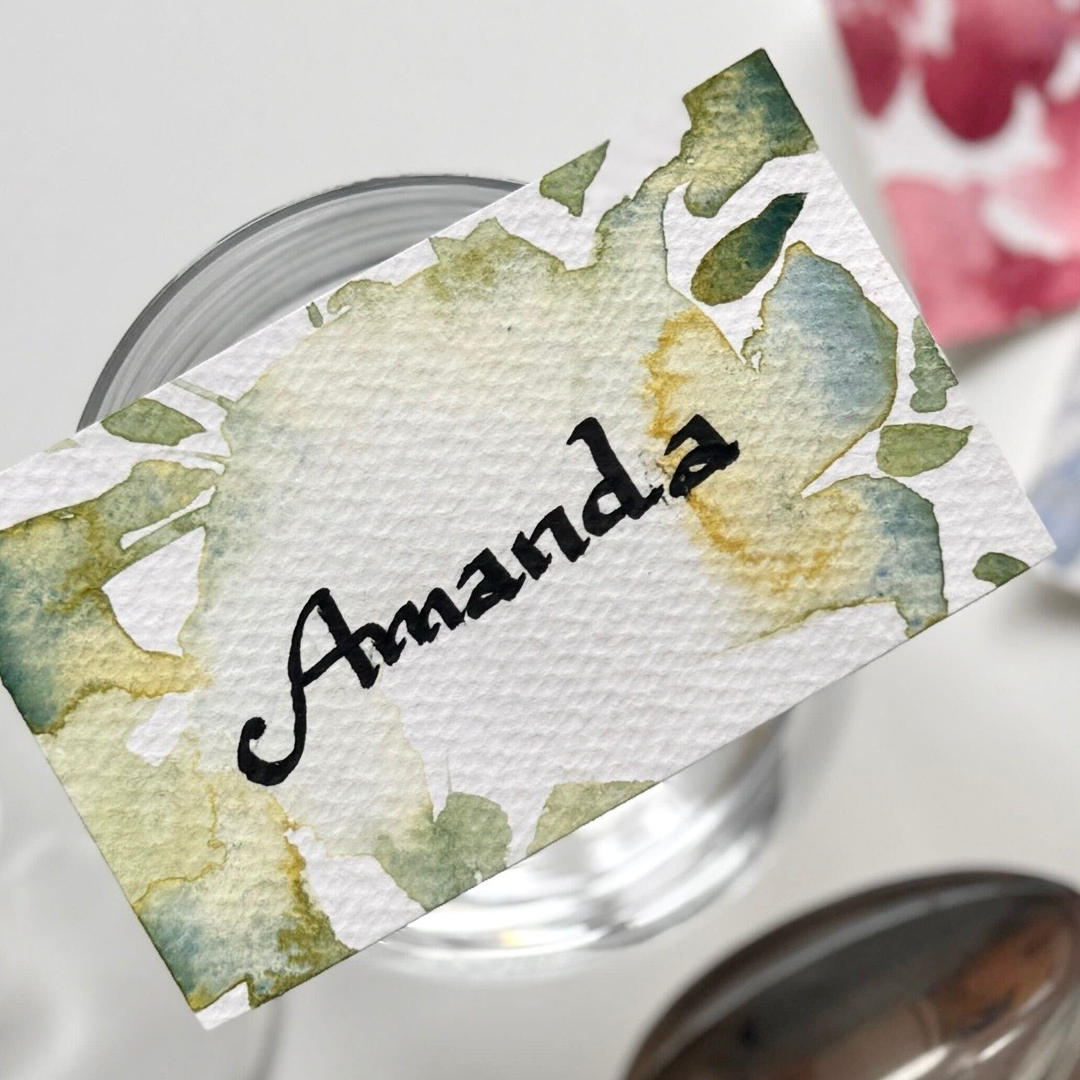
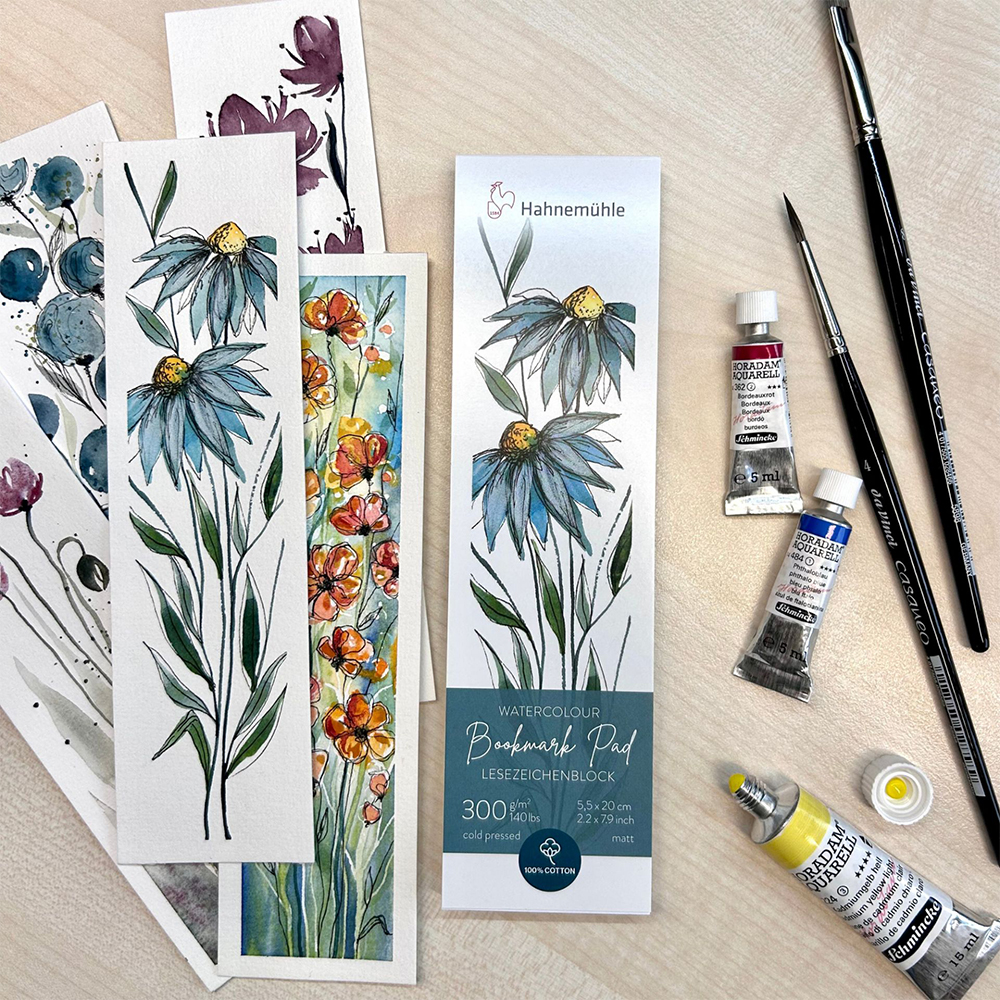
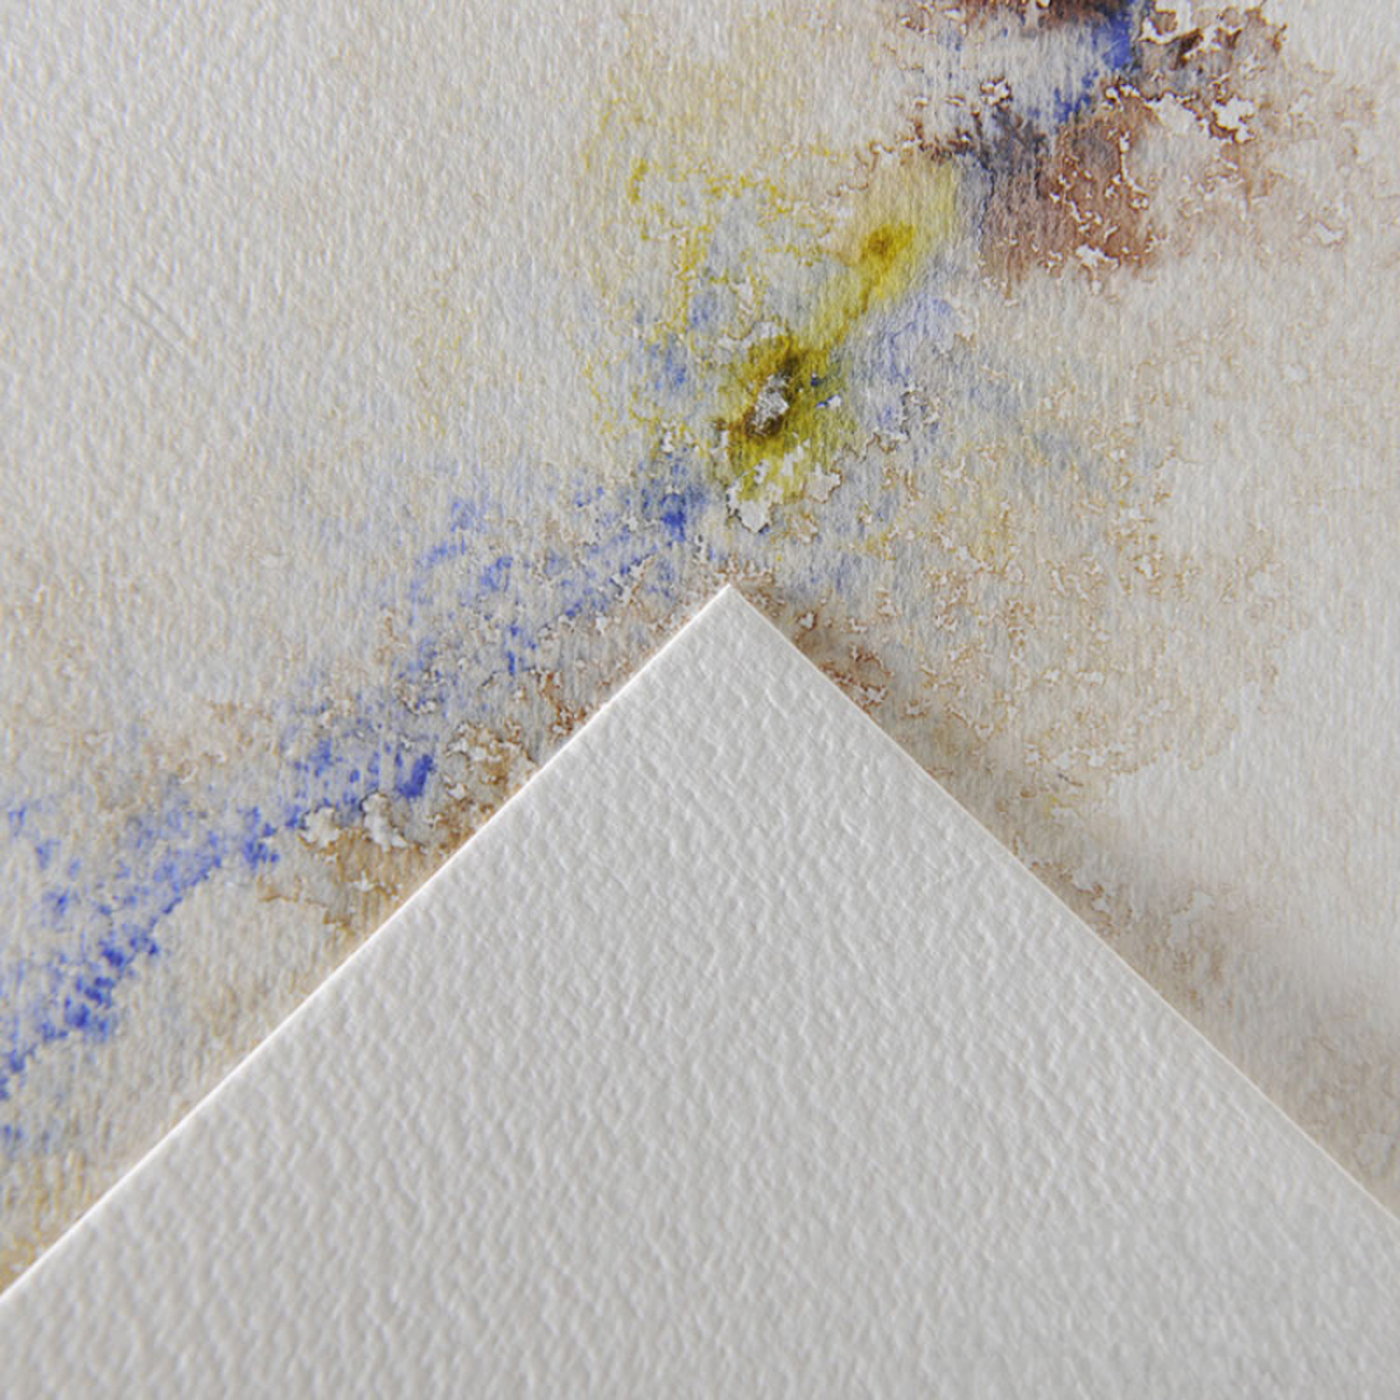
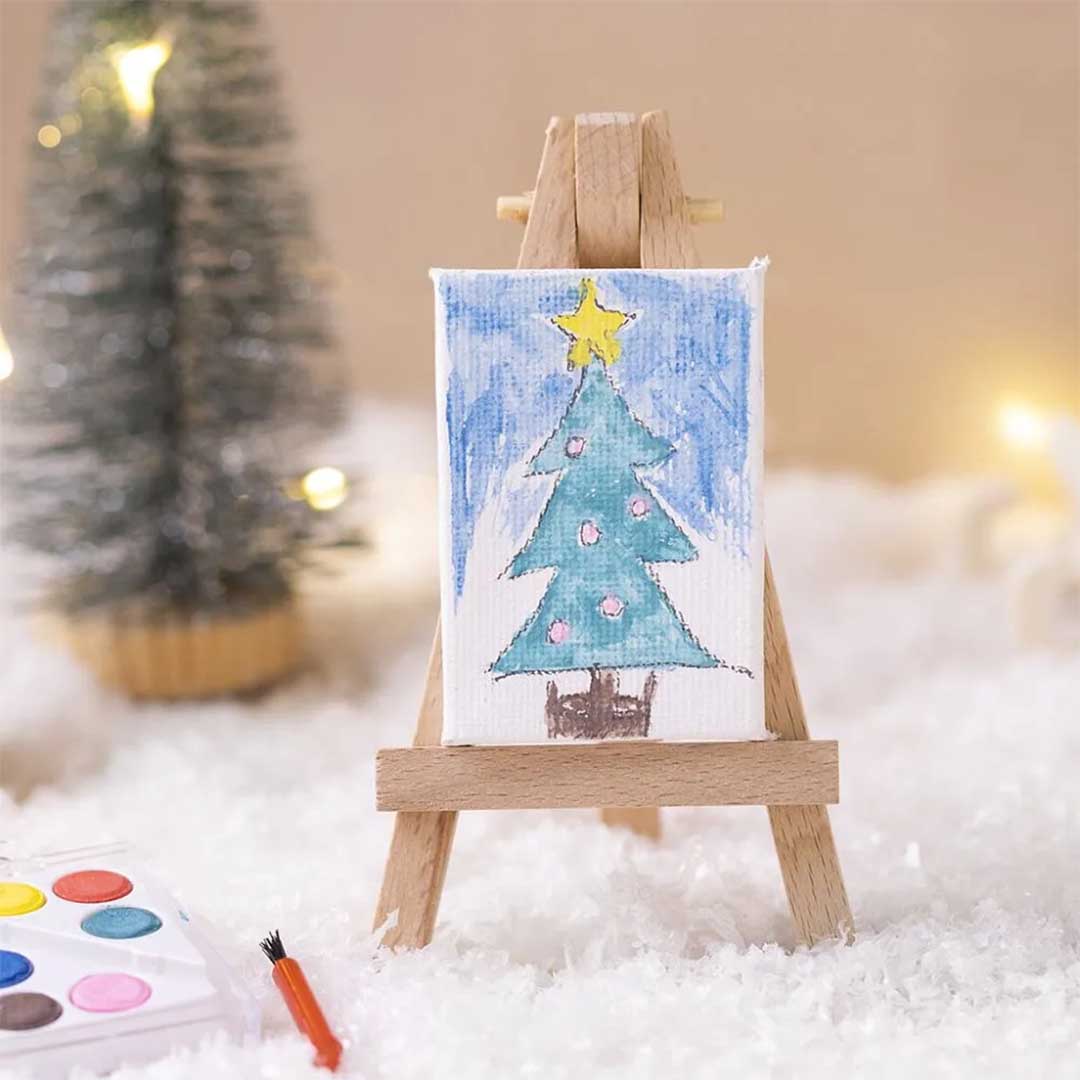
1. Place cards with watercolour
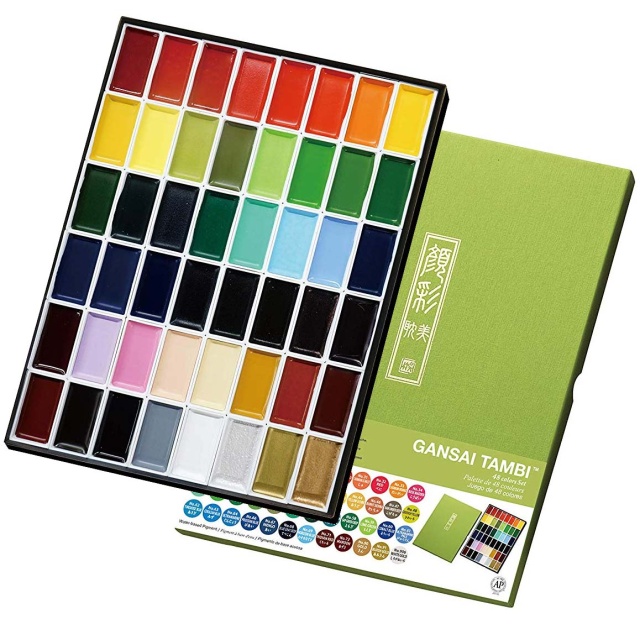
Here, we let watercolour create soft, beautiful patterns that add a marble-like, elegant touch to the table setting. What makes watercolour so special is how it moves freely across the paper, forming unexpected and unique contrasts all on its own as the pigment is allowed to flow. This very quality makes it easy even for beginners to achieve lovely effects, without needing to master any specific techniques. The watercolour style is perfect for handmade place cards for weddings, thanks to its light and romantic expression.
You will need:
Step by step:
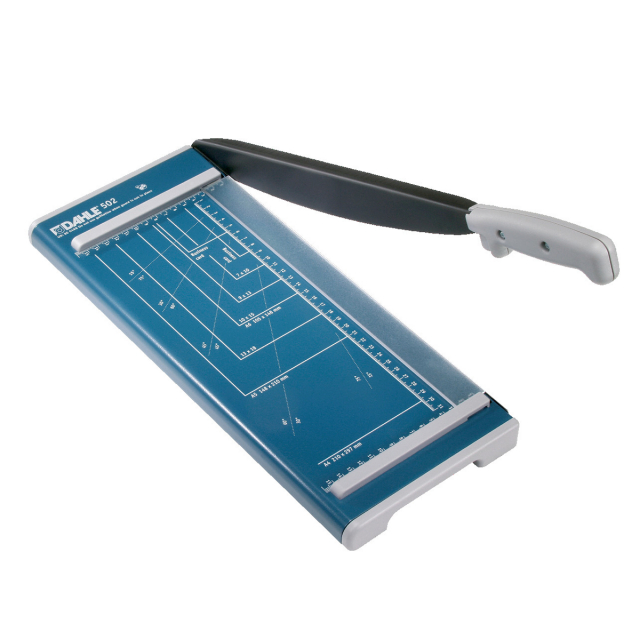
- Measure and cut the cards to your desired size using a ruler, pencil and scissors. Around 9 x 5 cm usually works well.
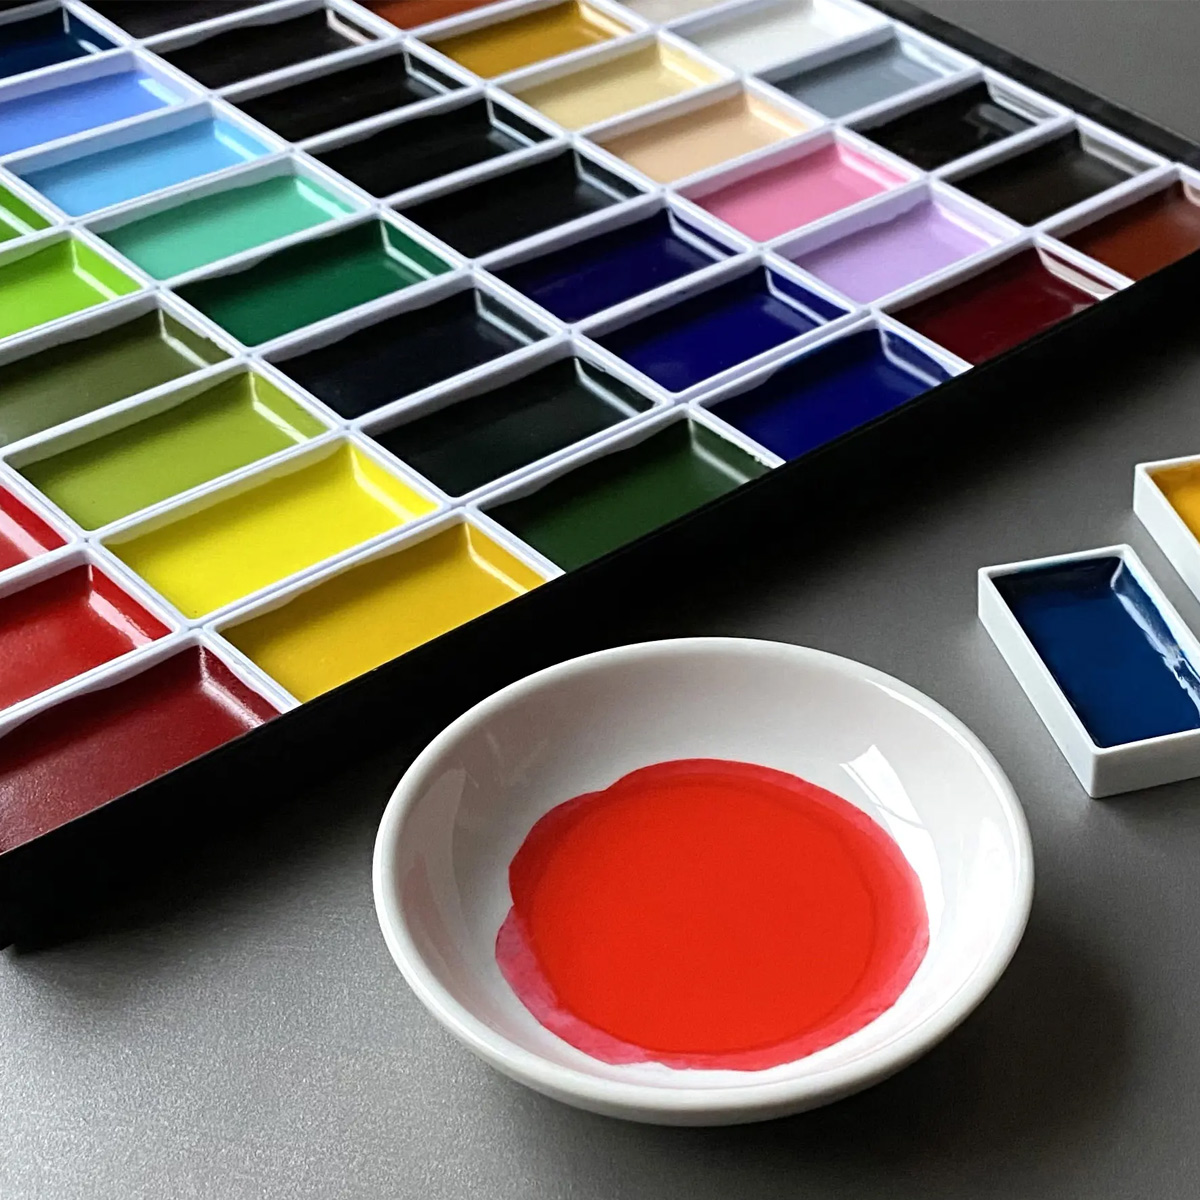
- Dip the brush in clean water and apply small pools or shapes onto the card. You can, for example, paint circles, leaves or flowing shapes using only water.
- Load the brush with watercolour paint and gently dab it into the wet areas. The colour will spread softly in the water, creating lively effects. Try varying the amount of water and pigment for different results.
- If you want more depth in the pattern, let the first layer dry slightly, then add more colour or water in additional layers.
- Once you are happy with the result, allow the card to dry completely.
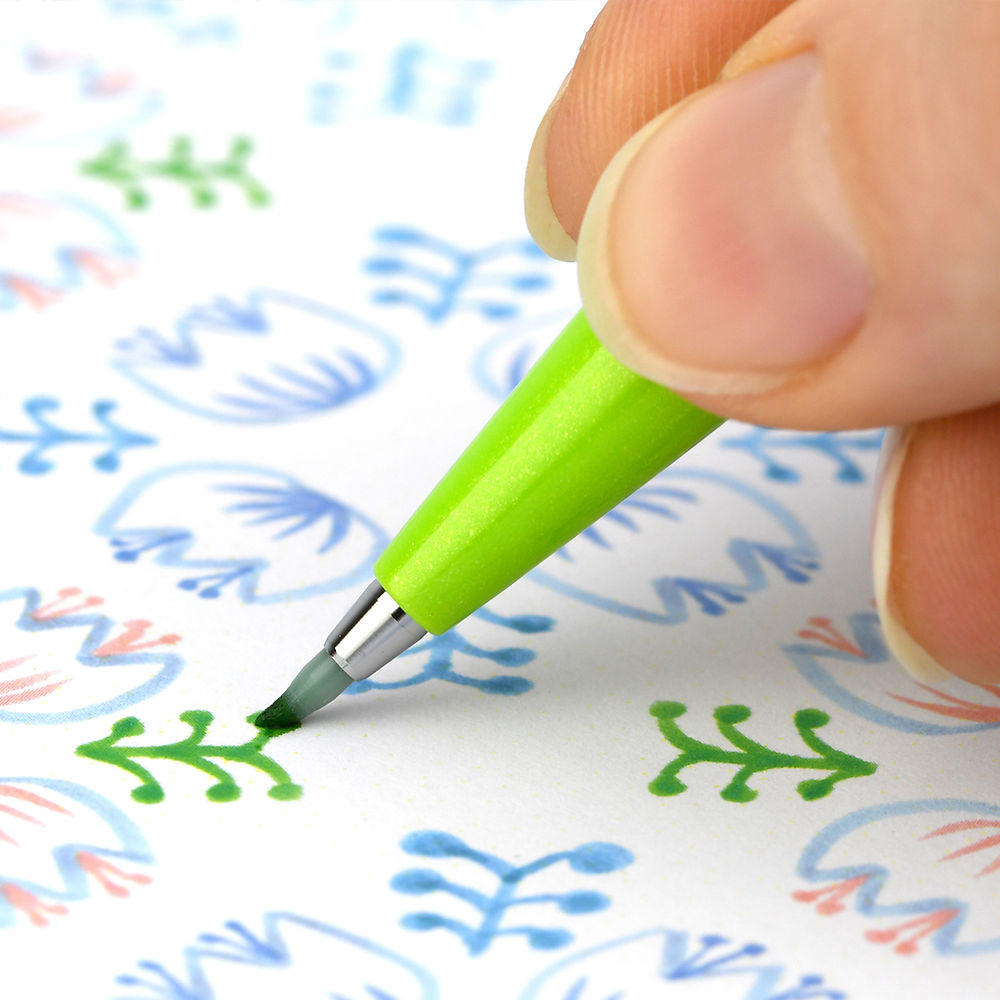
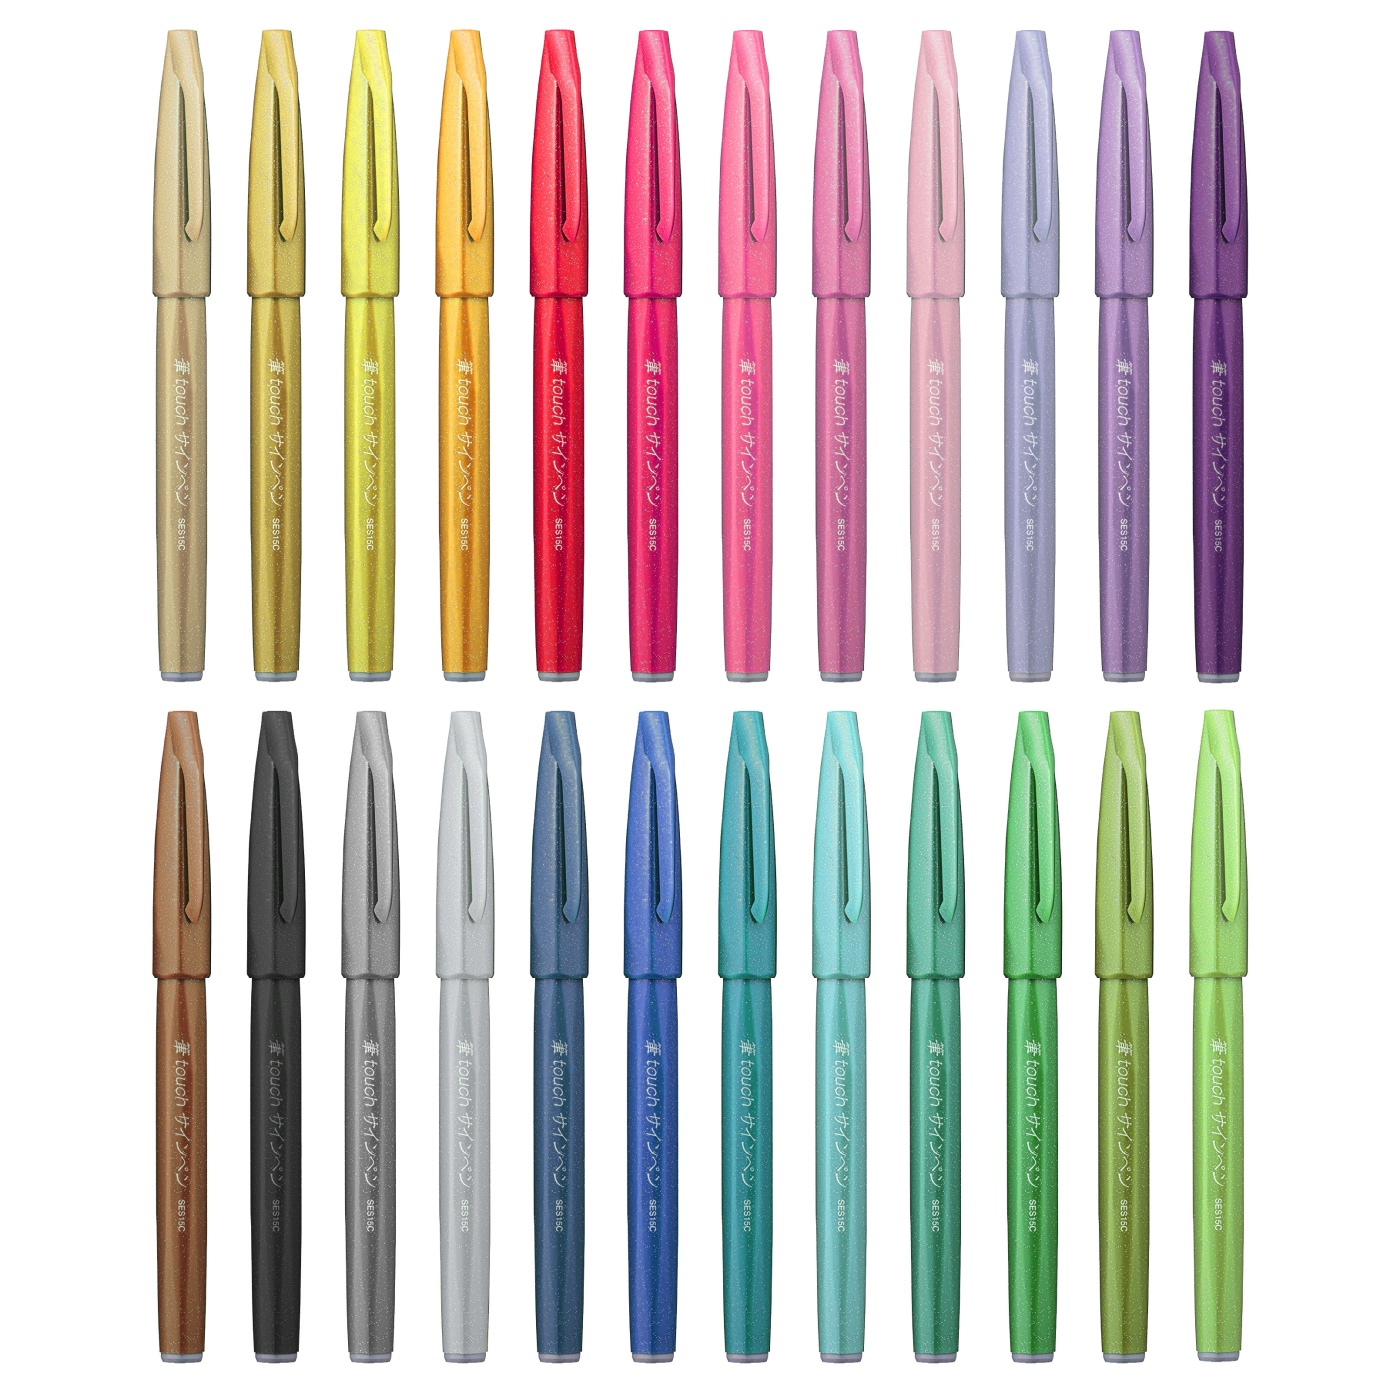
- Write the guests’ names using your chosen pen. A calligraphy pen adds an extra elegant finish.

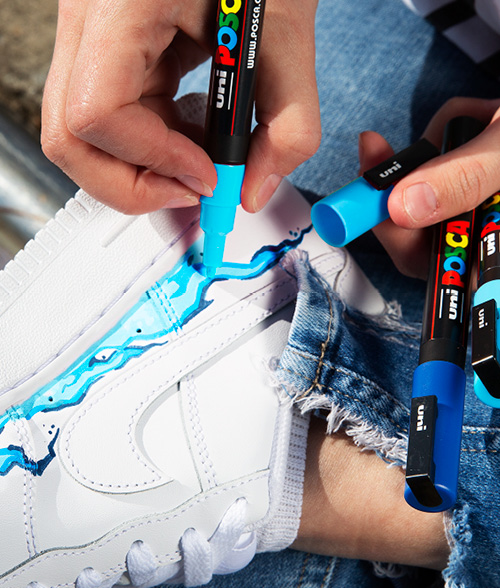
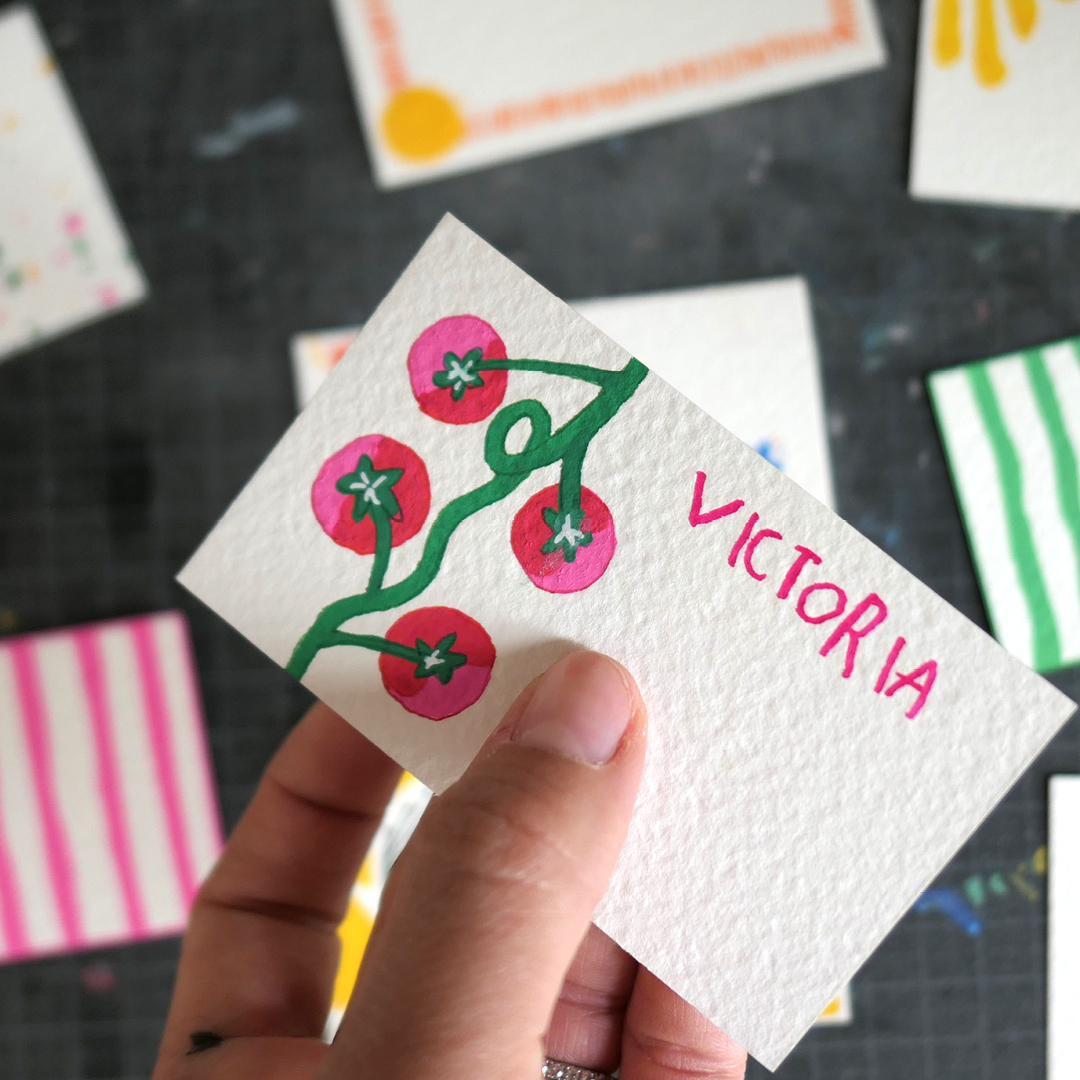
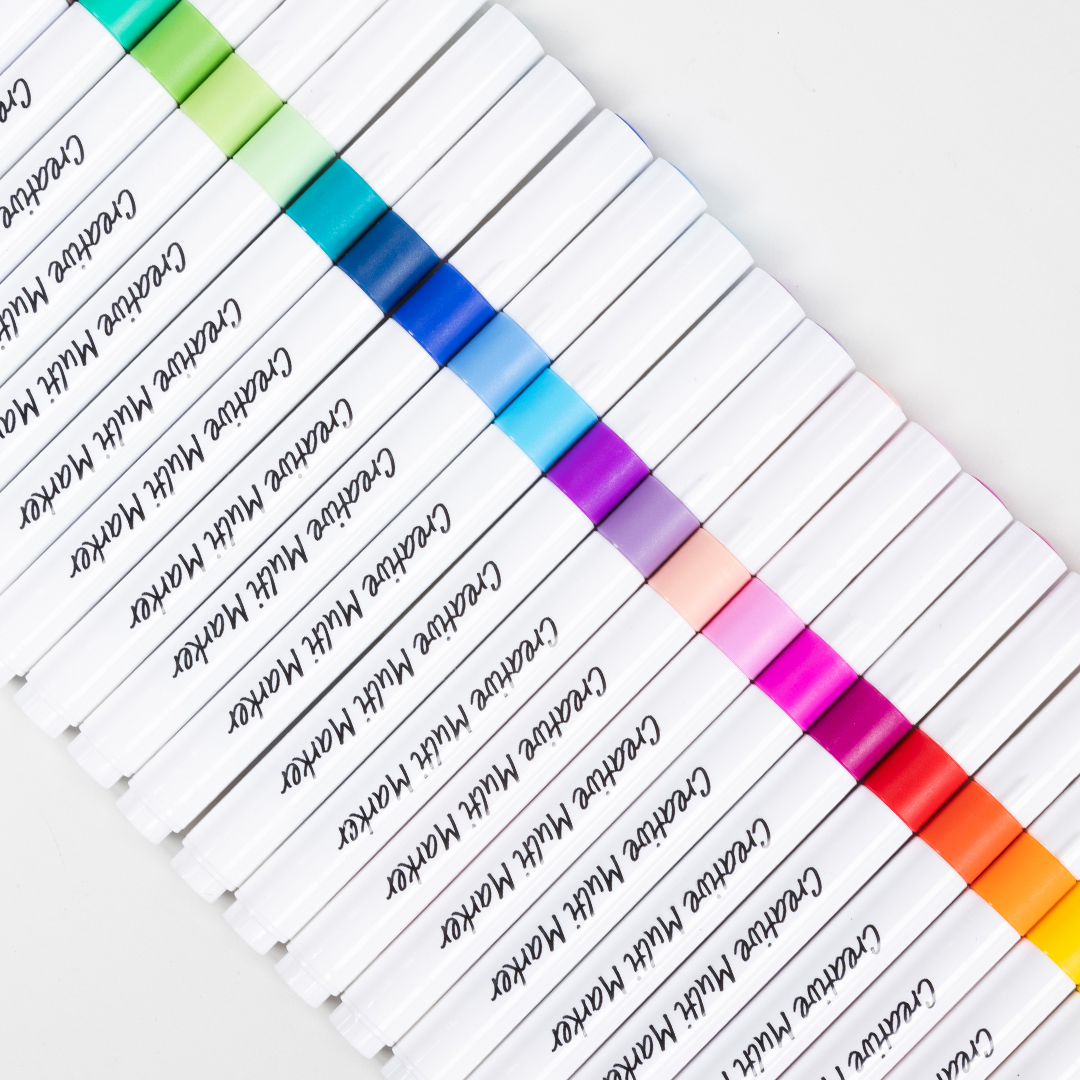
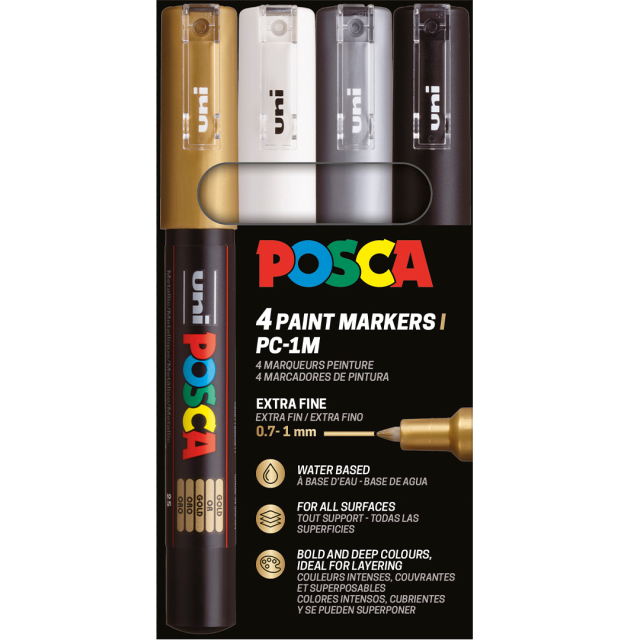
2. Place cards with acrylic markers
Give your place cards a graphic look with the help of acrylic markers! Have fun and combine them with all kinds of pens you have at home. Mix fineliners with acrylic markers and gel pens. The advantage of using pens is that they are easy to work with and dry quickly, which makes them perfect for both quick ideas and more detailed designs. You decide the level of ambition. The best part is that you can create stylish place cards in just a few minutes!
You will need:
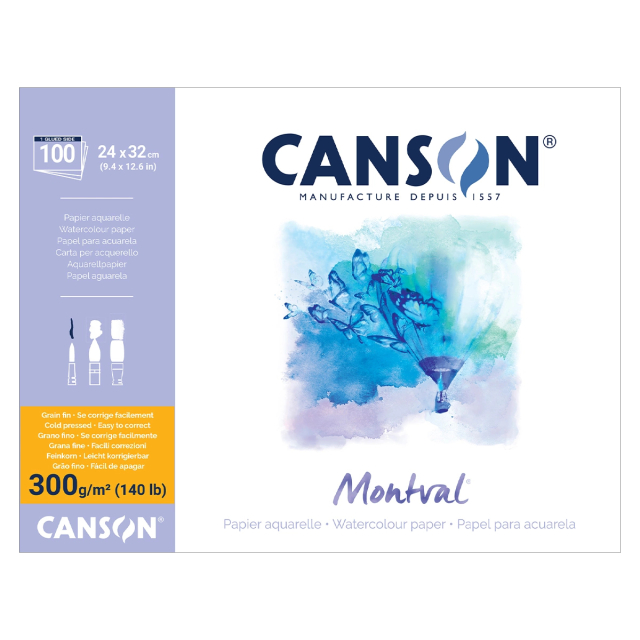
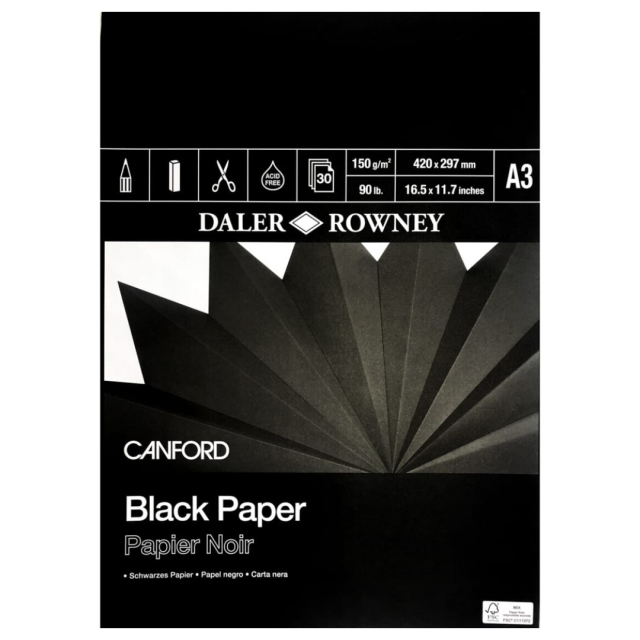
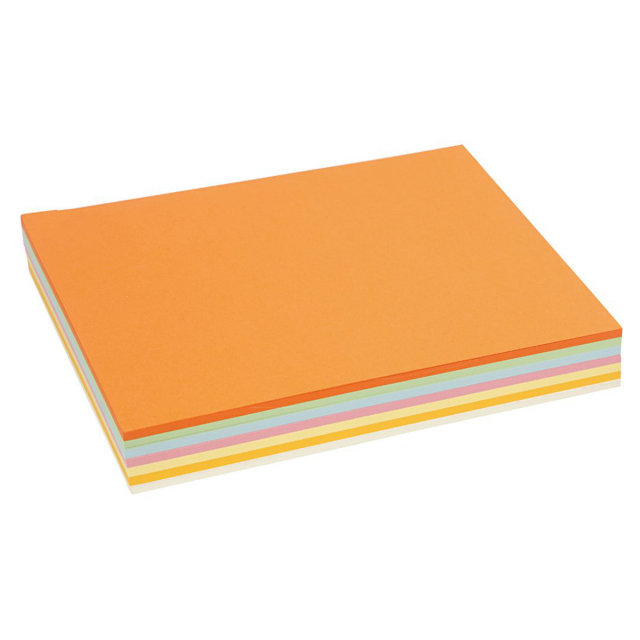
- Thicker paper, around 300 gsm
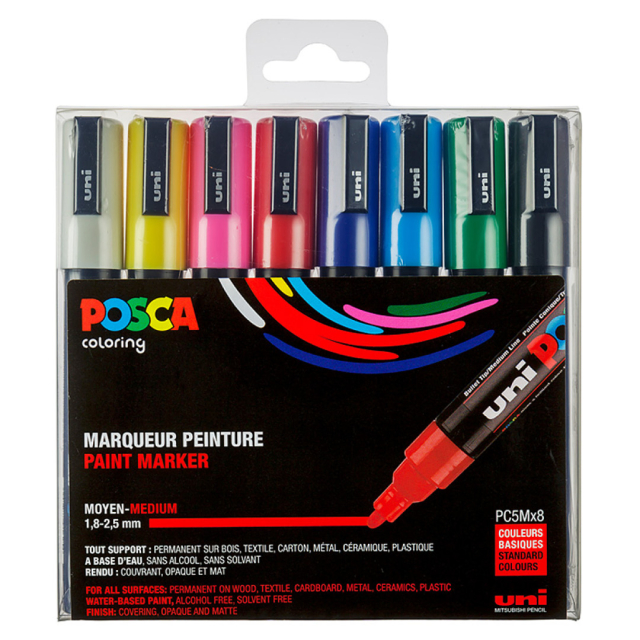
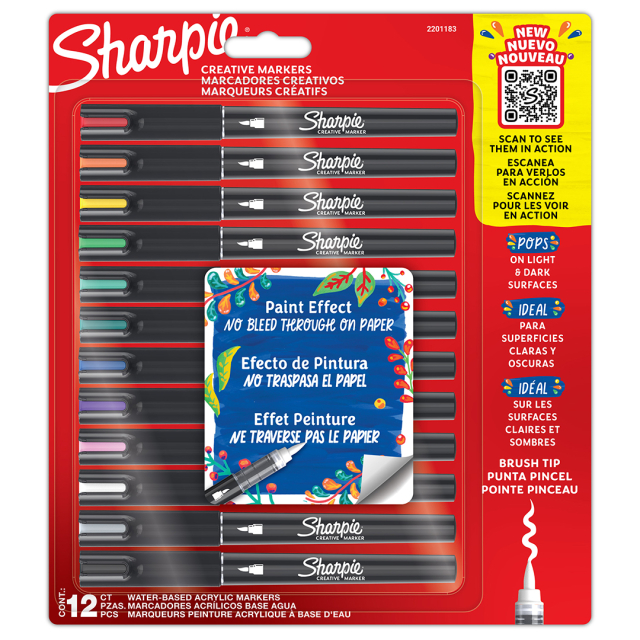
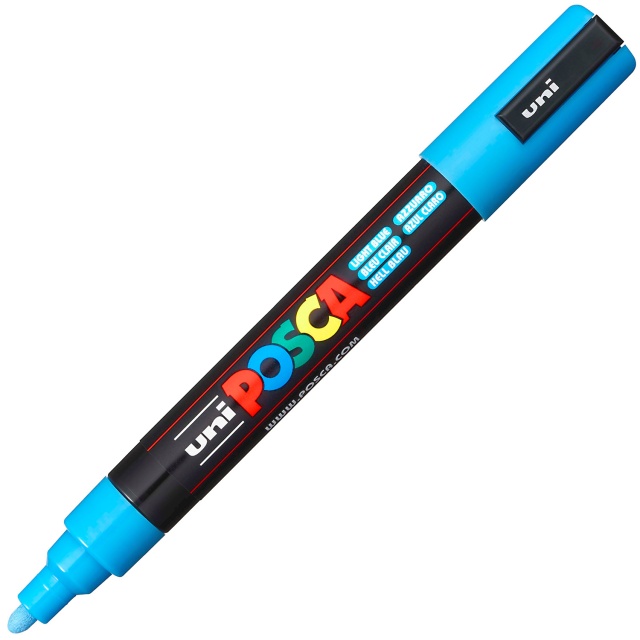
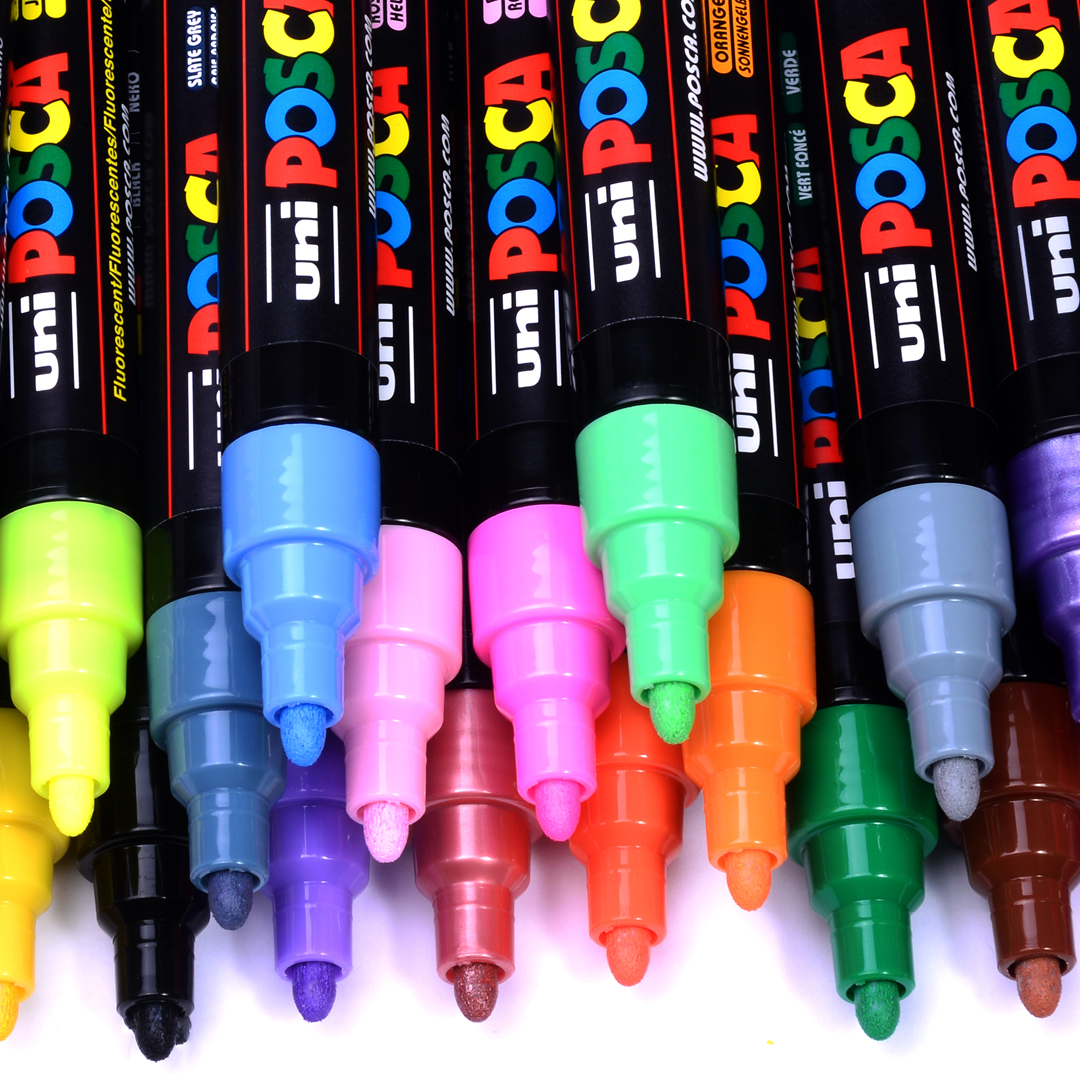
- Acrylic markers (for fully opaque colour)
- Fineliners (for outlines and details)
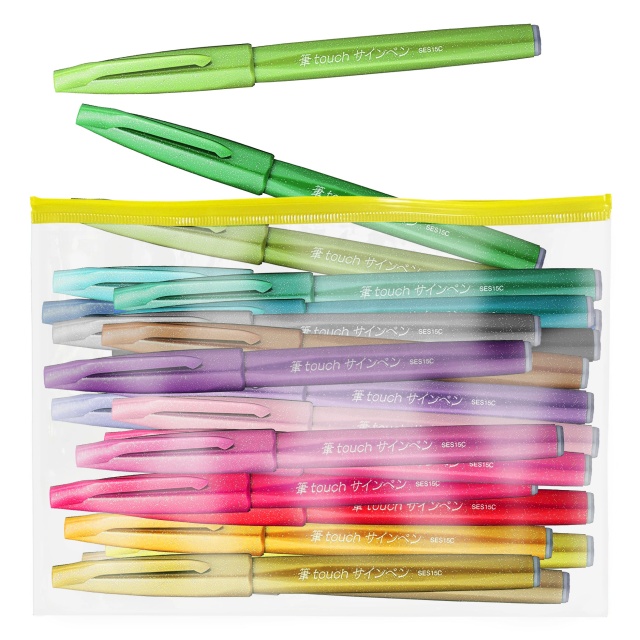
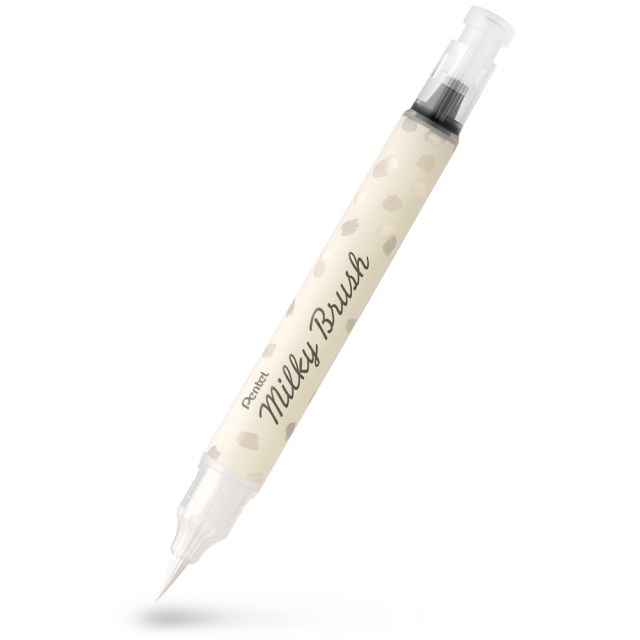
- Brush pens (for softer shapes)
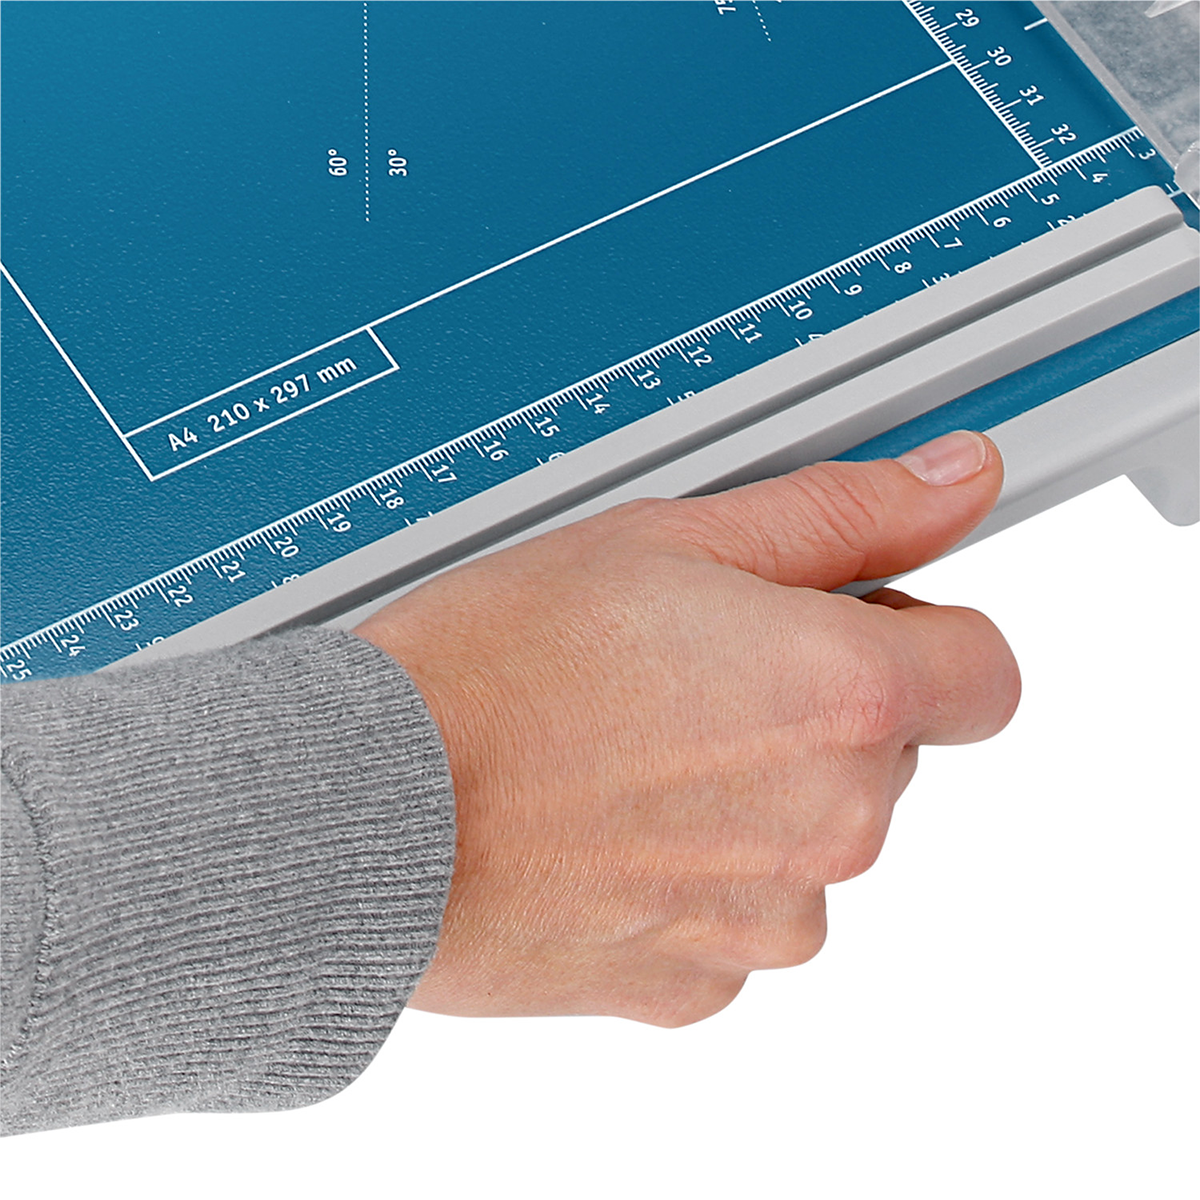
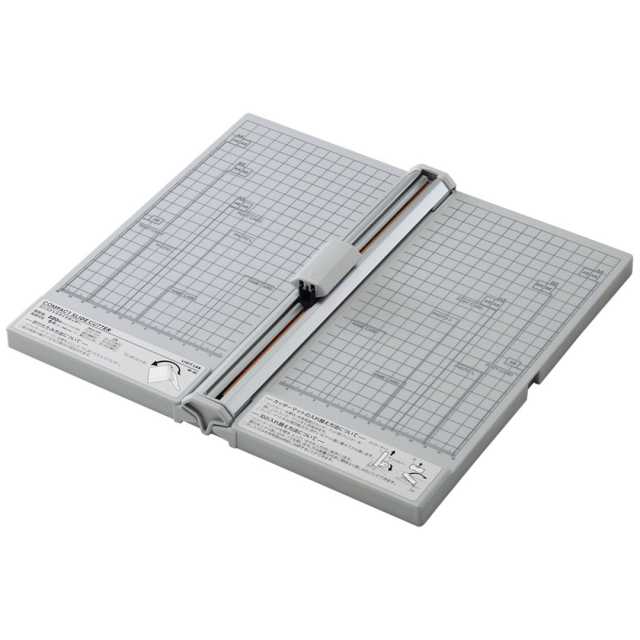
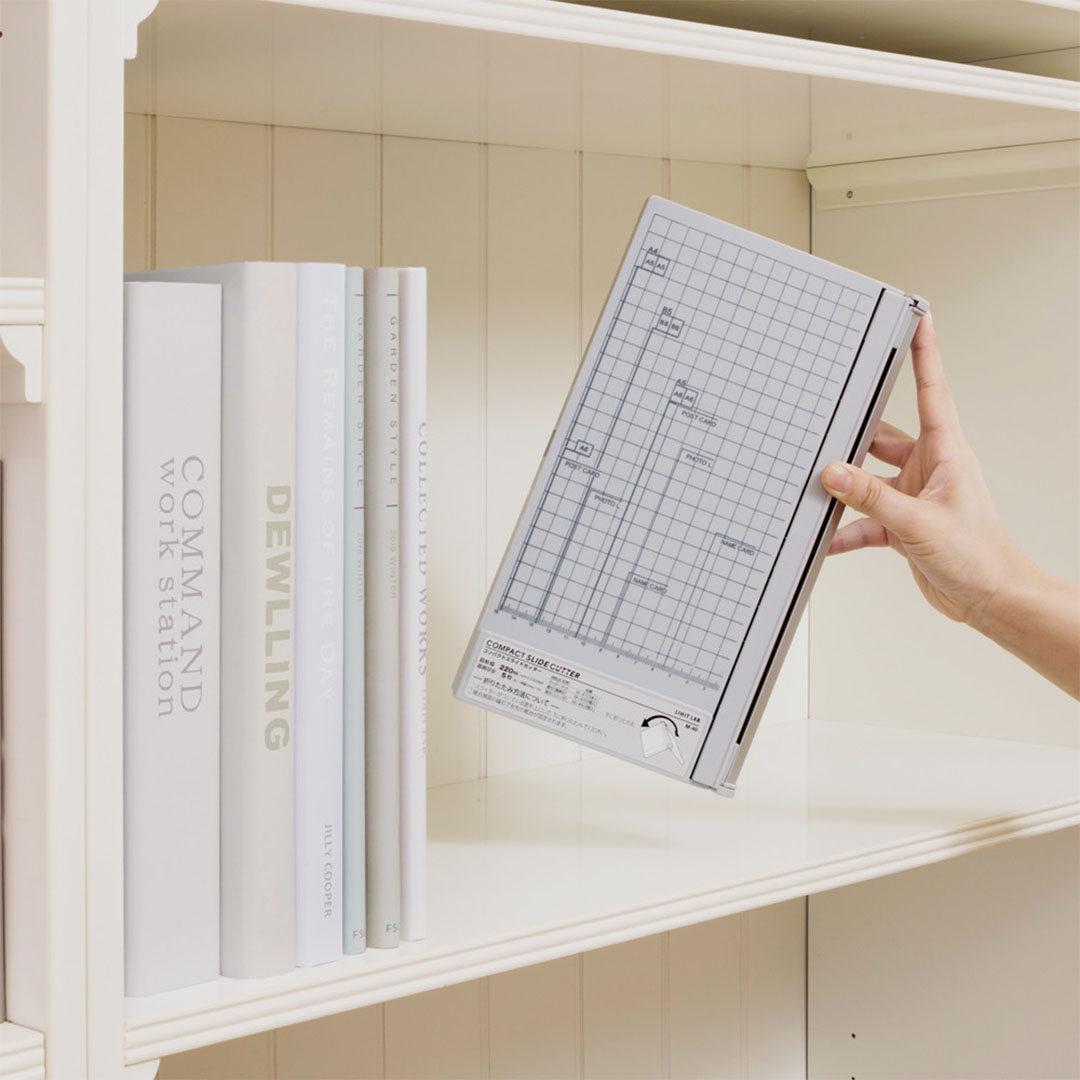
- Rotary cutter (a great tip, but not essential)
Step by step:
- Cut the card to your desired size. A rotary cutter is ideal if you want straight edges and cards that are all exactly the same size, as the built-in guides make it easy to repeat the same measurements every time.
- Start creating your design. Acrylic markers are fully opaque, so if something does not turn out as planned, you can paint over it with a new layer once it has dried to refine the details.
- A few minutes after the paint has dried, you can move on to the details. Build up the design in layers to create highlights and shadows.
- Finish with the guest’s name as a final touch. This is a great step where everyone in the family can help out with text, colour and form.


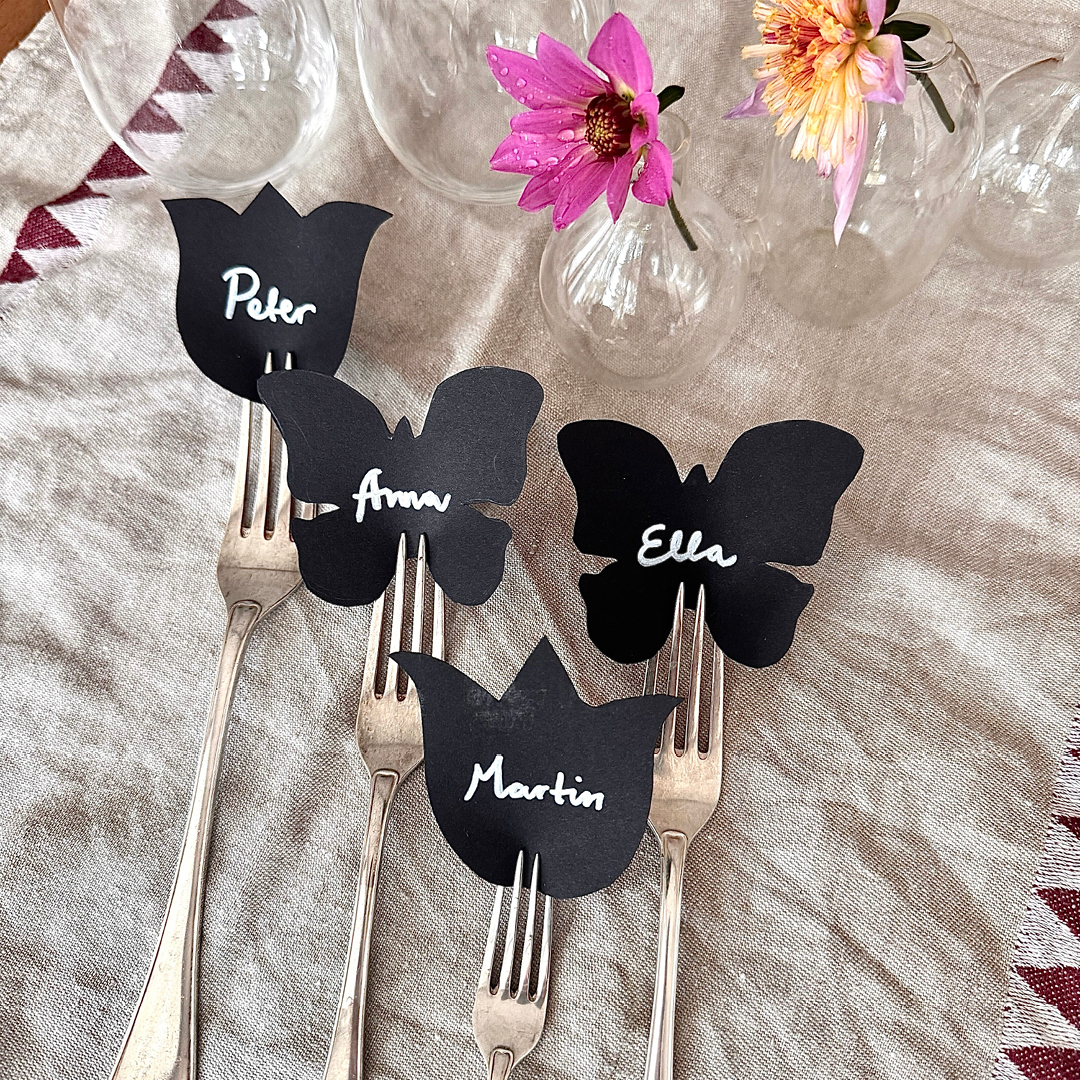
3. Place cards on the fork
This is the perfect idea if you are short on time but still want to create something elegant and memorable. The place cards are easy to adapt to the colour theme and season of your table setting. For Christmas, they look especially lovely with motifs such as gingerbread biscuits and fir trees, and for New Year’s celebrations you can use metallic pens and glitter paper.
You will need:
Step by step:
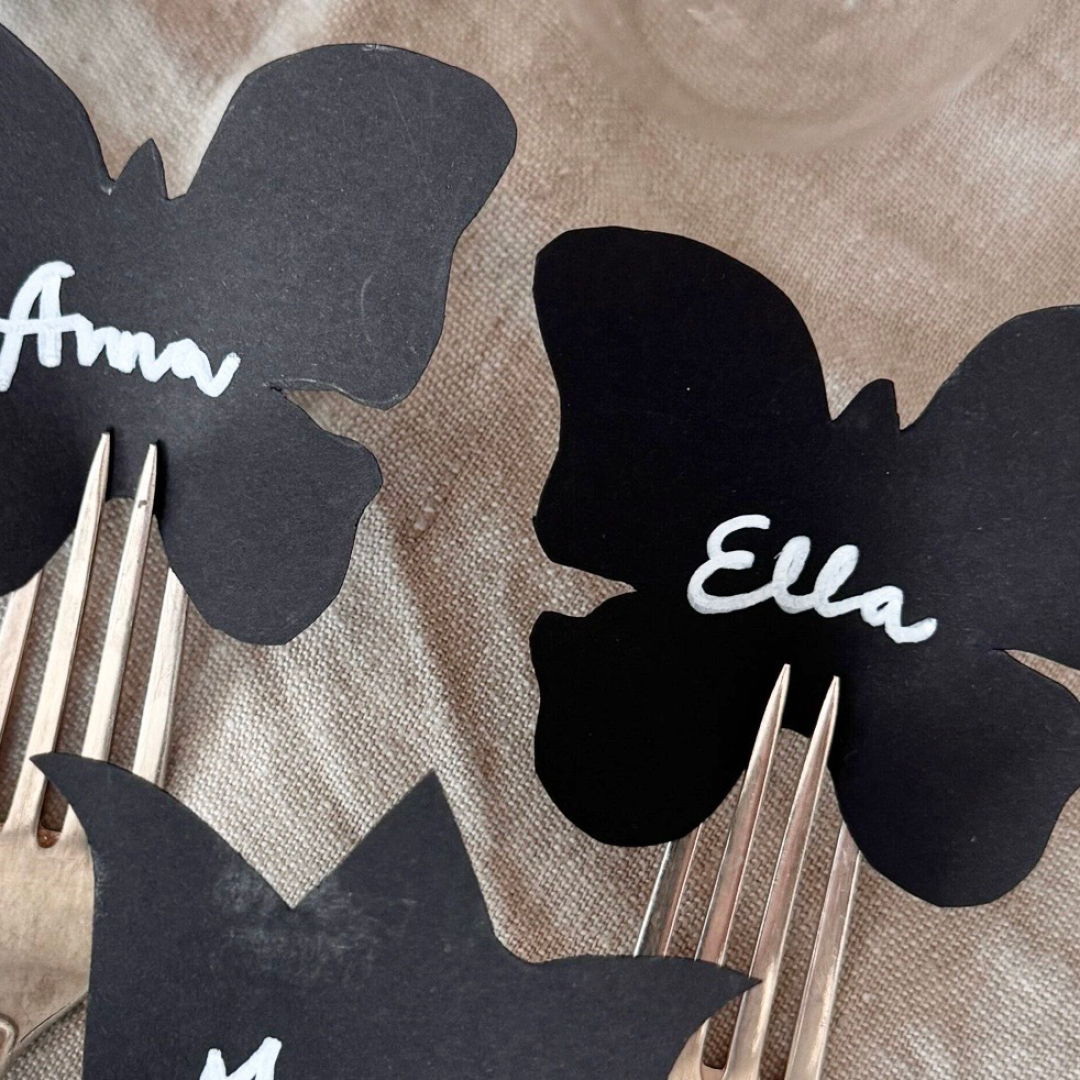
- Sketch the shape you want to use, for example a butterfly or a leaf, using a pencil on paper.
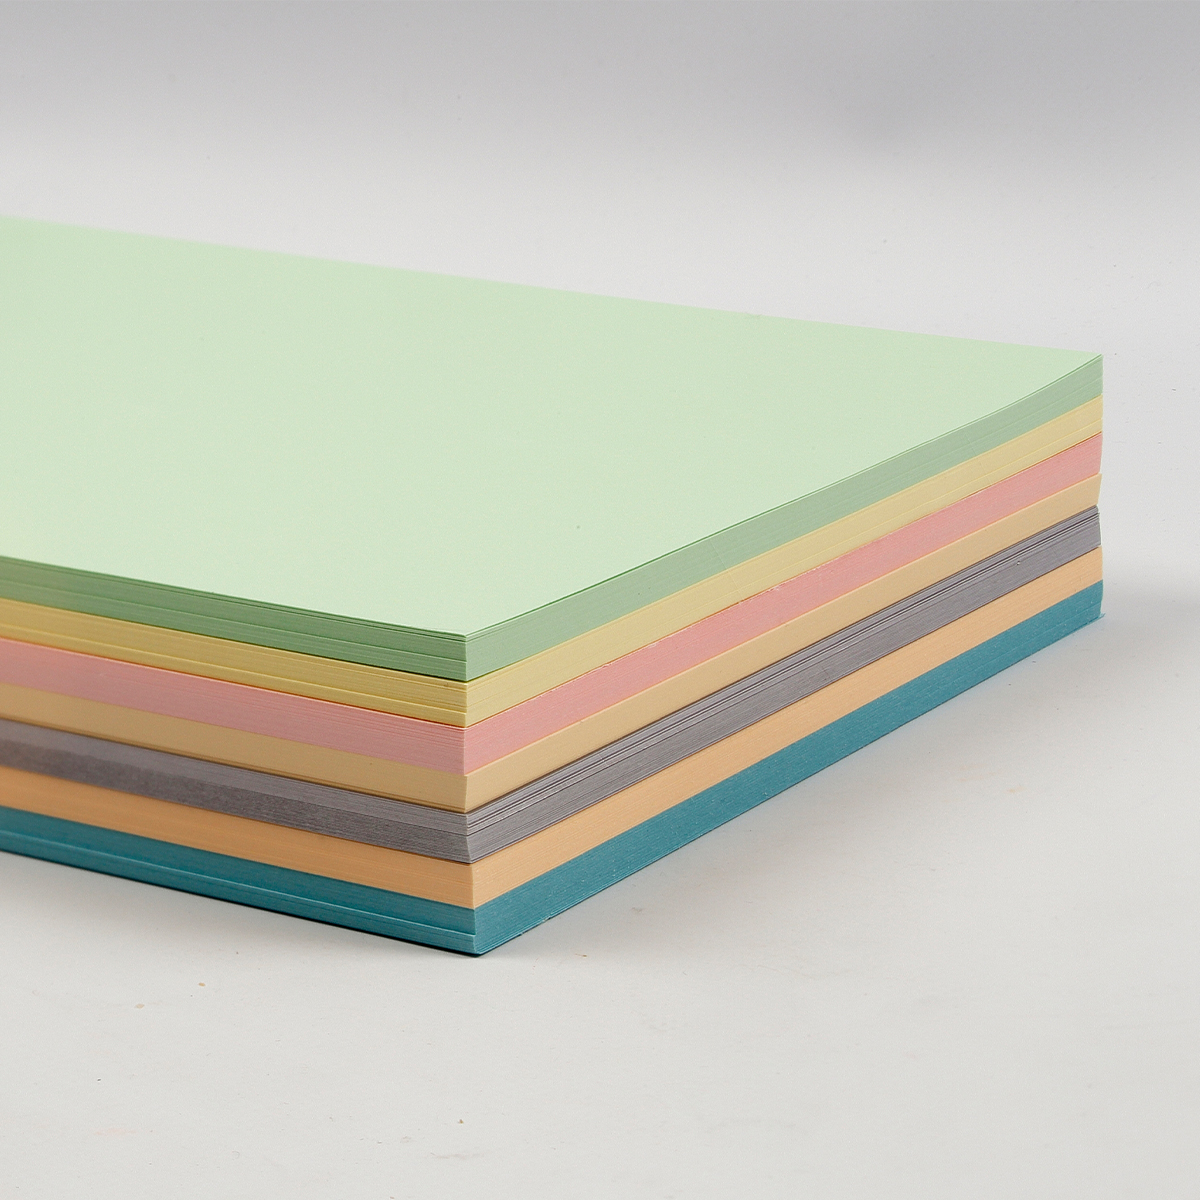
- Cut out the shape from coloured paper, preferably a slightly thicker quality that holds its shape well and does not crease easily.
- Want to make several place cards in the same shape? Use the first one you cut out as a template.
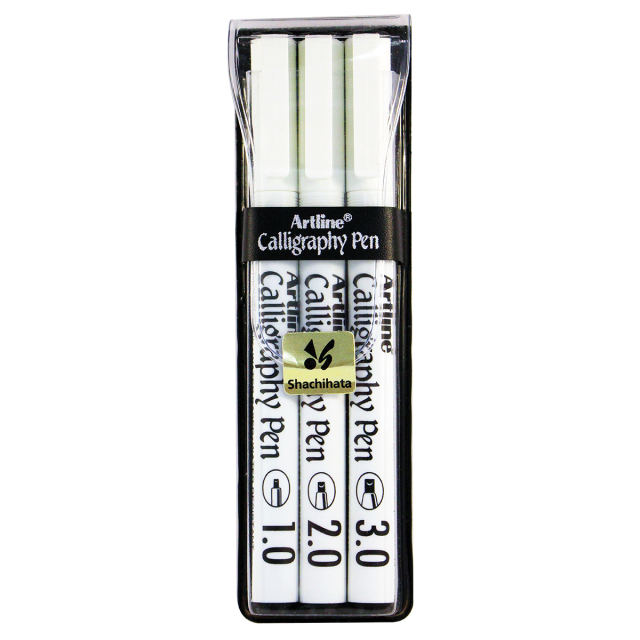
- Write the guests’ names using the pen of your choice. A calligraphy pen or brush pen creates an extra decorative look.
- Attach the place card to the fork by gently sliding it down between the prongs.

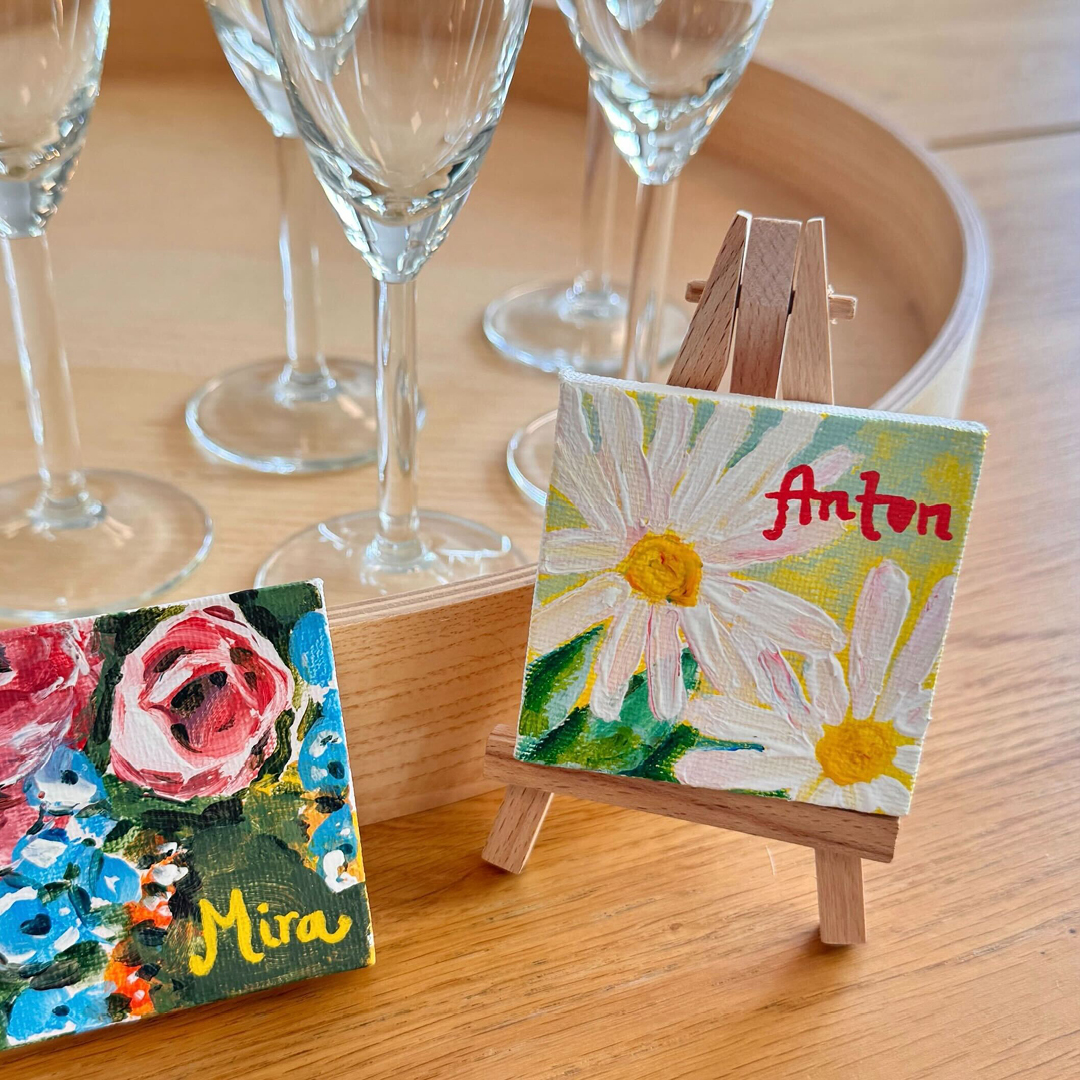
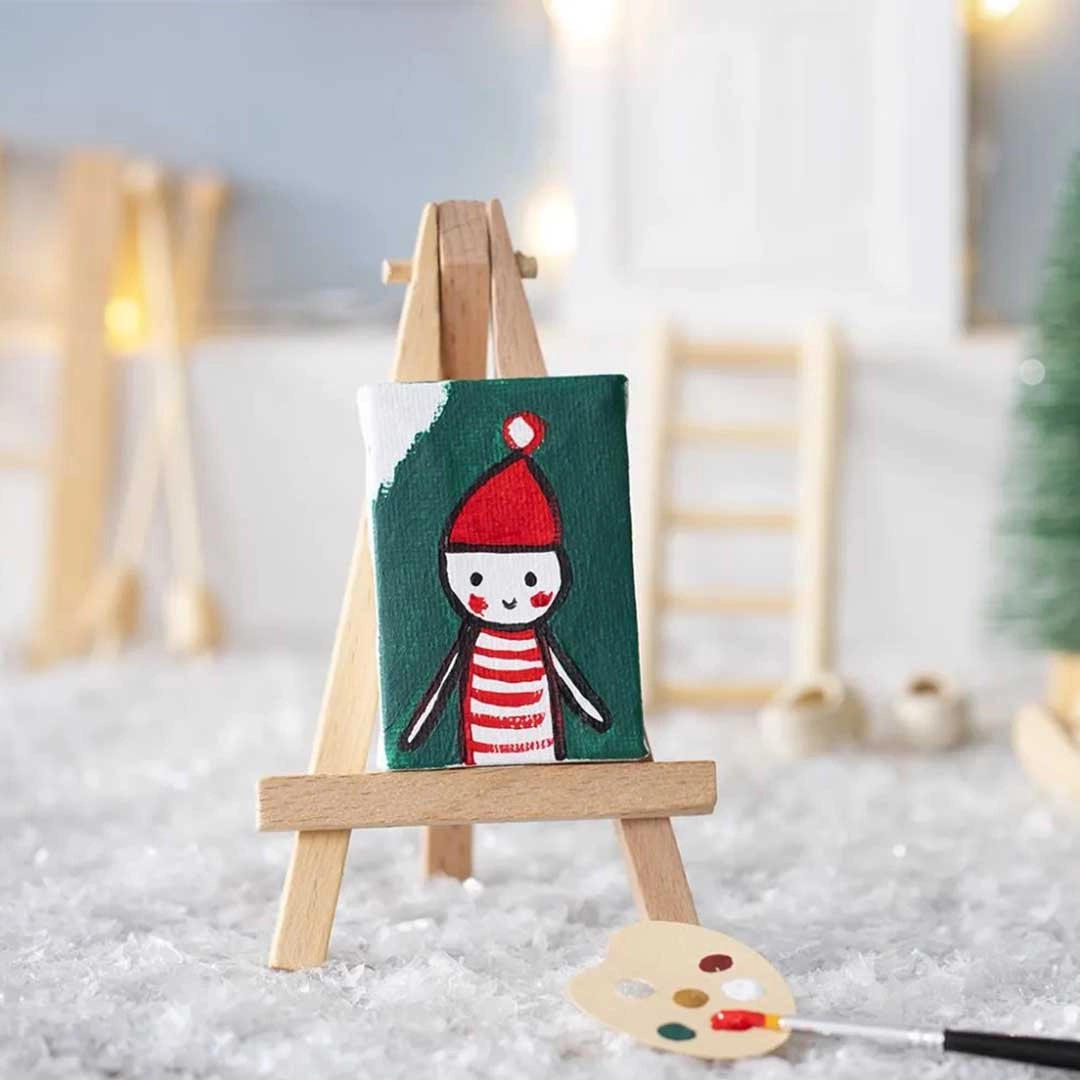
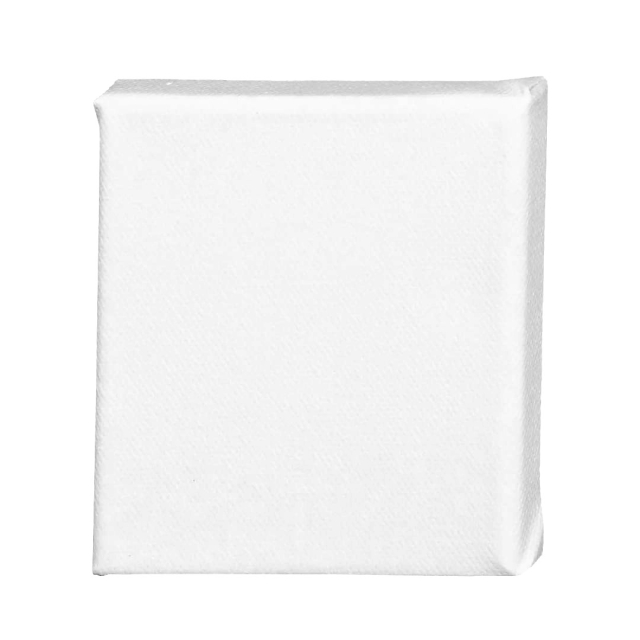
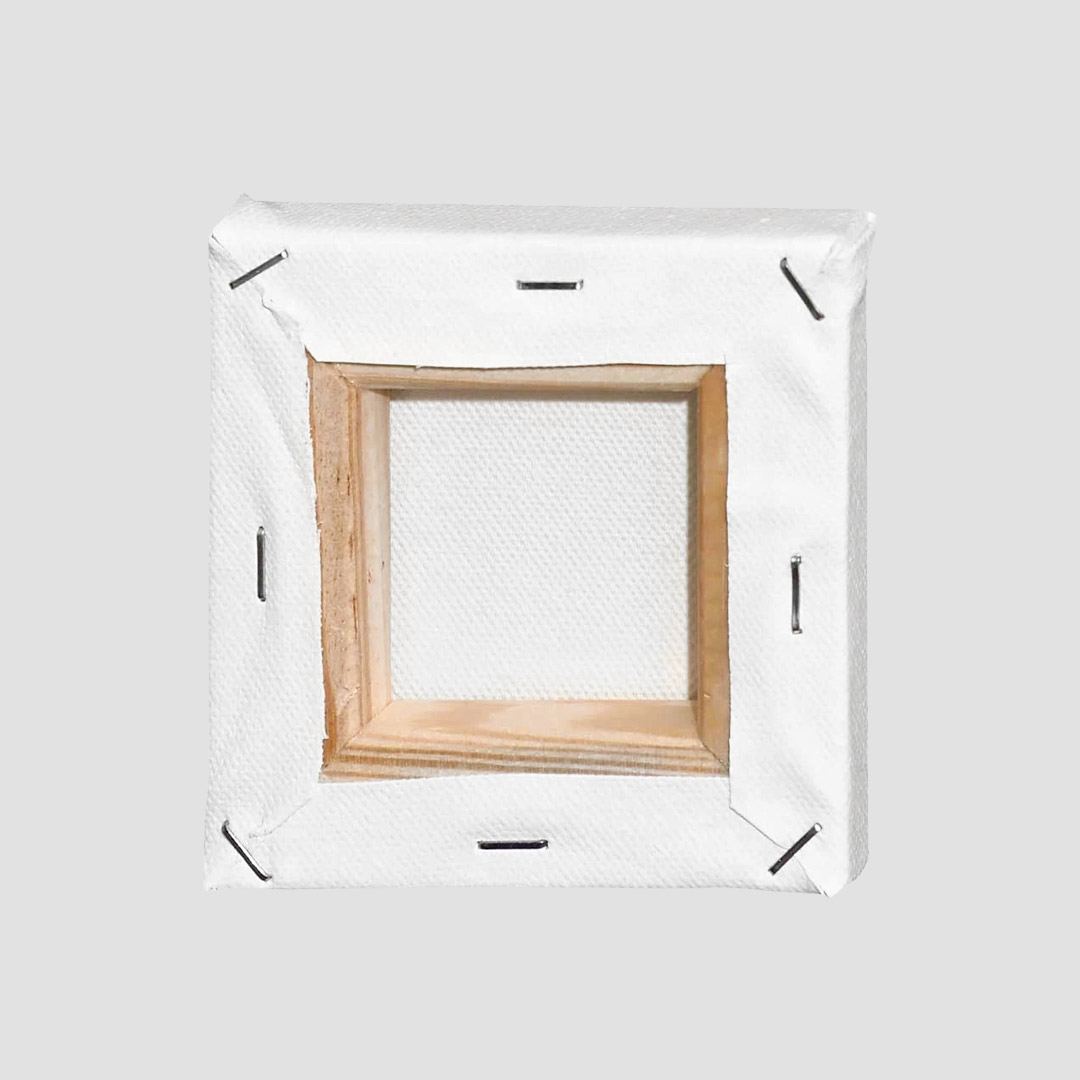
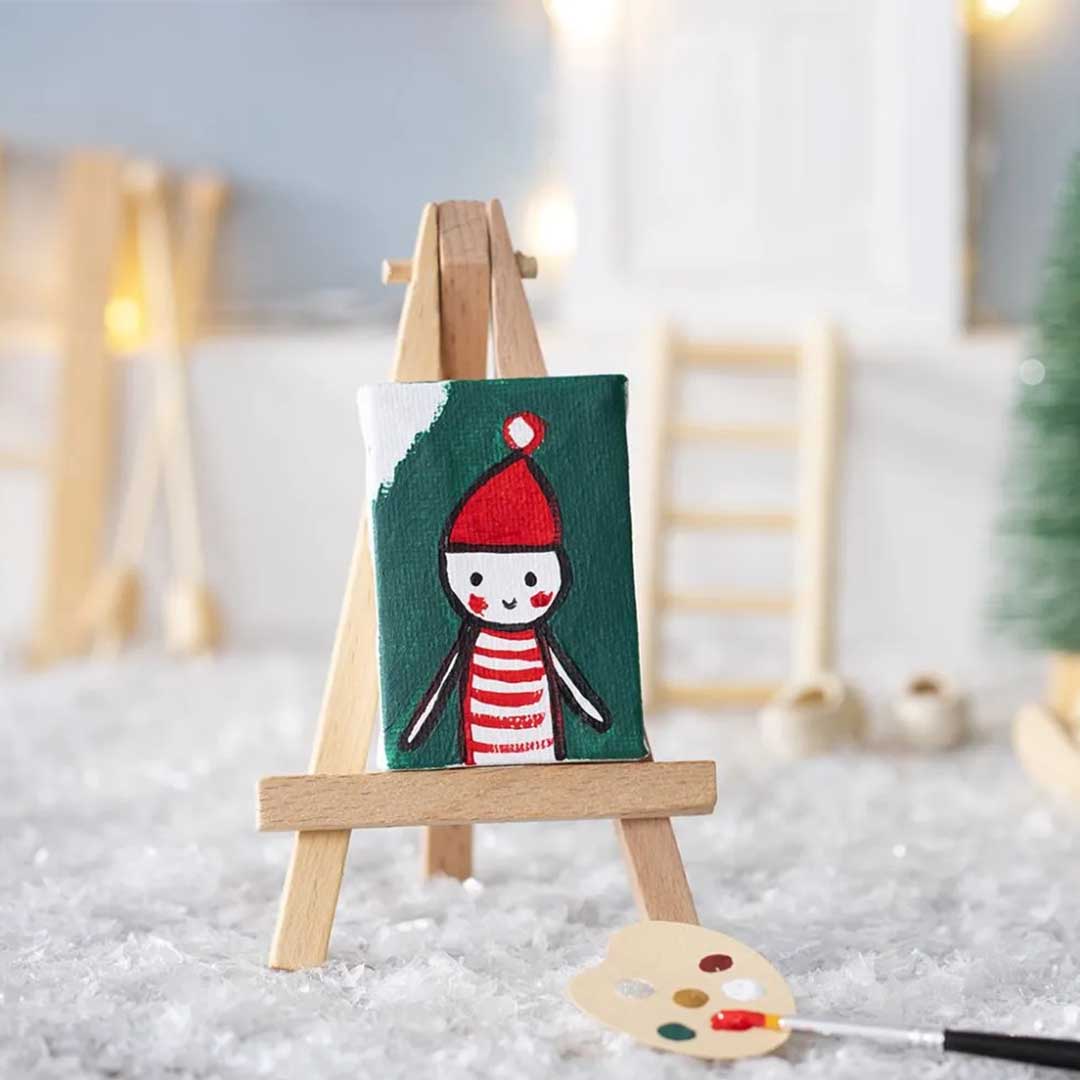
4. Mini canvases as place cards
How charming are these little canvases? If you enjoy painting, this is a wonderful opportunity to create small, personal artworks that also get to take centre stage on the plate. The possibilities are endless, but one especially fun idea is to paint small portraits of each guest. Their task then becomes finding their seat by looking for their own face. And just imagine how lovely it is to take a hand-painted portrait home.
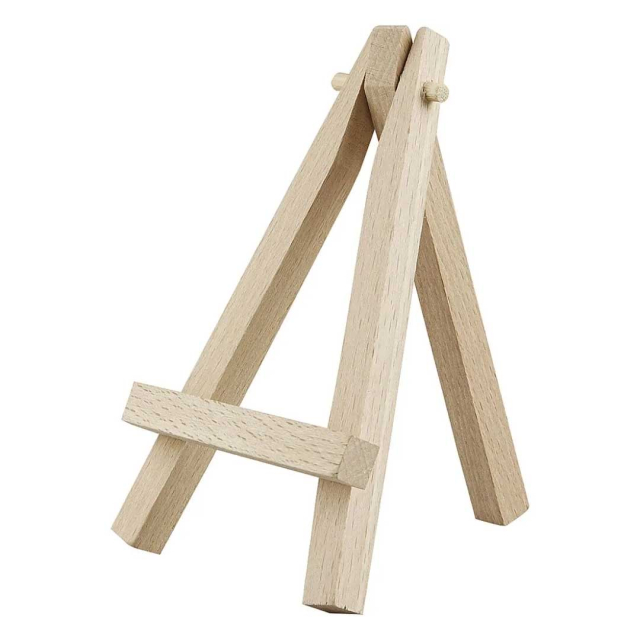
You will need:
Step by step:
- Choose a motif. It can be something simple like a flower, a heart, a splash of colour or a portrait if you are feeling brave. Feel free to look for inspiration on Pinterest, there is plenty to be found.
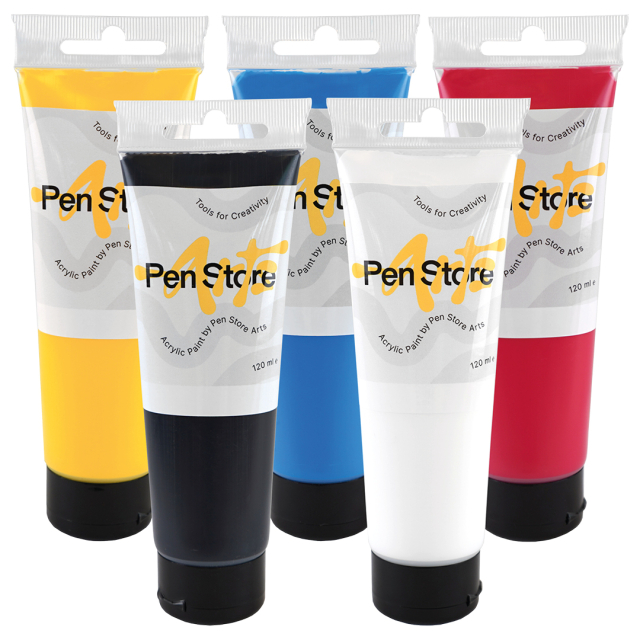
- Squeeze out a little paint onto a palette and start painting with an acrylic brush. Alternatively, you can use acrylic markers to skip both the palette and the brush. Acrylic paint is opaque and dries quickly, so work one layer at a time and feel free to add a little water for softer transitions.
- Allow the paint to dry completely before continuing. This usually takes a few minutes, depending on how thickly you have painted.
- Write the guest’s name on the canvas using a thin brush or an acrylic marker. If you prefer not to place the name on the canvas itself, you can also attach a small note that peeks out behind the easel, much like a little flag.
- Place the mini canvas on a small easel at each setting and impress your family or friends.

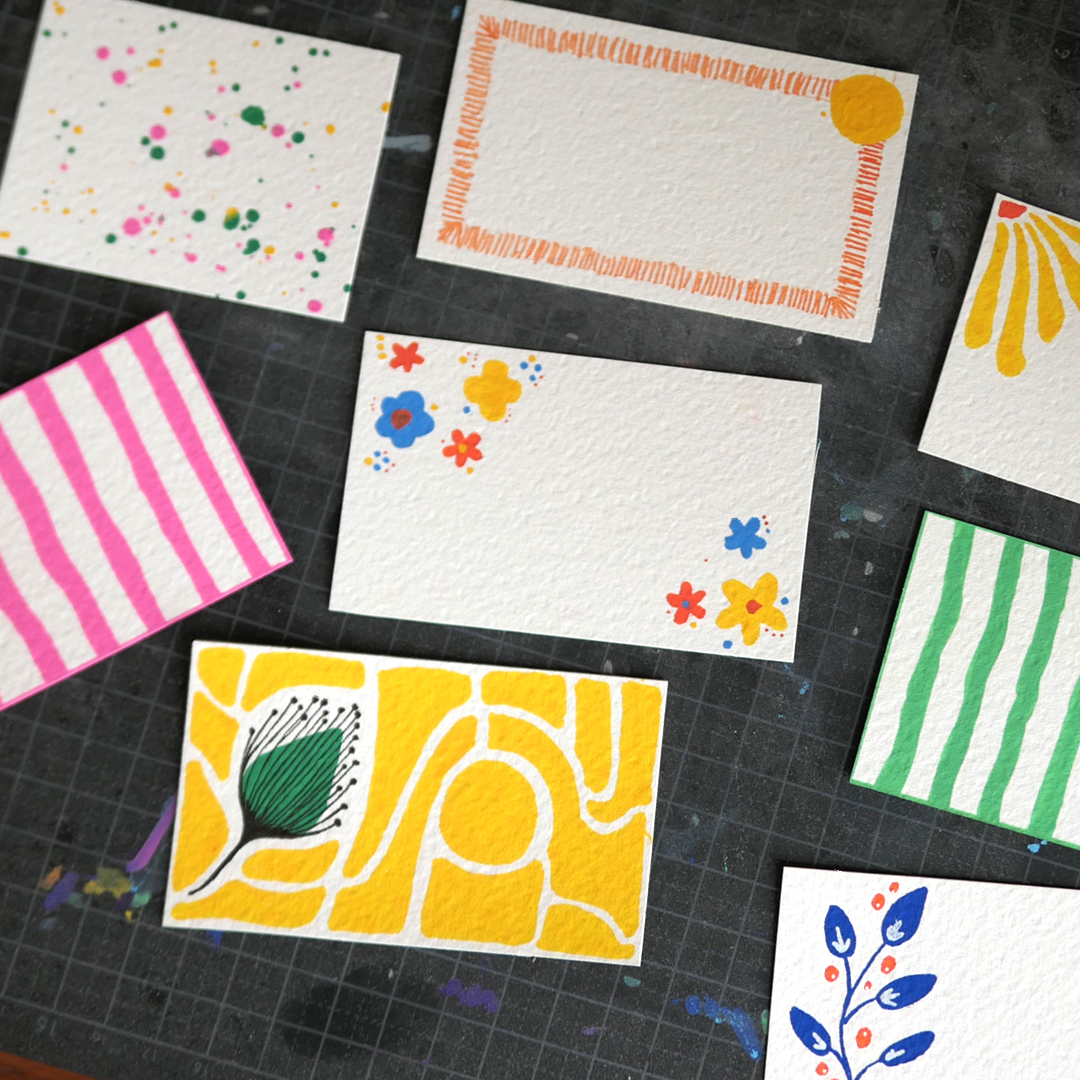
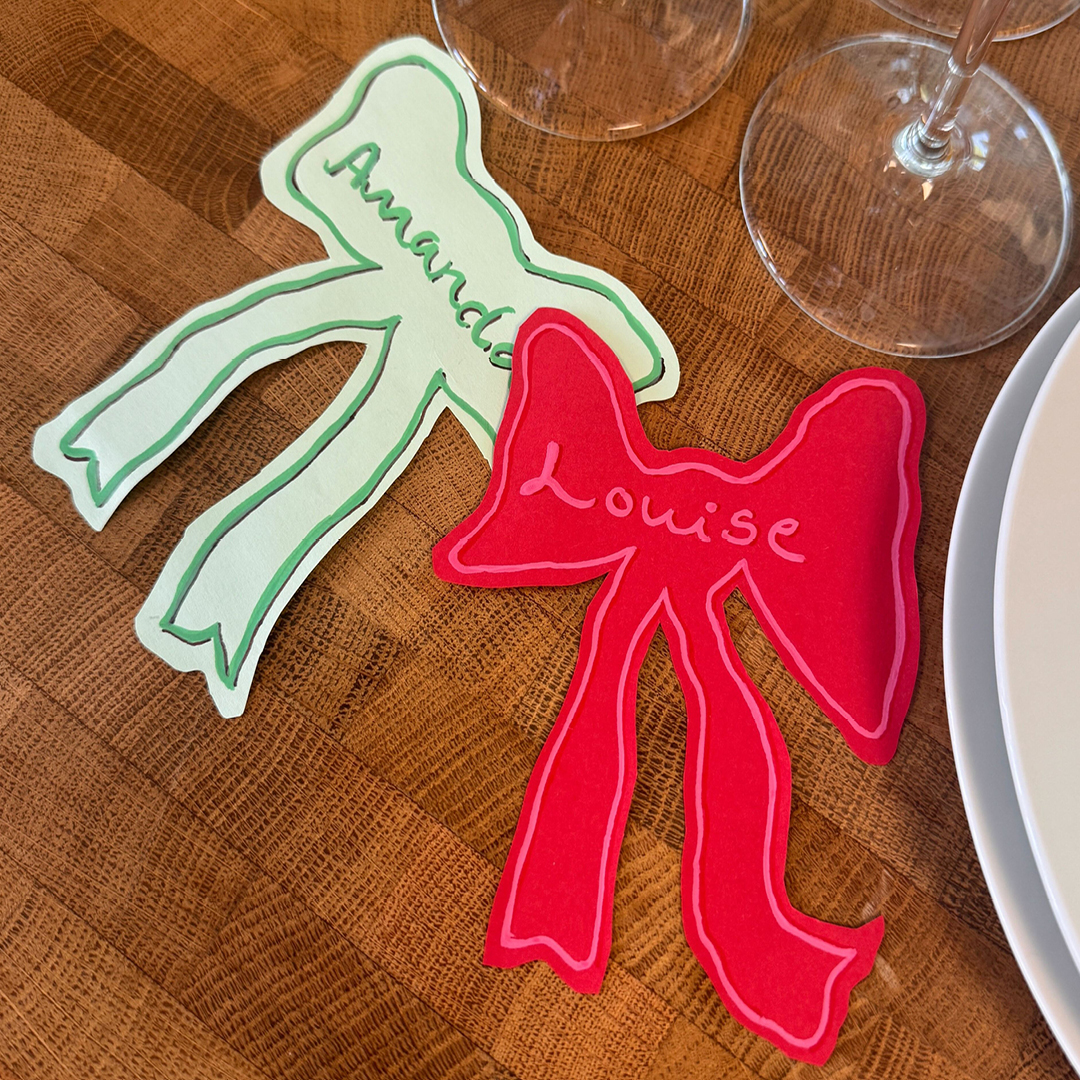
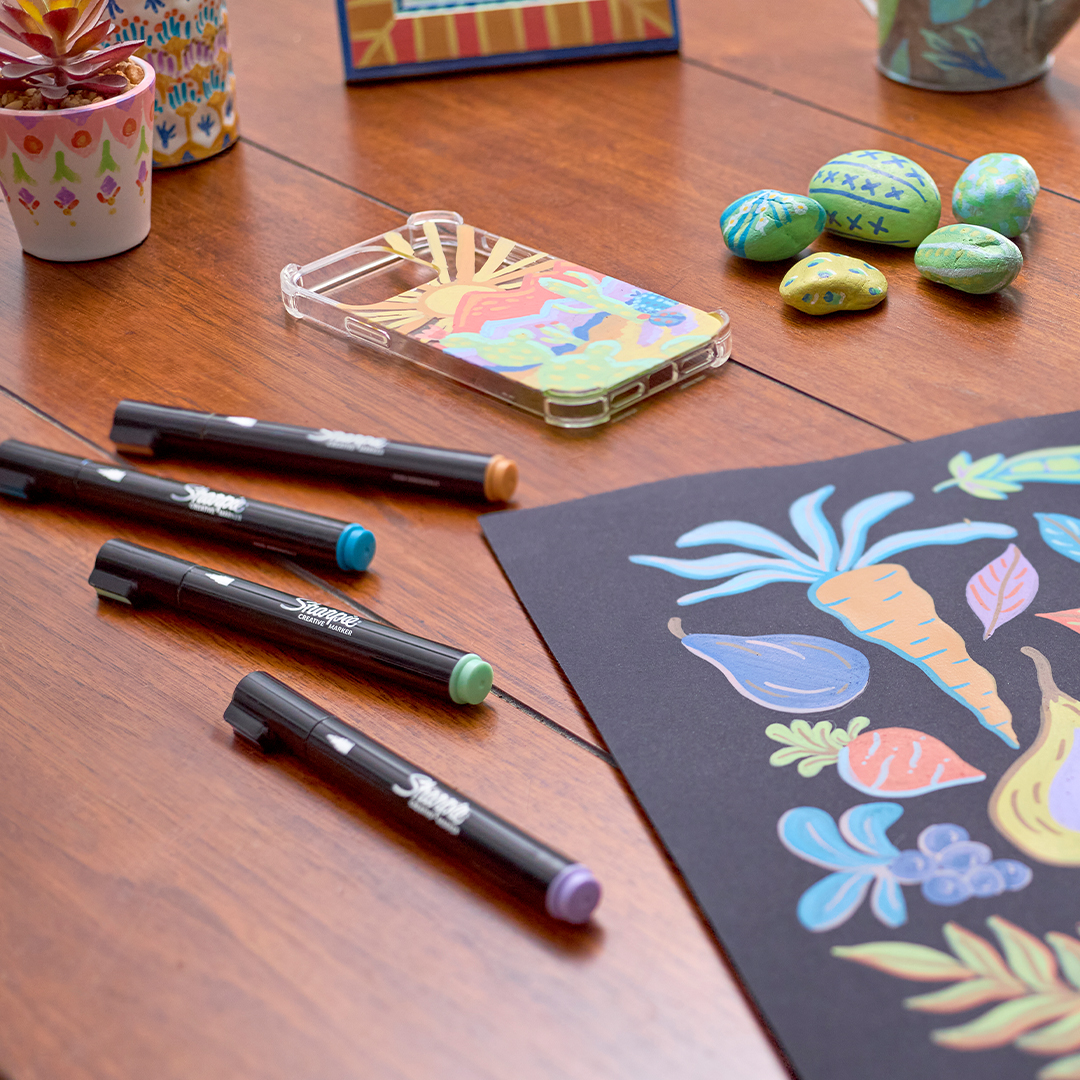
5. Playful place cards that pop
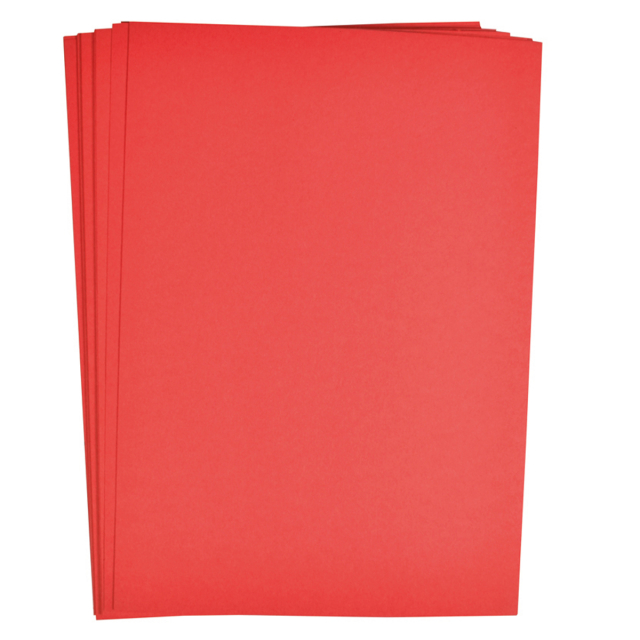
You do not need much to create eye-catching place cards, sometimes coloured paper and a couple of brightly coloured markers are all it takes. Here, we have drawn inspiration from trending ideas on Pinterest, where wavy lines, hand-drawn shapes and bold colour combinations take centre stage. Perfect for children’s parties, themed table settings or whenever you want something that feels a little extra fun and colourful.
You will need:
Step by step:
- Cut the cards into your desired shape, rectangles, bows or something completely different.
- Lightly sketch the shape with a pencil if you want a guide before cutting. You can also use a ruler for straight edges, or skip it entirely for a more playful look.
- Frame the card with a marker in a contrasting colour. Be bold. Wavy lines, bubbles or swirls work beautifully and create a hand-drawn, on-trend feel.
- Write the guest’s name using a colourful pen, preferably in a clear, slightly larger style so it stands out on the table. Experiment with the lines and create decorative lettering that suits the playful look.
- Place the cards directly on the plate or lean them against a glass. Done.

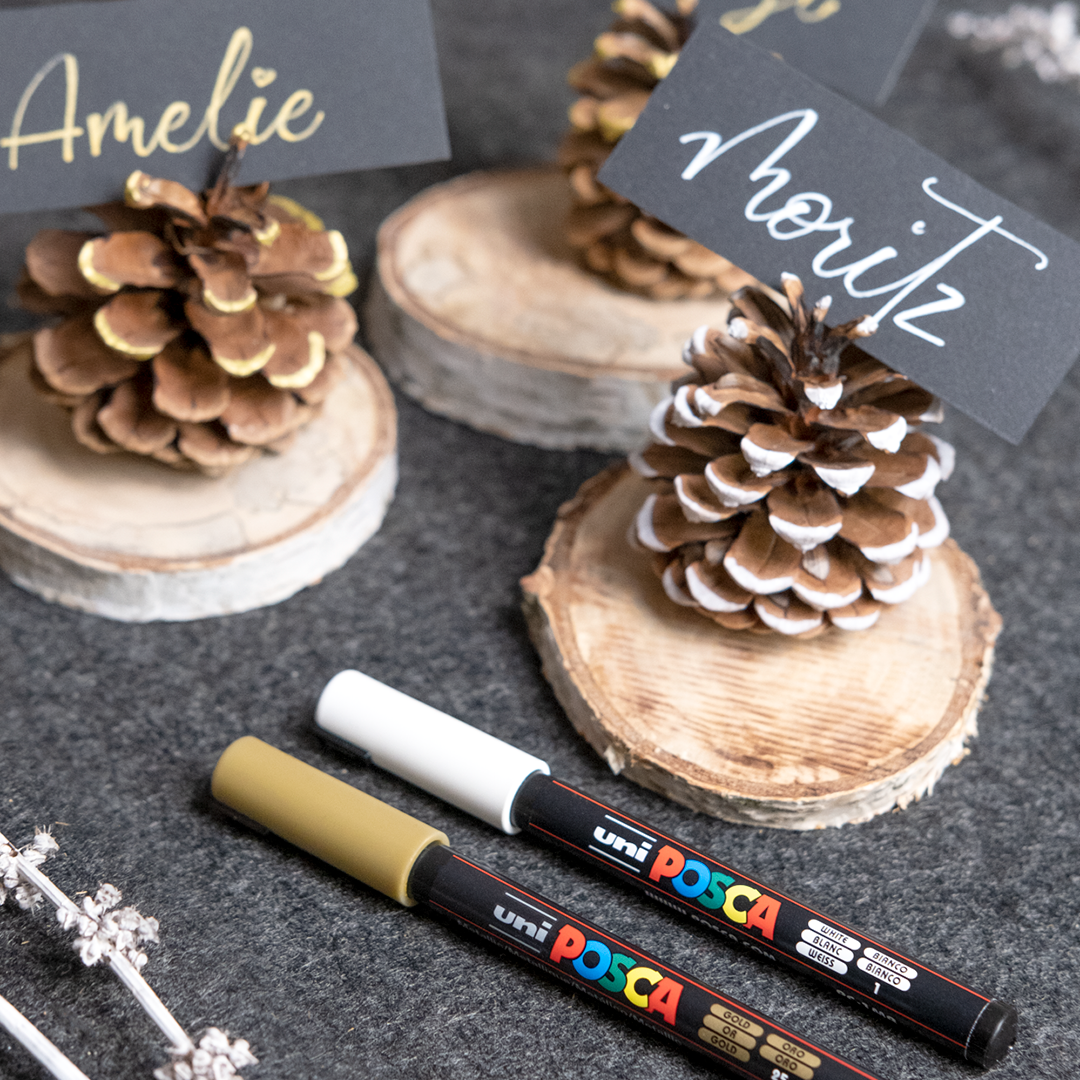
6. Natural materials as place cards
The beauty of natural materials is that they already have plenty of character just as they are. A pine cone, a smooth stone or a shell picked up on a walk quickly becomes a personal place card with a little colour and imagination. Use what you find around you, depending on the season. Pine cones and fir branches for Christmas and New Year, stones and shells for summer dinners. Acrylic paint and acrylic markers adhere to almost any surface, making this an easy craft with a big impact.
You will need:
- Pine cones, stones, shells or other natural materials
- Acrylic markers or acrylic paint
- Paintbrush
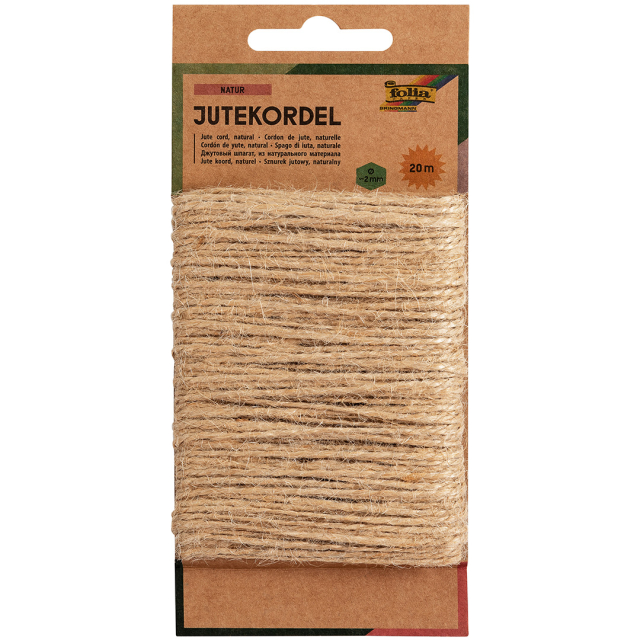
- Small cards, string or glue if you want to attach the name separately
Step by step:
- Prepare the natural materials by brushing away soil, sand and dirt. If necessary, gently rinse them with water, especially stones and shells. Allow everything to dry thoroughly.
- Paint or draw directly onto the material using acrylic paint or acrylic markers. On smooth surfaces, you can write the guest’s name directly, while uneven shapes are better suited to adding colour and effects such as gold edging or decorative patterns.
- Allow the paint to dry completely before moving on. Acrylic paint dries quickly, but a little extra patience always results in a more durable finish.
- If you prefer not to write directly on the material, attach a small name card instead. Tie it on with string around the pine cone or fir branch, or glue it in place if needed.
- Place the cards on the plate or at each place setting. Heavier place cards can also be used as a stylish napkin weight.


Paper →
Cutters →
Markers →