In this step-by-step guide, we’ll explore the basics of painting on fabric – from preparation and choosing materials to techniques and finishing touches.
Fabric painting is a creative and personal art form that lets you design unique clothing, home décor or gifts. Whether you’re a beginner or experienced, you can use fabric as your canvas – just let your imagination flow. Start by washing the fabric to remove any dirt or dust. Then sketch your design directly onto the fabric with a pencil, and follow up with textile paint or fabric markers.

Get ready with the right materials for textile painting
Before you get started with your fabric painting, it’s important to have everything you need close at hand. Here’s a list of materials and tools to make the process more enjoyable and manageable:
Fabric
Choose your fabric carefully – it could be a garment, T-shirt, napkin, pair of jeans, cushion cover or any other textile project. Below, we go through the pros and cons of some of the most common fabrics.
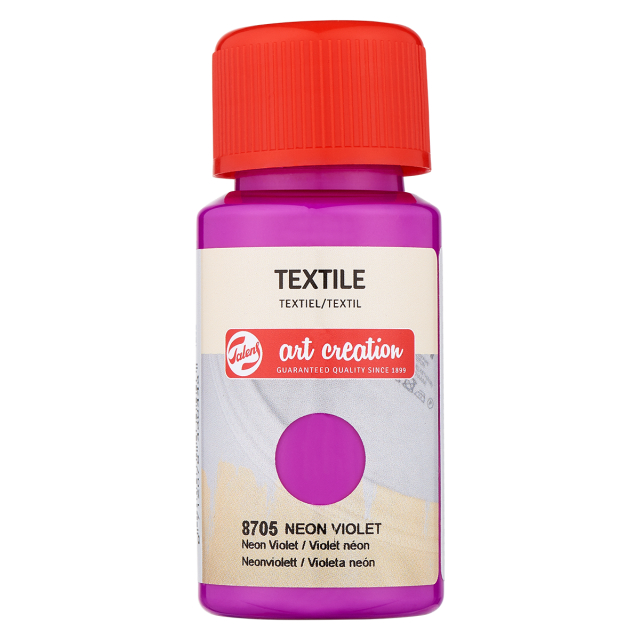
Textile paint
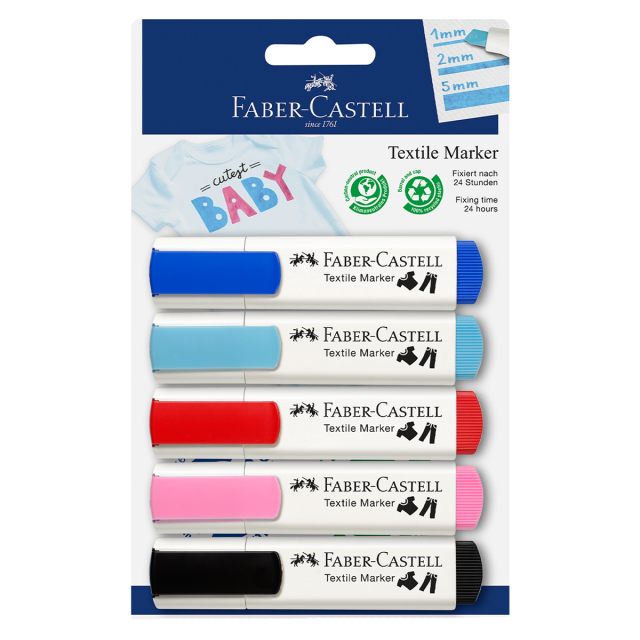
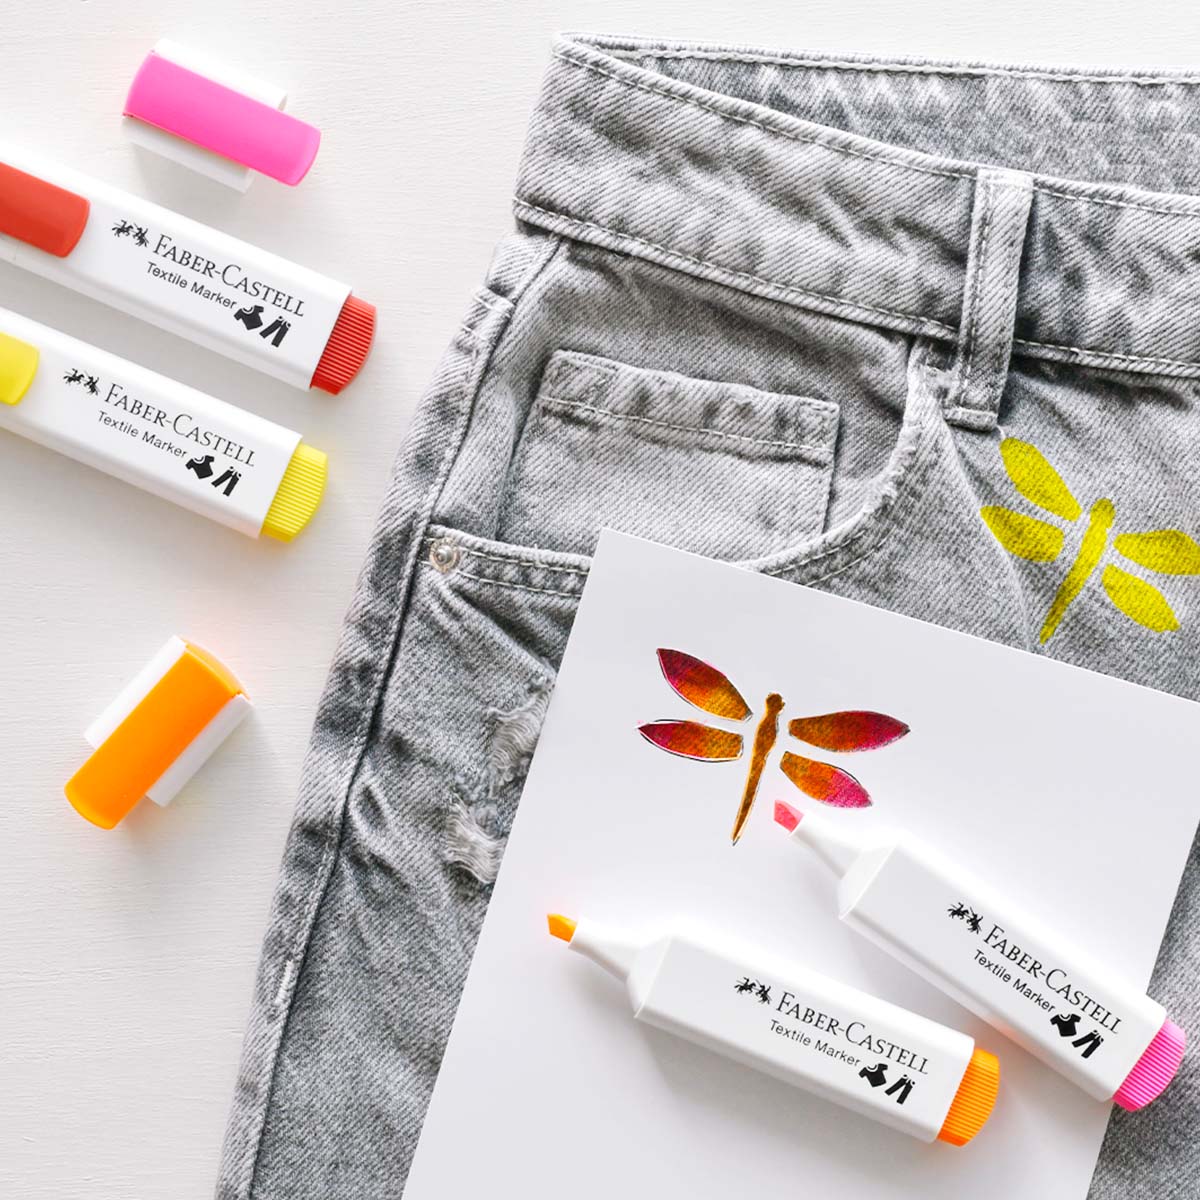
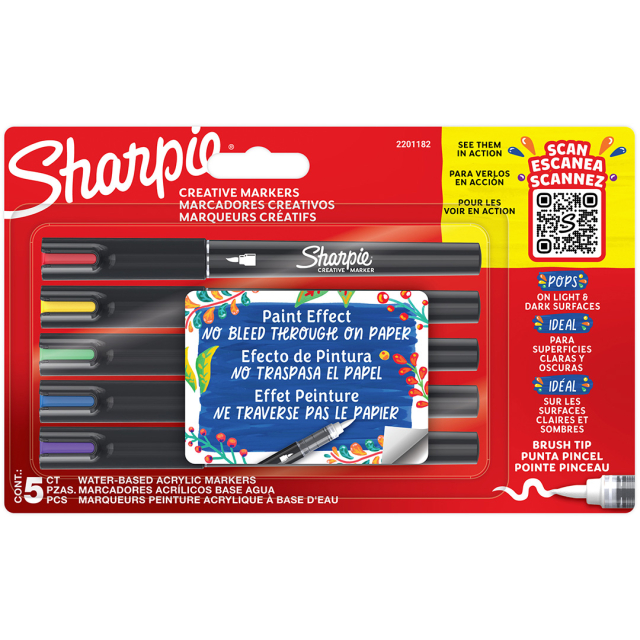
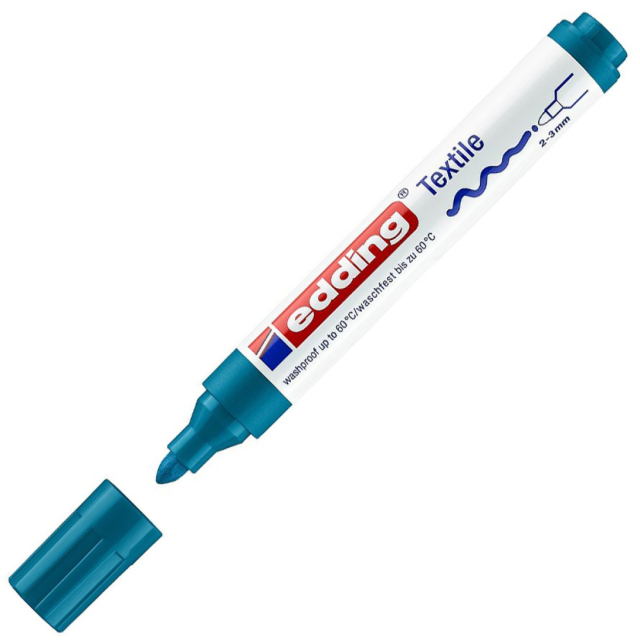
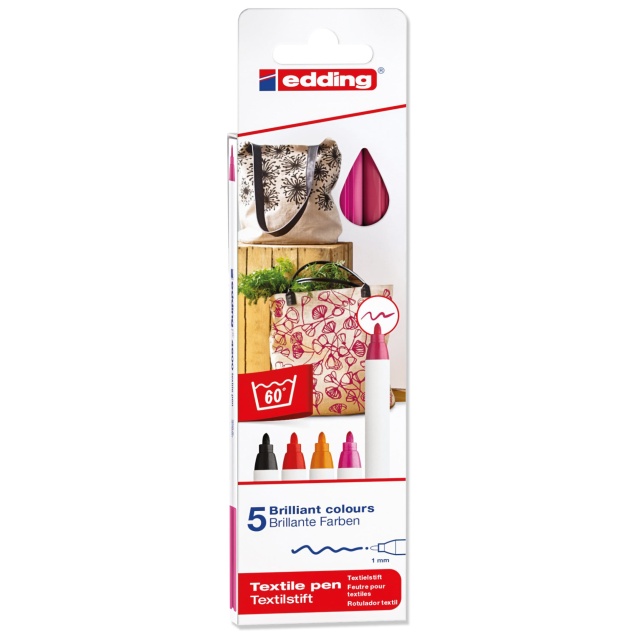
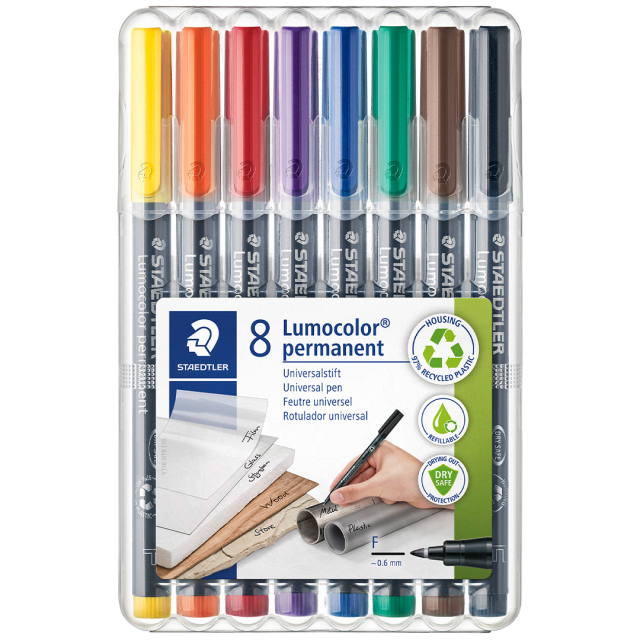
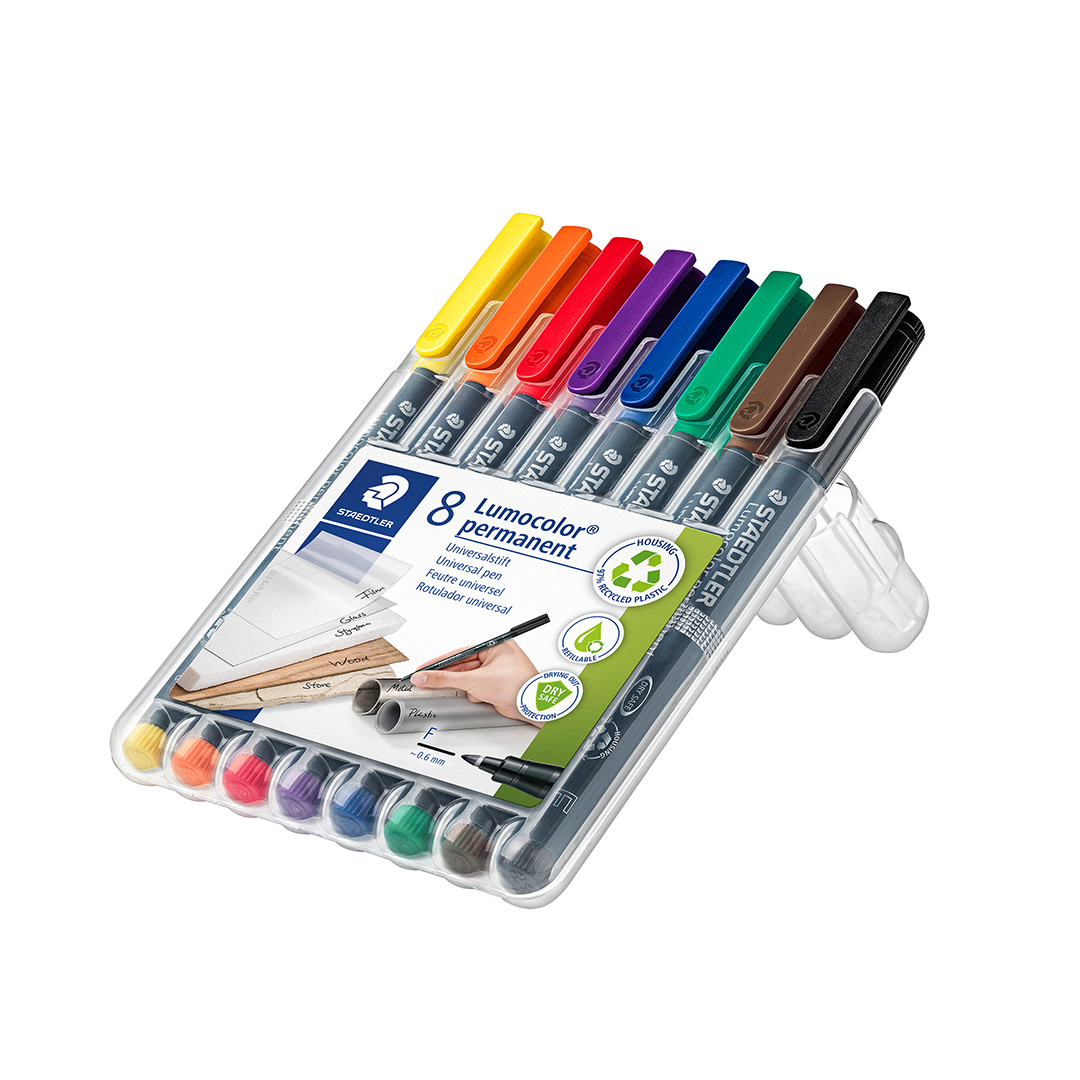
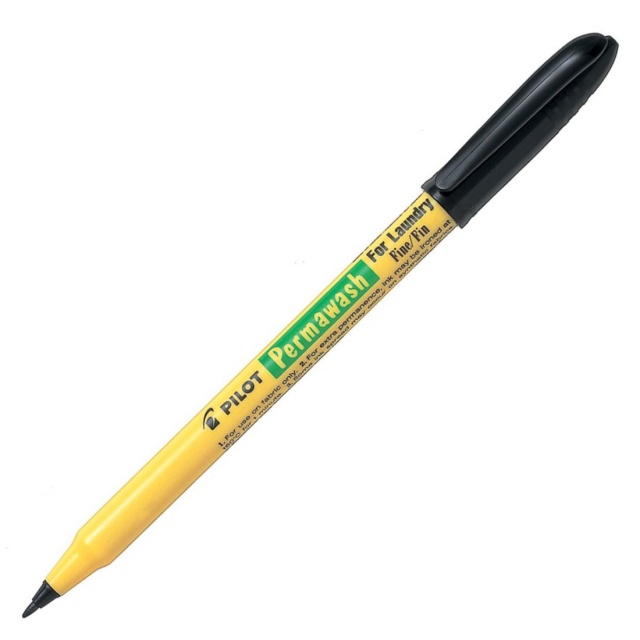
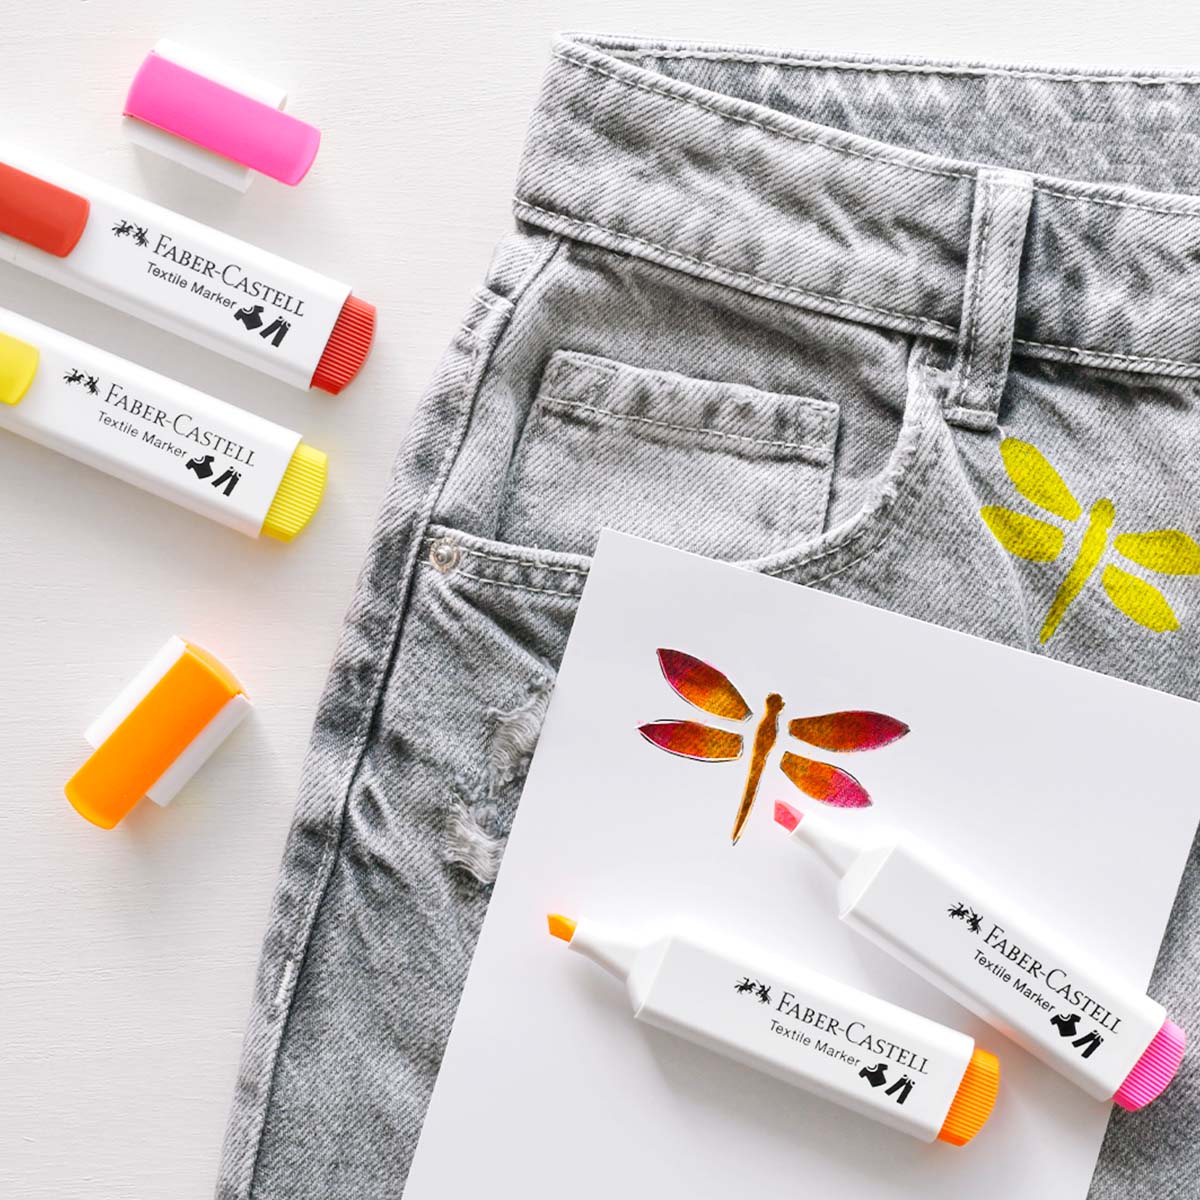
Choose the type of textile paint you want to use. Liquid fabric paint or fabric markers are both great options depending on whether you're covering large areas or working on finer details.
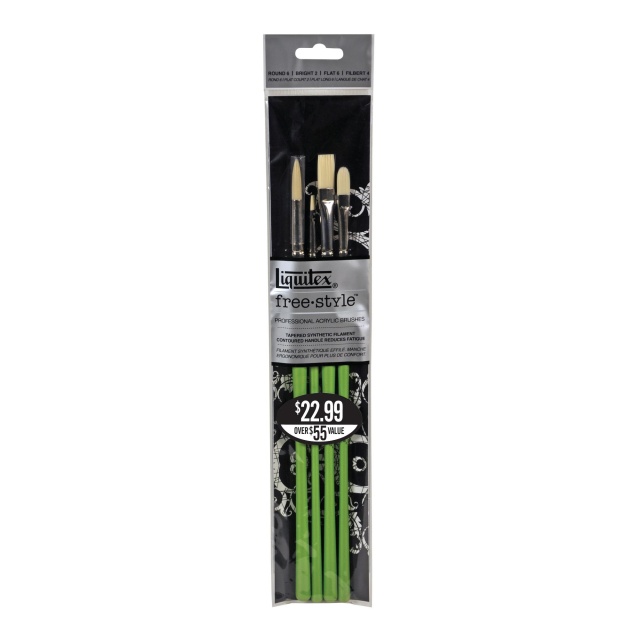
Brushes and palette
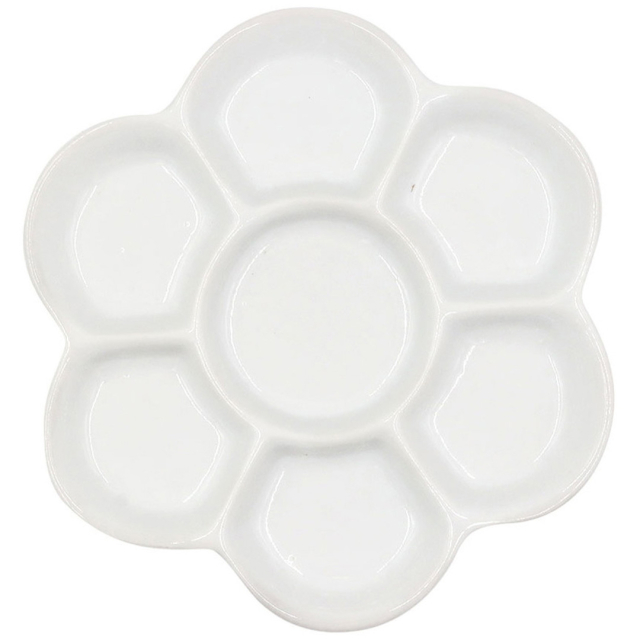
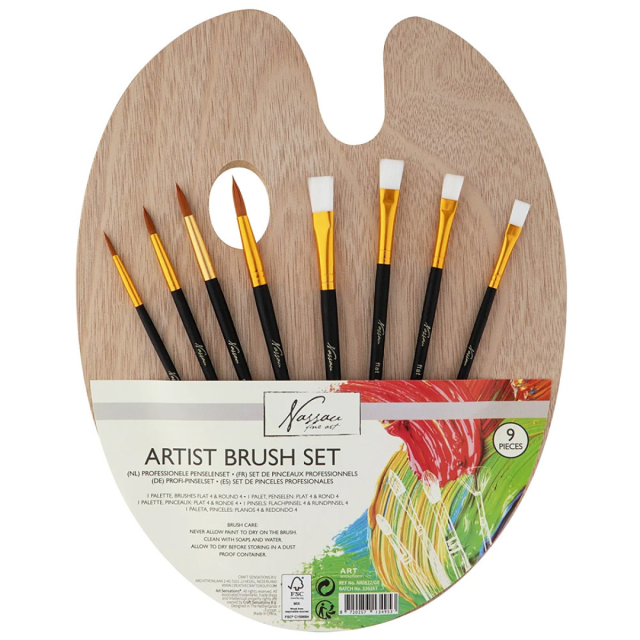
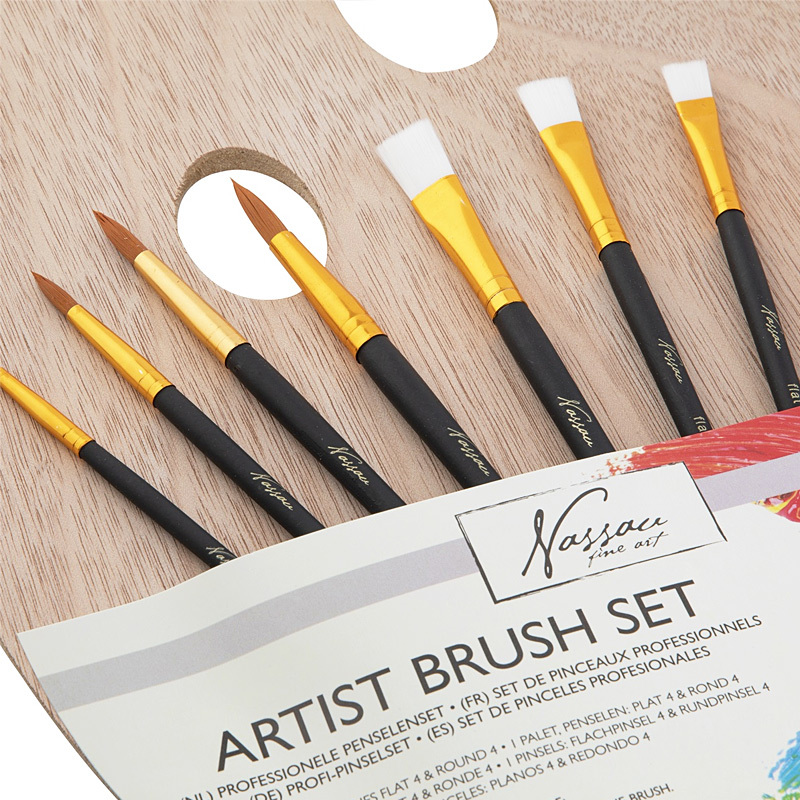
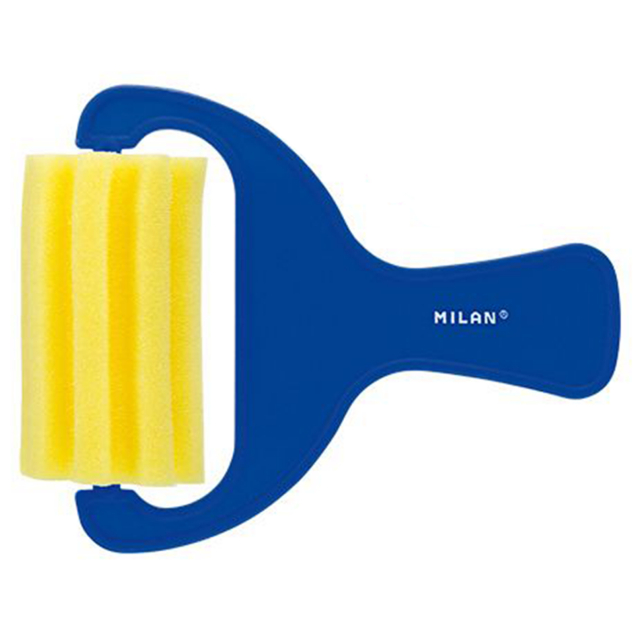
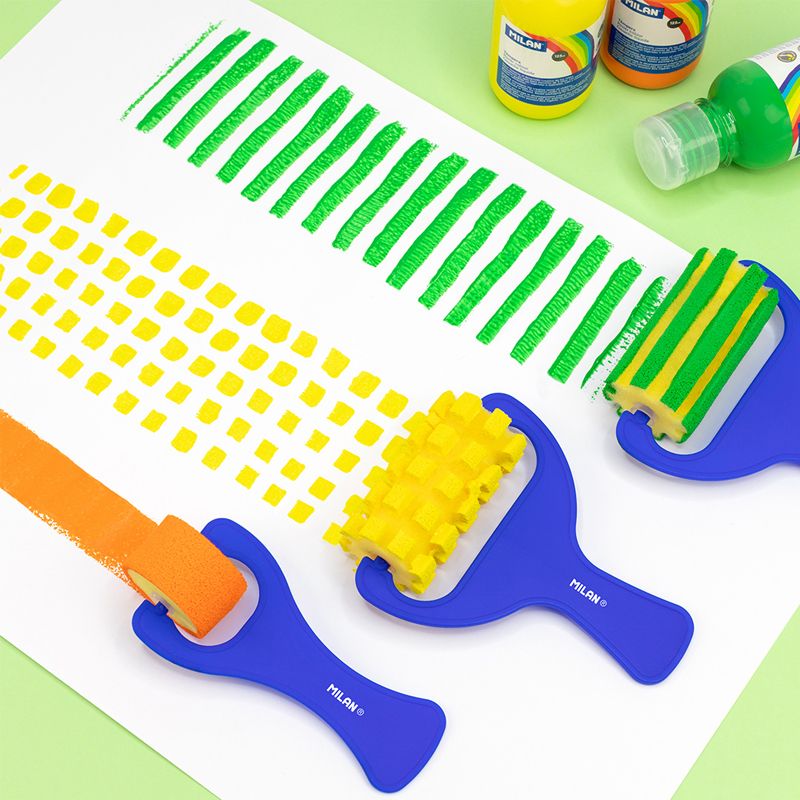
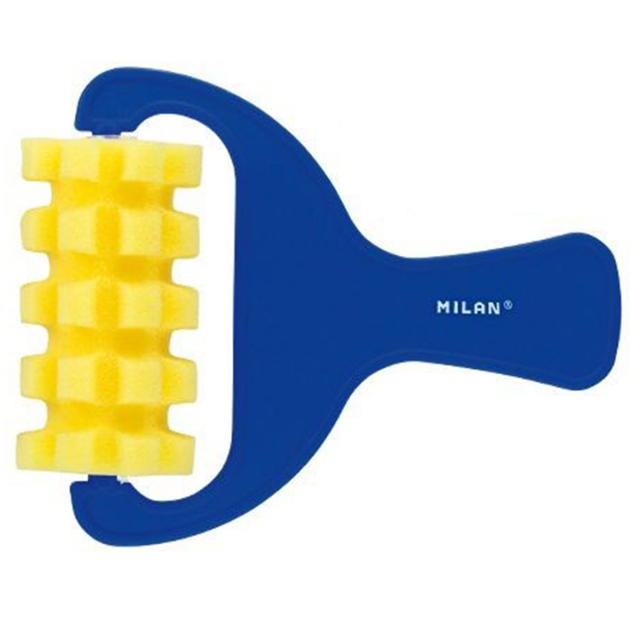
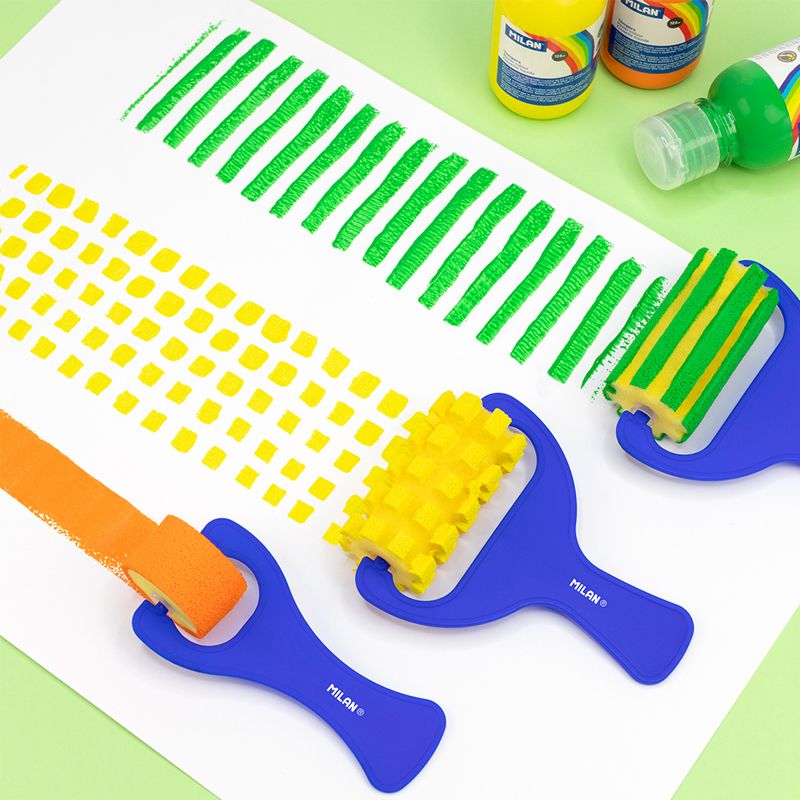
Use synthetic brushes to apply paint to fabric. Depending on your design, you may want to use different brush sizes and shapes. A palette is also useful for mixing colours or for using tools like sponges.
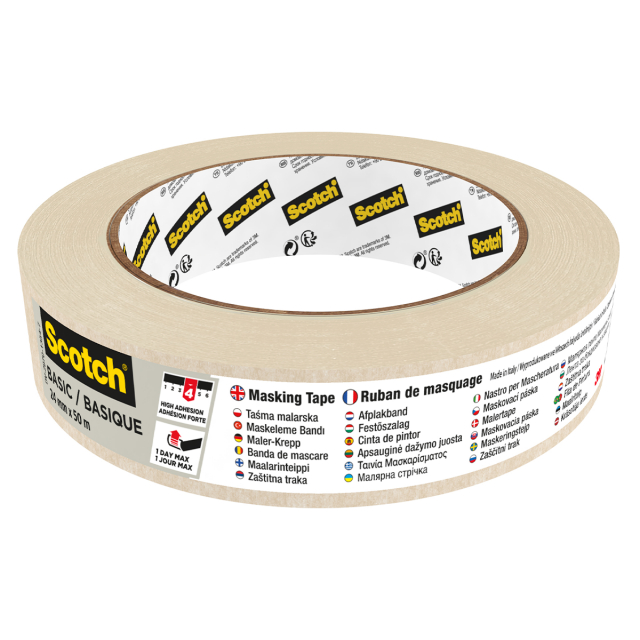
Masking tape or stencils
If you want to create sharp edges or patterns, use masking tape or make your own stencils out of paper.
Paper / pencil / scissors / craft knife
For sketching your design or making templates.
Cloth or wet wipes
Keep a damp cloth or wet wipe nearby to quickly fix misplaced paint or clean your brushes.
Paint on fabric in 6 easy steps
In this guide, we’ll walk you through six simple steps to paint on fabric and create your own textile artwork. We’ll look at how painting varies depending on the type of fabric, what to consider when choosing paint, and how to fix the colour so it lasts – even in the wash. Let’s begin with the basics.
Step 1: Choose the fabric you want to paint on
First, decide what type of fabric you want to paint on. The outcome you’re aiming for will help determine the most suitable material. Different fabrics have different properties and may require different prep and finishing. Below are some options with their respective pros and cons.
Painting on denim
When painting on denim, keep in mind that it’s a thicker and often darker fabric. Choose light or opaque colours that will show up well and adhere to the surface. Denim also experiences more wear and tear, so the paint needs to be durable and washable. Make sure the fabric is clean before painting. Some paints may need heat-setting with an iron to ensure longevity.
Painting on a cotton T-shirt or sweatshirt
Cotton absorbs paint well, making it ideal for painting. Use fabric paint or markers designed for cotton. Since the colour can bleed through, place a protective layer like paper or plastic inside the garment to protect the other side.
Painting on cotton fabric
Cotton is a popular choice for fabric painting thanks to its absorbency, versatility and comfort.
Pros of painting on cotton:
- Absorbent surface: Makes it easy to apply and blend paint evenly.
- Easy to work with: Great for both beginners and experienced artists.
- Versatility: Available in many weights and textures for different projects.
- Durable: Withstands frequent washing without losing quality.
Cons of painting on cotton:
- Requires pre-treatment: Washing and using fabric medium or fixative helps the paint adhere better.
- Less texture: May not be ideal if you prefer more textured surfaces like linen.
- Limited use: Not ideal for high-wear or outdoor projects – consider more specialised fabrics in those cases.
Painting on linen
Linen is favoured by artists for its natural texture, absorbency and durability – perfect for more traditional or organic artworks.
Pros of painting on linen:
- Natural texture: Adds unique, organic character to your work.
- Good adhesion: Paint grips the surface well.
- Durability: Long-lasting and robust material.
- Great for different techniques: Works well with various painting methods.
- Can be stretched over frames: Ideal for creating stretched canvas-like surfaces.
Cons of painting on linen:
- Price: Generally more expensive than cotton or other textile options.
- Needs preparation: May require gesso or fabric primer for best results.
- Not pure white: Often cream or beige-toned, which can affect how colours appear. Additional priming may be needed.
Painting on polyester
Polyester is strong and water-resistant – great for durable projects. It’s lightweight but less absorbent, so preparation is key.
Pros of painting on polyester:
- Durable: Highly resistant to wear and tear.
- Moisture resistant: Dries quickly and resists water.
- Colour intensity: Holds bright colours well.
- Won’t shrink: Keeps its shape after washing.
Cons of painting on polyester:
- Less absorbent: Harder to work with than natural fibres.
- Needs preparation: May require a textile primer or base coat.
- Smoother surface: Makes it harder to create texture.
Step 2: Wash and prepare the fabric
Wash your fabric before painting to remove dirt and chemicals. This helps the paint adhere evenly. Follow the fabric care instructions and let it dry completely before painting. Ironing the fabric helps smooth out wrinkles and creates a better surface for clean lines.
Step 3: Create your design
Planning your design beforehand helps guide your painting. Use a pencil or washable marker to sketch on the fabric. You can also make templates or outlines to keep your design on track.
Step 4: Choose your paint – fabric paint or fabric markers
The two most common types are liquid fabric paint and fabric markers. Depending on your project, you may prefer one over the other – or even use both together!
Painting with fabric paint
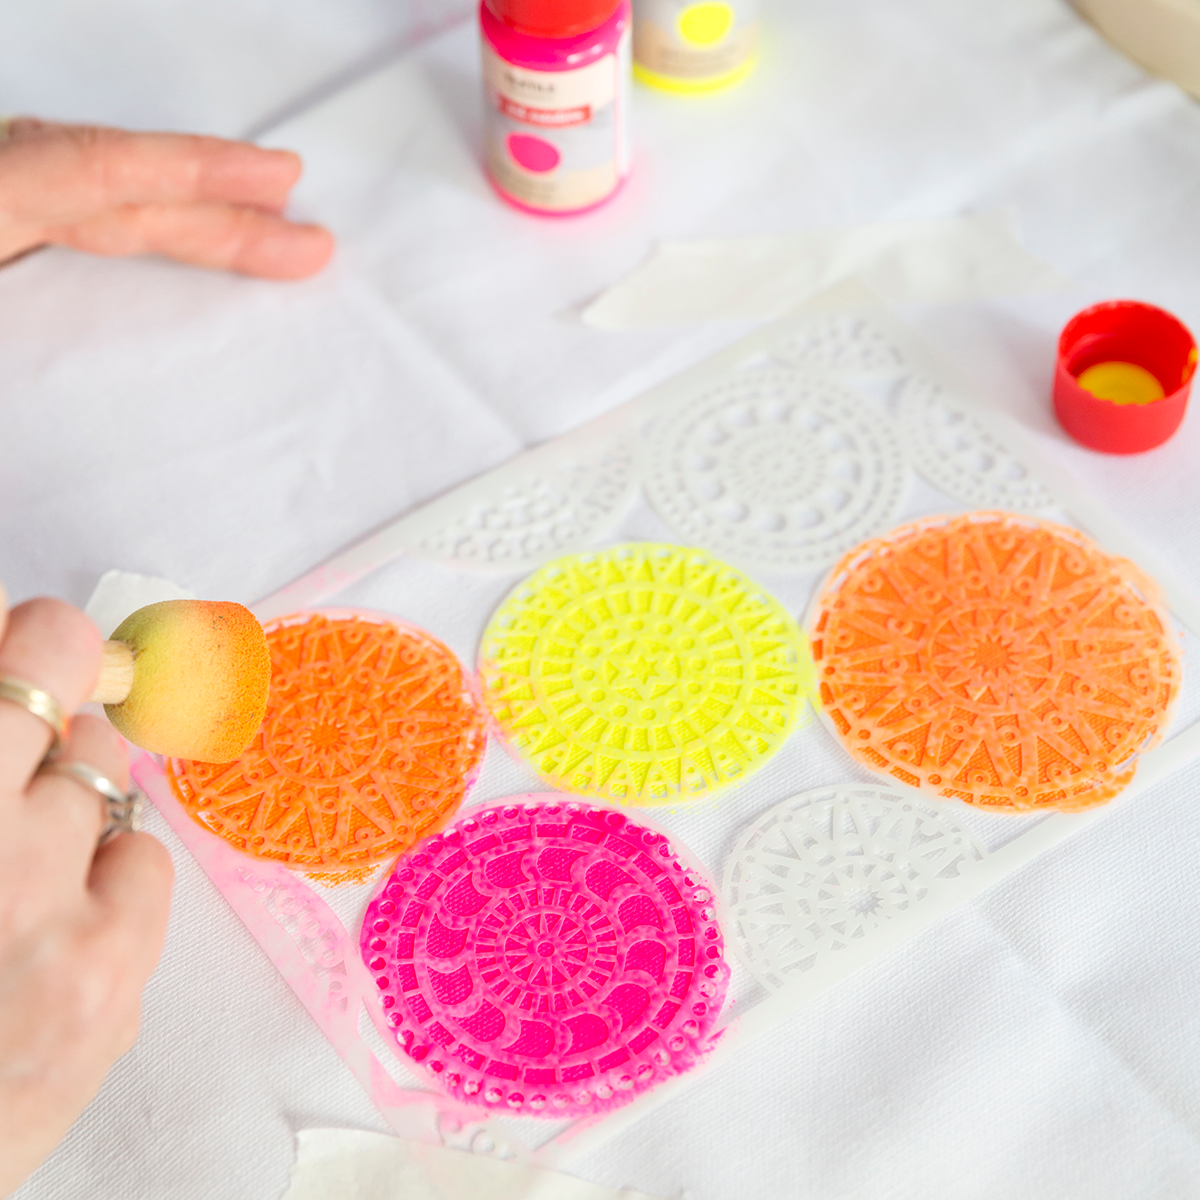
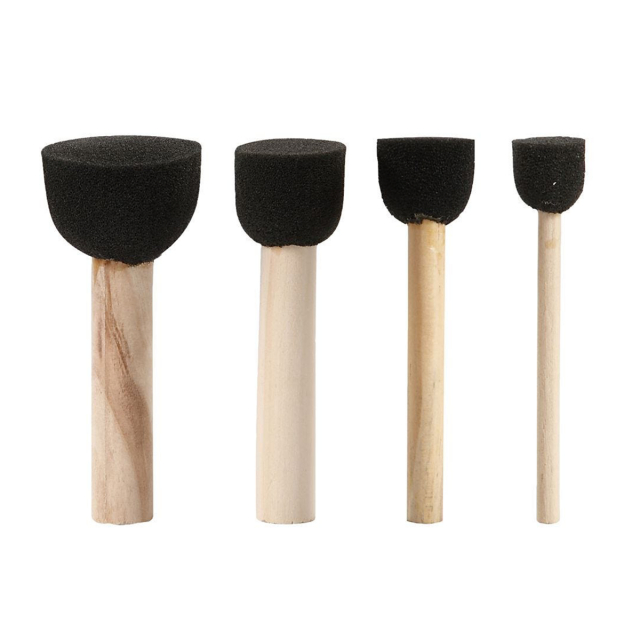
Great for covering large areas, creating gradients and splatter effects. It also lets you mix your own shades and experiment with tools like sponges, stamps or stencils. It’s also more cost-effective than markers.
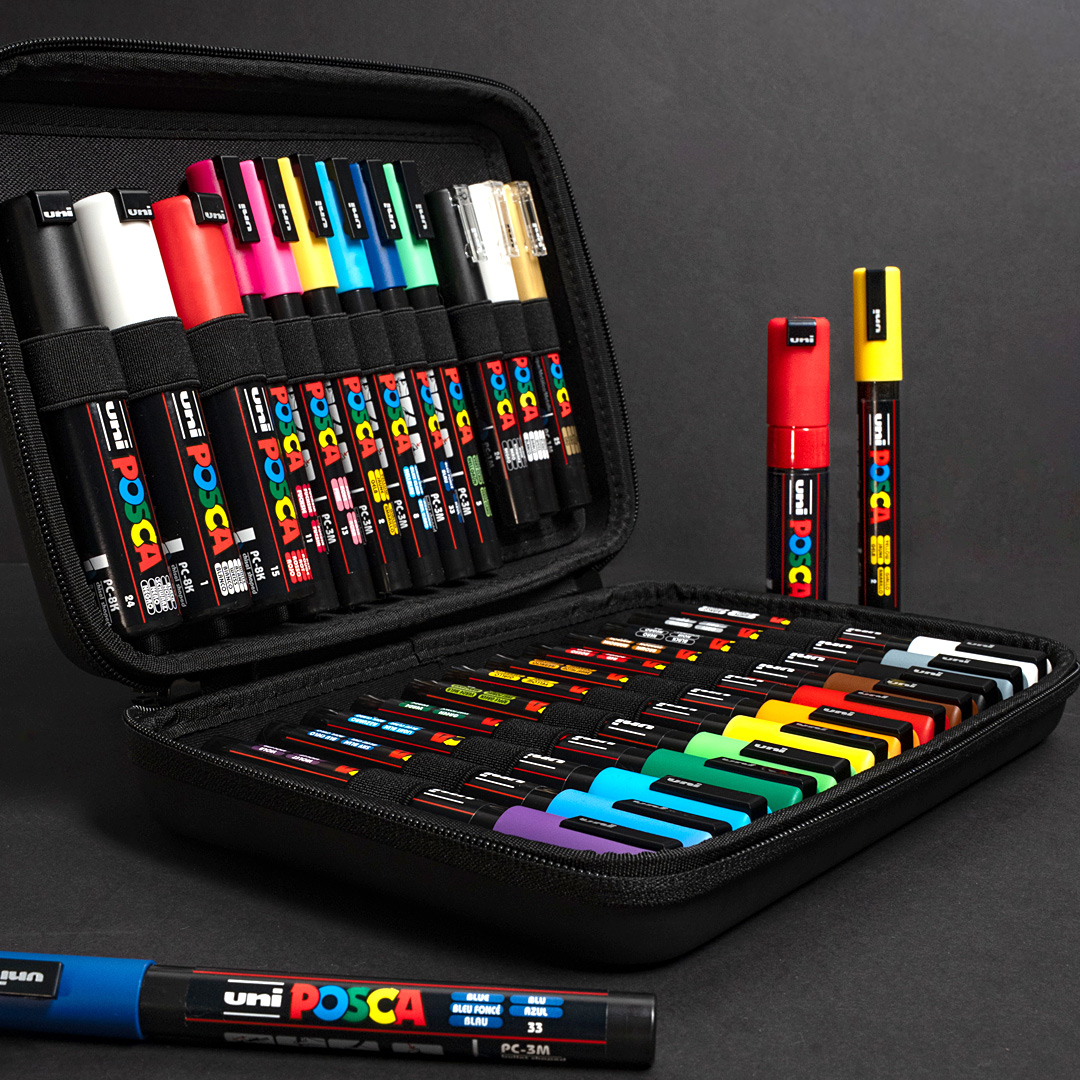
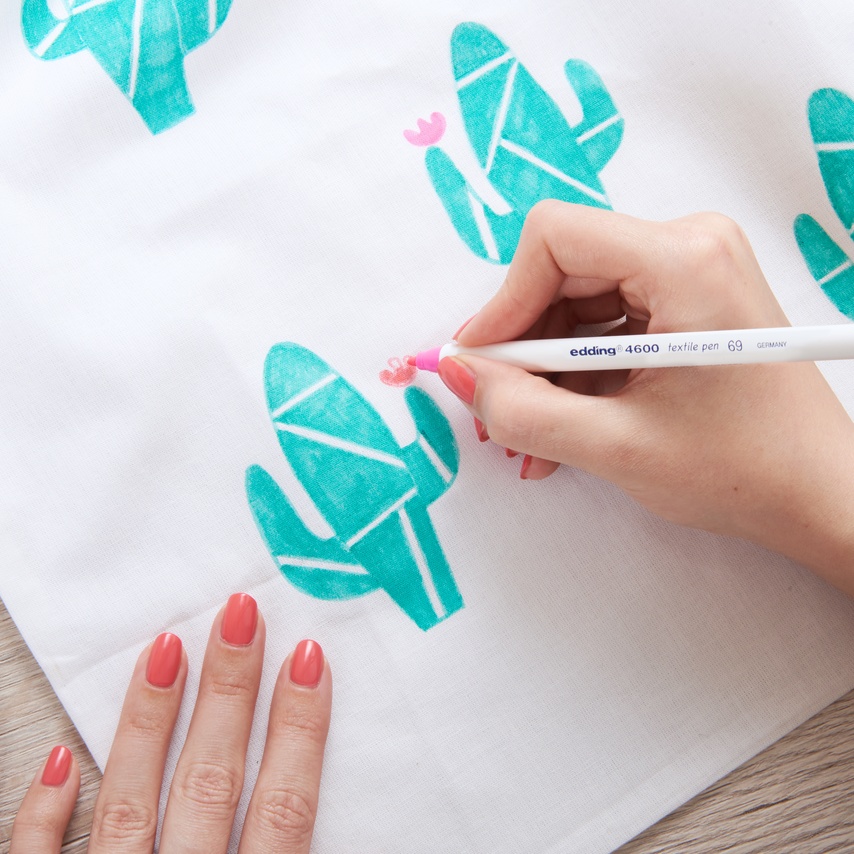
Painting with fabric markers
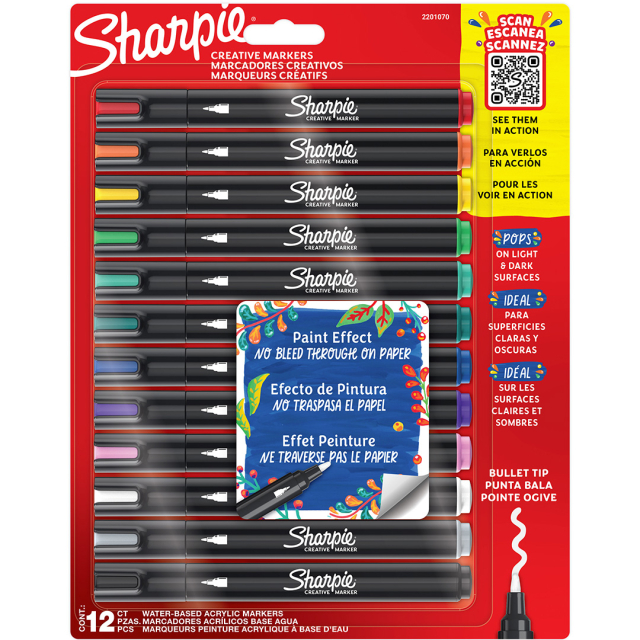
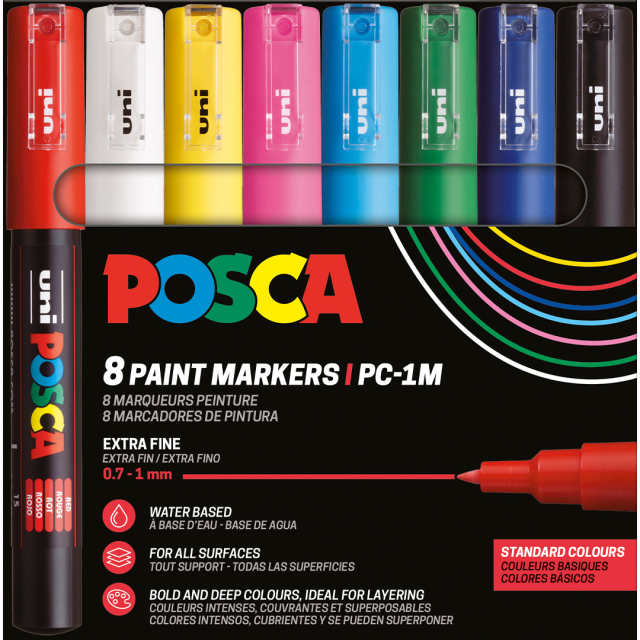
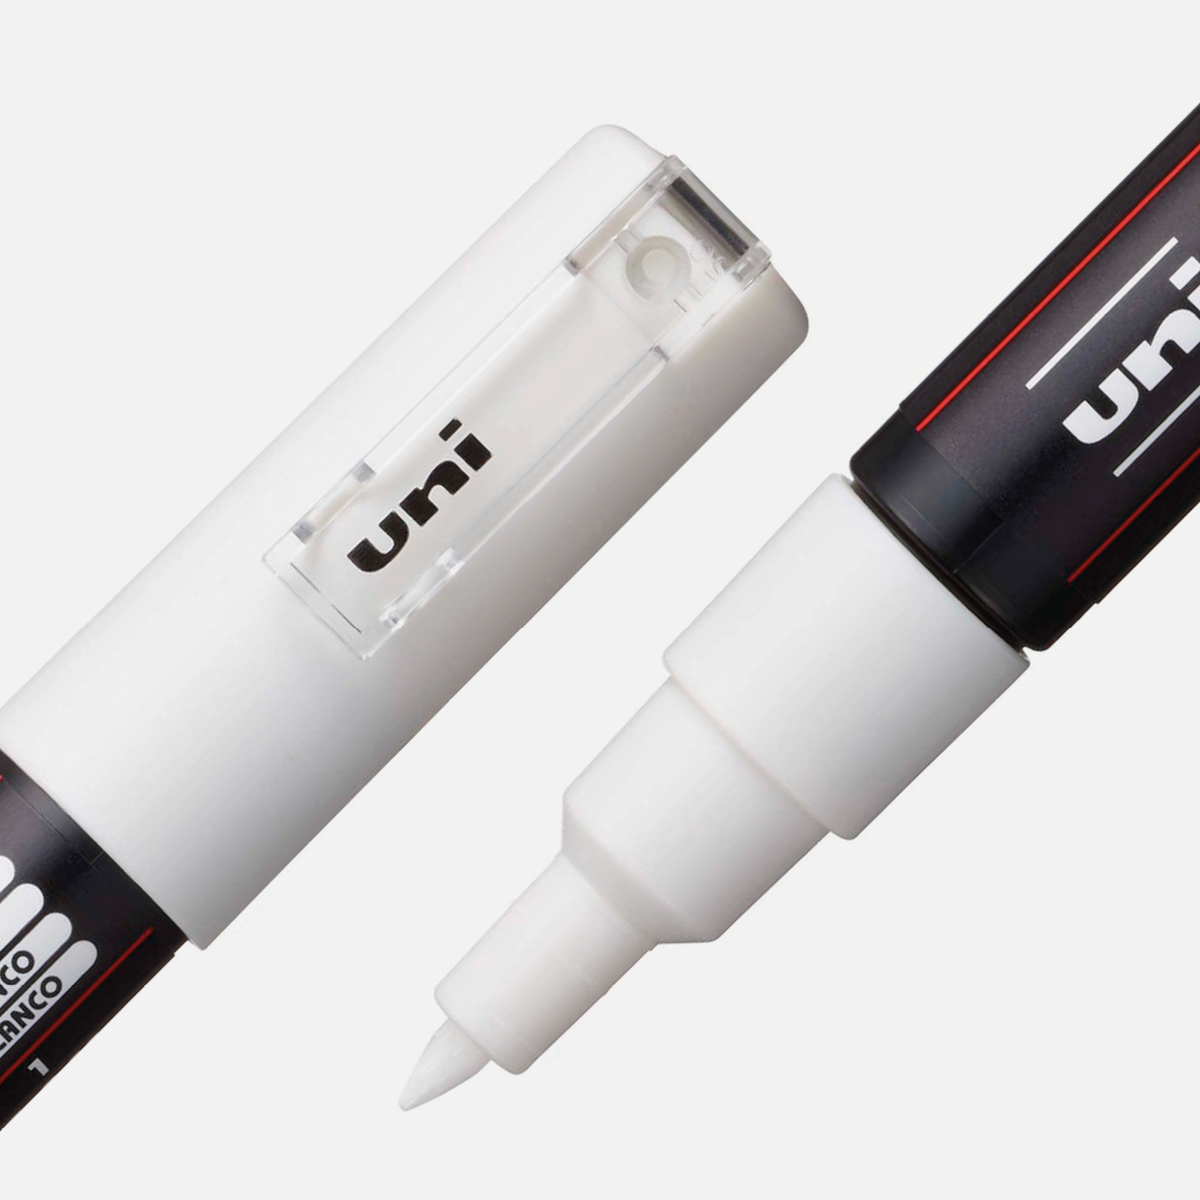
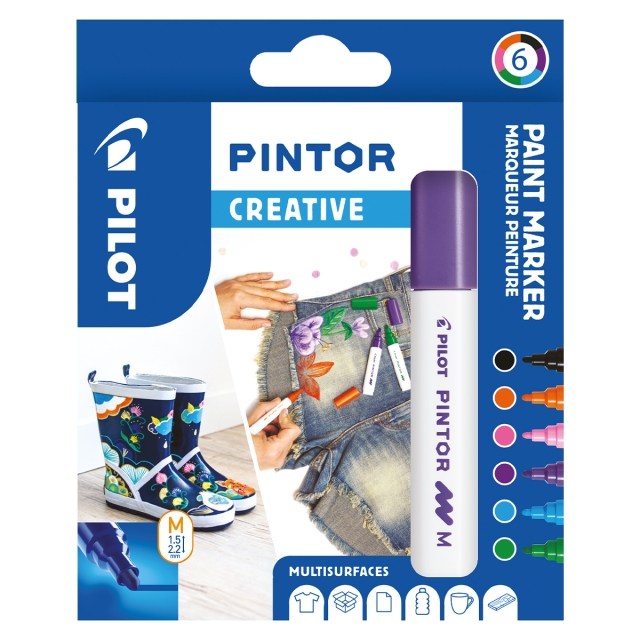
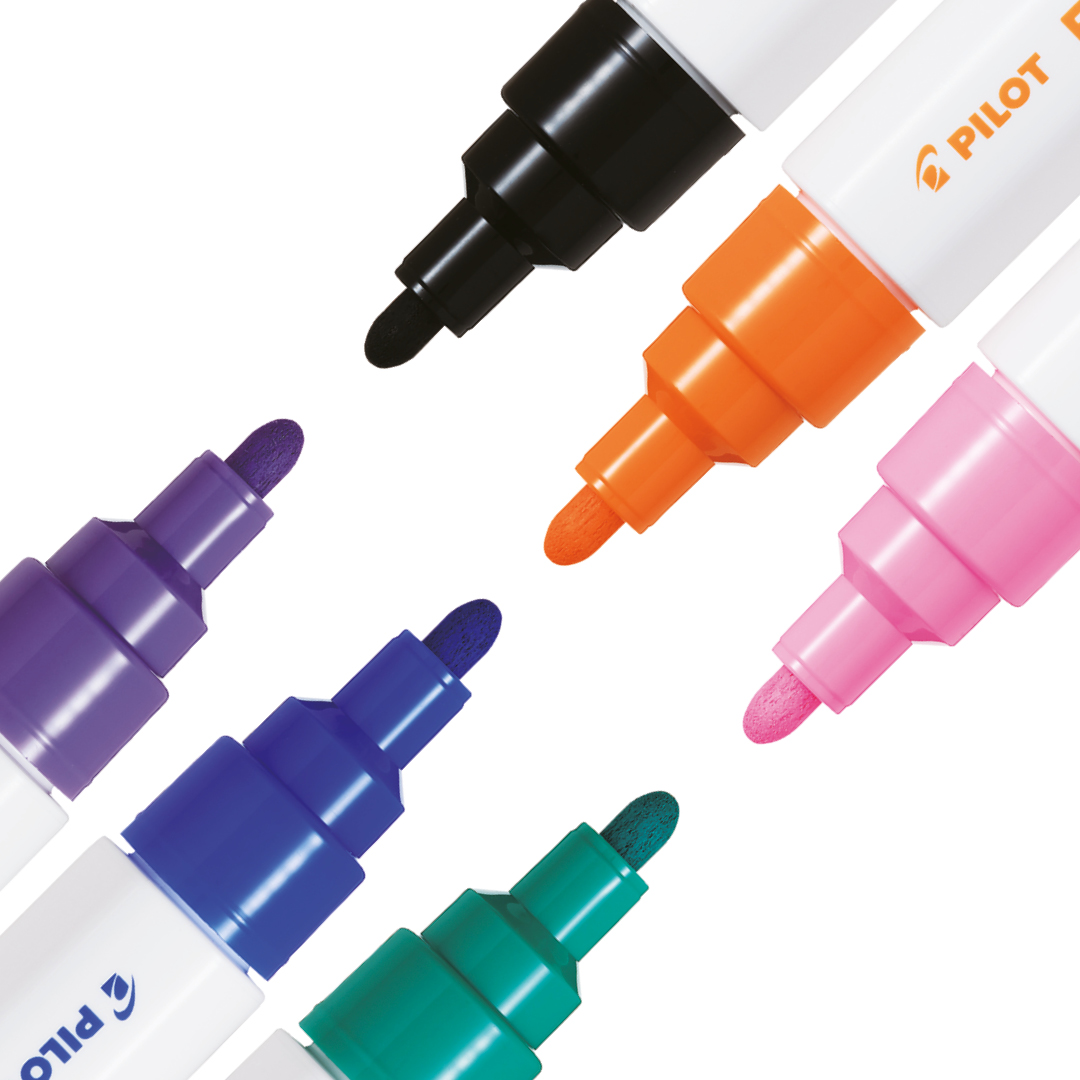
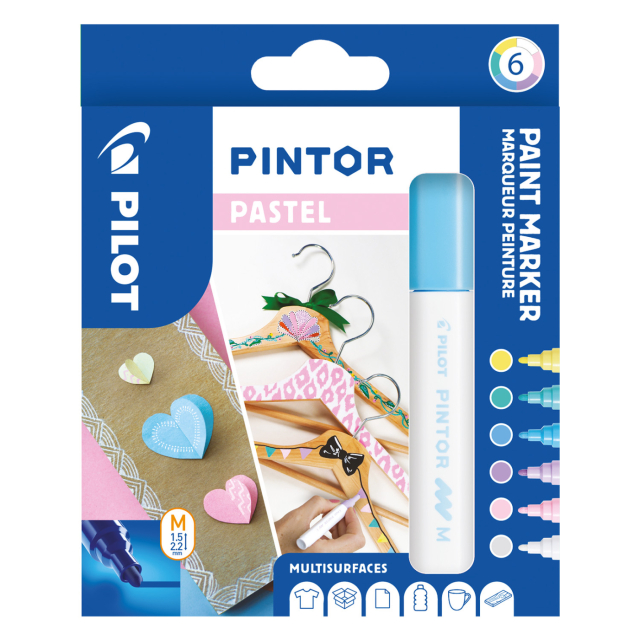
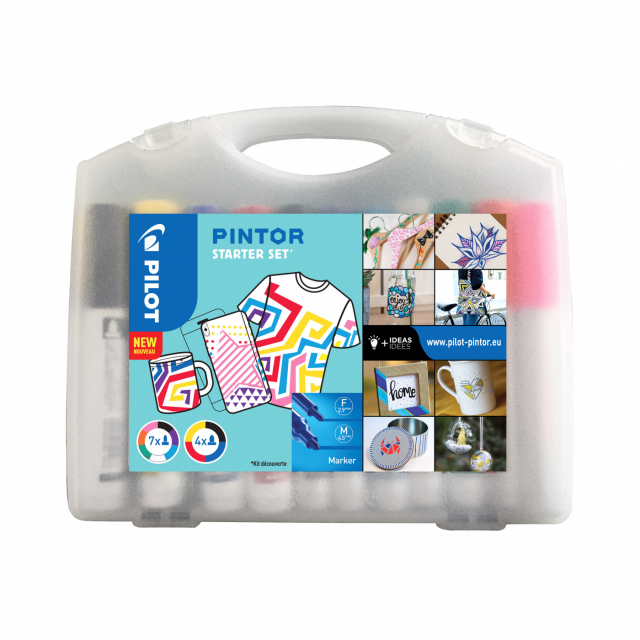
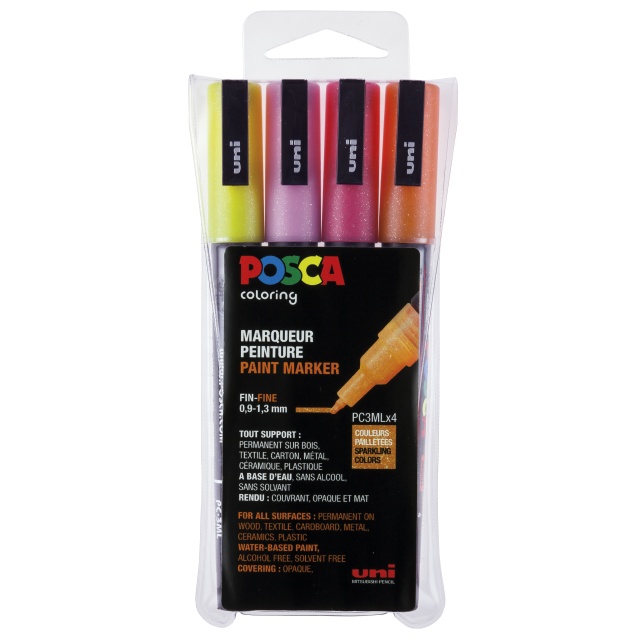
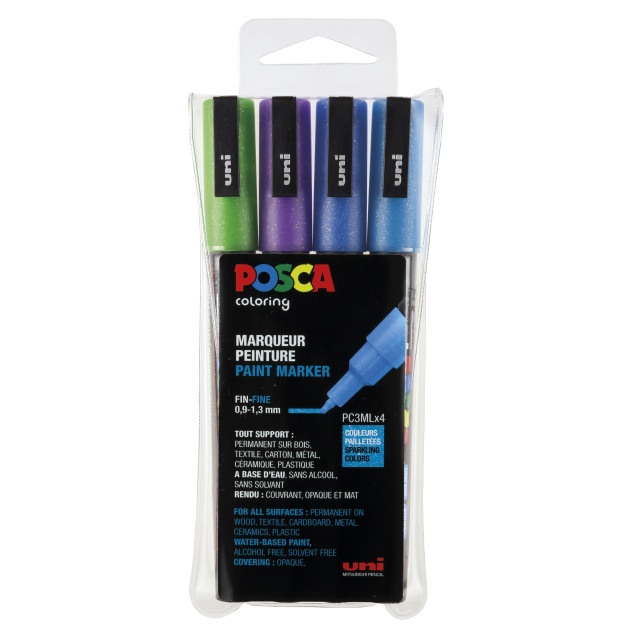
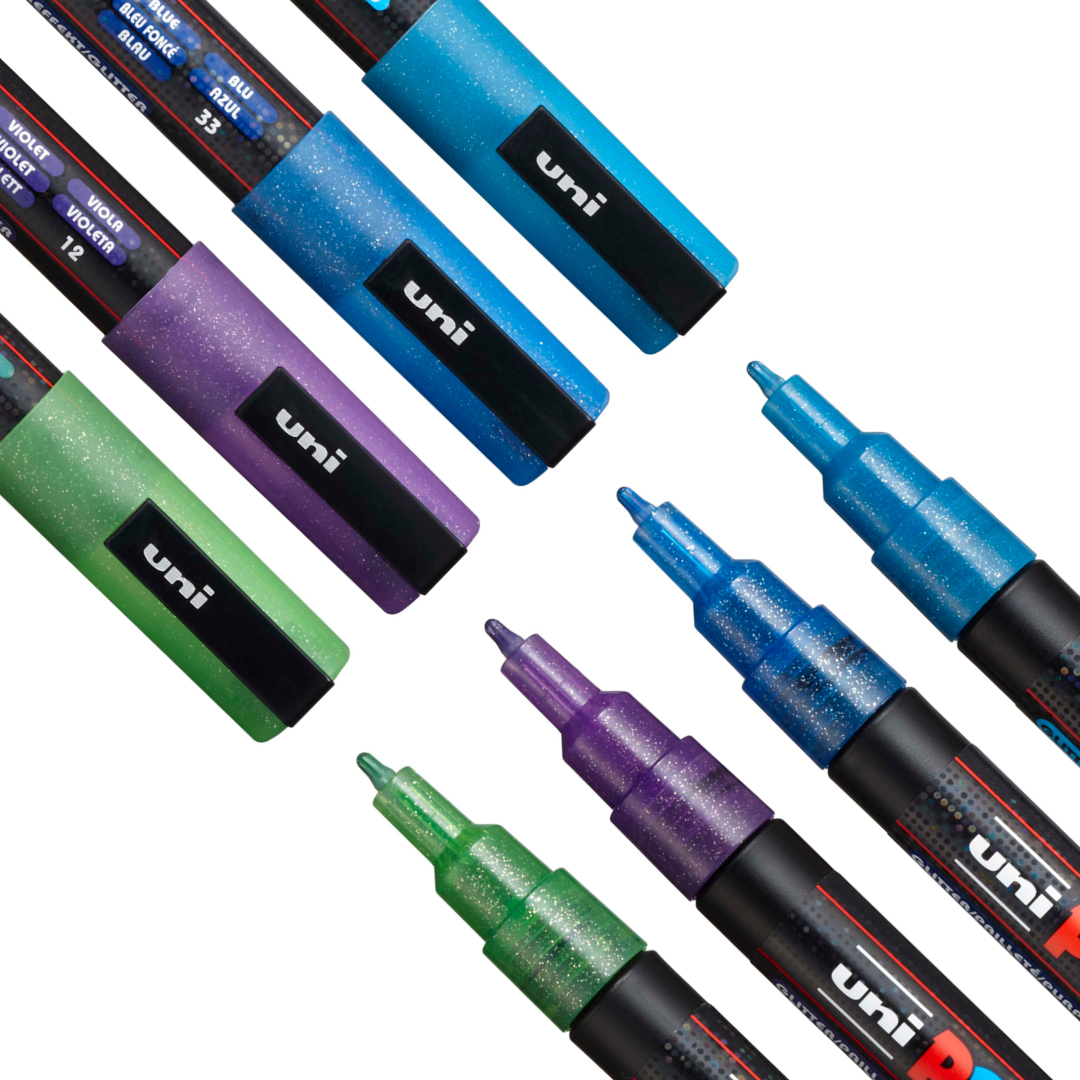
Perfect for fine details and outlines. Markers offer control and come in a wide range of colours – brands like Posca and Pintor offer up to 45 shades.

Step 5: Paint your fabric
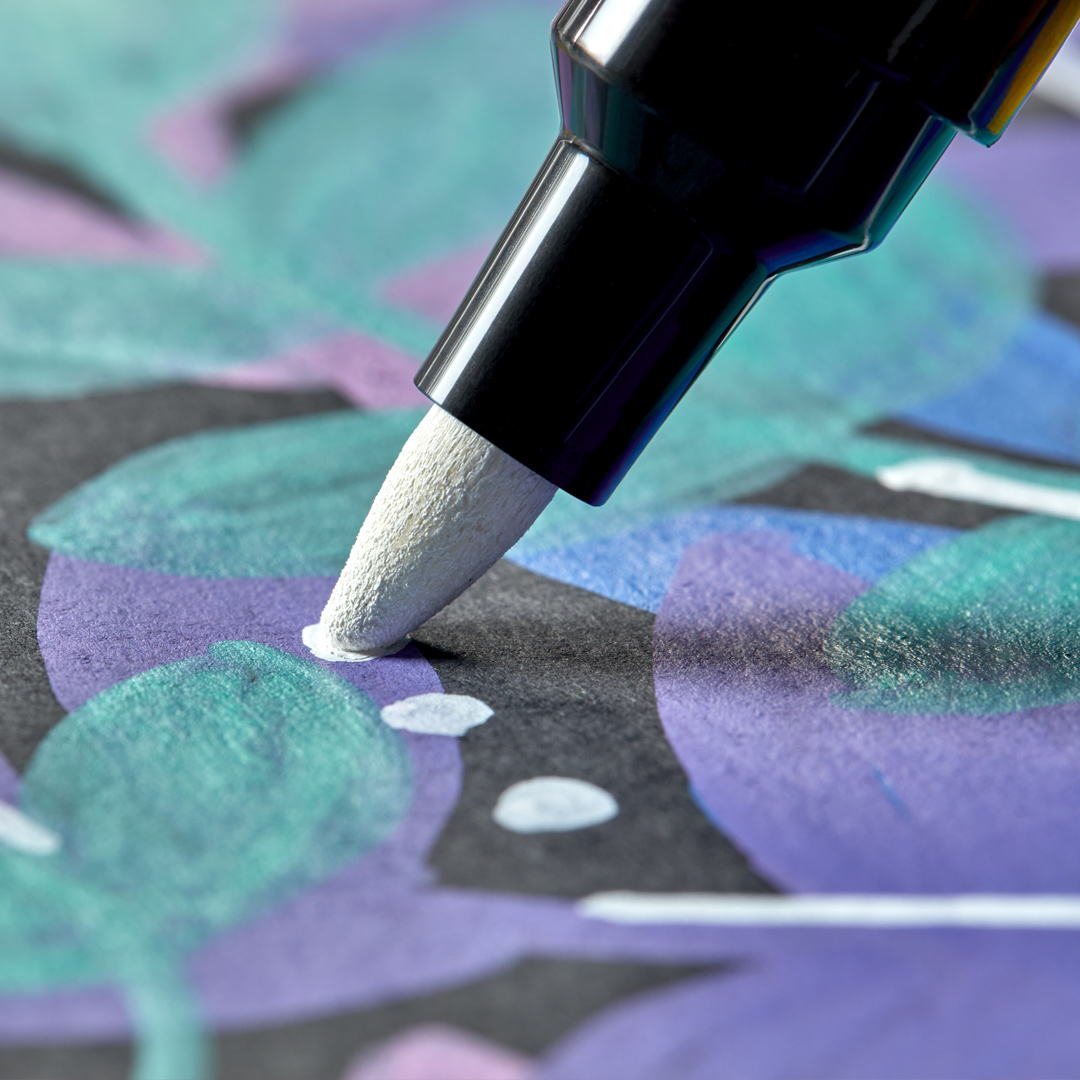
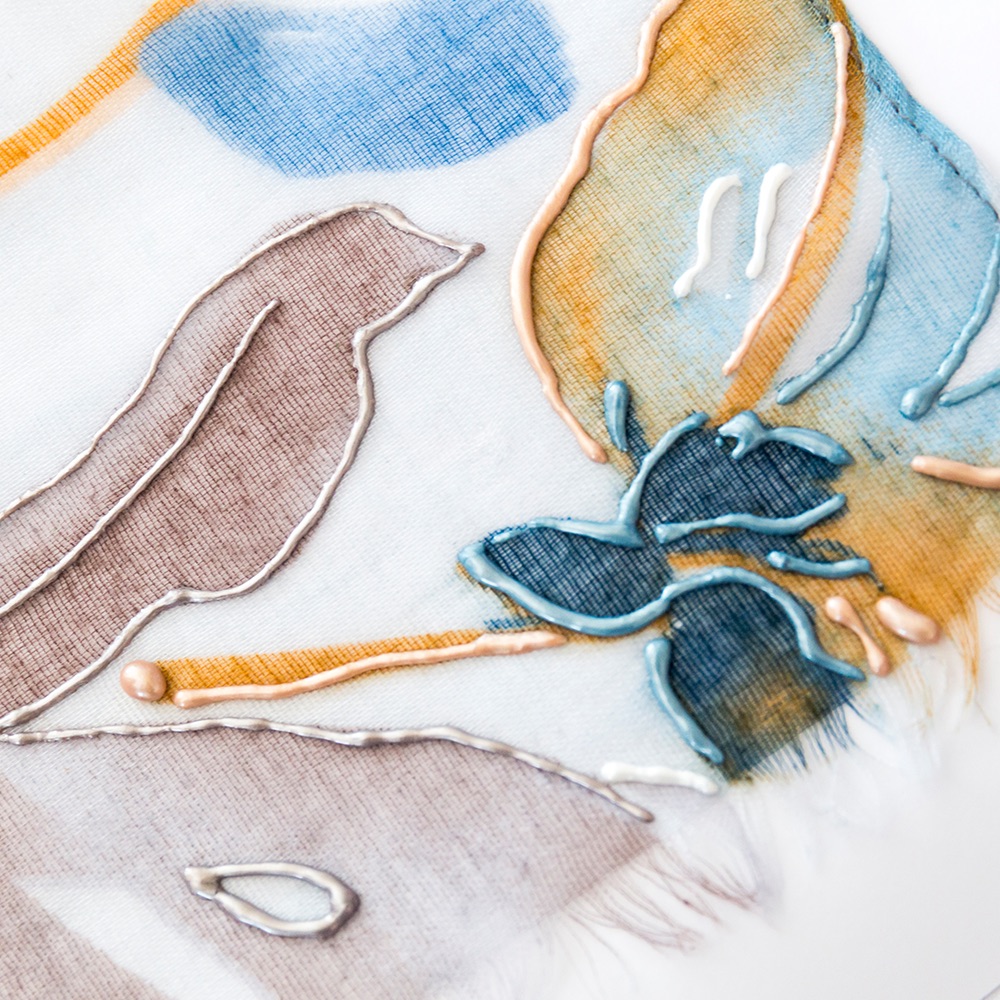
Now it’s time to paint. Use your brushes, paints and markers to bring your design to life. Here are some tips:
- Work in layers: Apply thin coats and let each dry before the next.
- Mix colours: Blend shades on your palette before applying.
- Use stencils or tape: For sharp edges or patterns, use guides to define your design.
Step 6: Let dry and fix the paint
Once you’ve finished painting, allow the fabric to dry completely. Then fix the paint to make it permanent and washable, usually with an iron.
Fix the paint with an iron:
- Let the paint dry fully.
- Turn the fabric inside out or place a cloth over the painted area – never iron directly on the paint.
- Use a medium heat setting with no steam and iron for 3–5 minutes (check the paint manufacturer’s guidelines).
- The heat sets the colour.
- Protect your ironing board with a cloth or baking paper between it and the fabric.
Step 7: Care and washing
Once your artwork is dry and heat-set, it’s important to wash it properly to maintain the design. Follow the paint manufacturer’s instructions and avoid harsh detergents or bleach. Each type of paint may have different temperature tolerances.
FAQs about painting on fabric
How do you paint on fabric?
Wash the fabric to remove dirt or chemicals, then use fabric paints with brushes, stencils or other tools. Some paints need heat setting to become permanent.
What paint should I use on fabric?
Use paint specifically designed for textiles, like fabric paints or acrylics suitable for fabric. These are made to bond with fibres and hold their colour over time.
How does the paint stay on the fabric?
Follow the instructions for the paint you’re using – this often includes heat setting with an iron. Preparation (like washing the fabric) is also essential for good adhesion.
Can I use regular acrylic paint on fabric?
You can, but for best results, use acrylics formulated for textiles. Regular acrylic may not be as durable and may require extra fixative.
How should I wash painted fabric?
Use a gentle cycle with cold water, avoid bleach and strong detergents, and wash inside-out when possible. Always follow the care instructions on the paint label.
Can I paint on different types of fabric?
Yes, but some fabrics take paint better than others. Cotton and linen are ideal, while polyester and silk require more preparation and specific types of paint.
 Ireland (EUR)
