Ireland (EUR)
To keep your acrylic brushes in top shape and performing at their best, proper care is essential. From thorough cleaning right after use to correct storage and gentle handling. Acrylic paint dries quickly, which makes it especially important to clean your brushes immediately to prevent the bristles from getting damaged. In this guide, you'll find practical advice on how to clean, store, and care for your acrylic brushes, plus tips on how to rescue a brush that’s lost its shape or gone stiff.
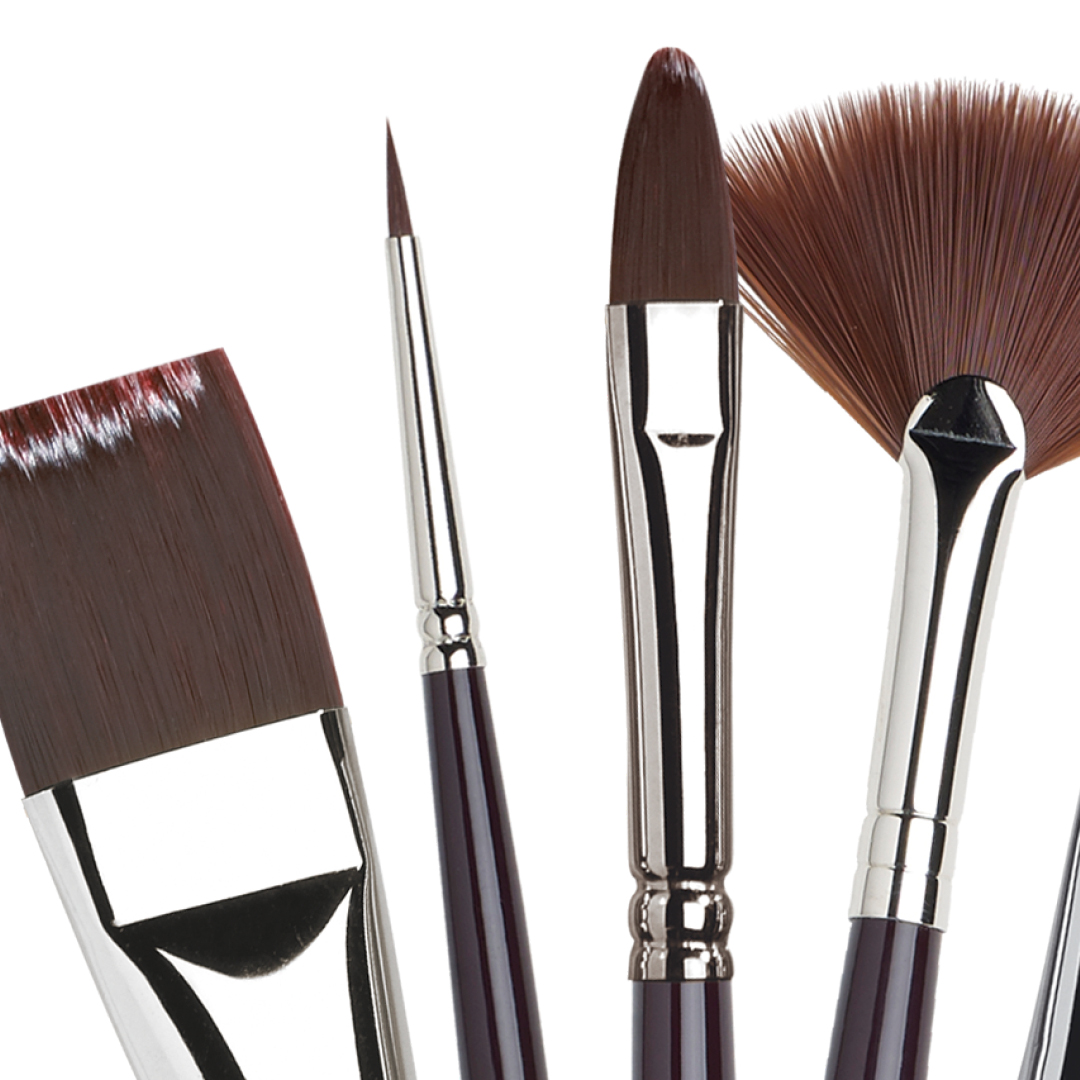
Anatomy of an Acrylic Brush
- Handle: This is where you hold the brush! The handle usually shows the brush’s name and series number, and is typically made of wood or plastic.
- Ferrule: The metal part of the brush that connects the handle to the bristles. The bristles are secured inside the ferrule with glue.
- Head: The bristles of the brush are also known as the head. They can be made from natural hair, synthetic fibres, or a blend of both, and come in various shapes. Bristles can be either soft or firm. Soft bristles should be handled gently to help maintain their shape.

Cleaning Acrylic Brushes
Acrylic paint dries quickly and can permanently damage brushes if it’s allowed to dry on the bristles. Once dry, acrylic paint acts almost like glue and becomes nearly impossible to remove. That’s why it’s important to keep your brush clean while painting. Never leave a brush with paint on it without cleaning it first.
Quick Cleaning
To make things easier, prepare a bowl of water and a damp cloth before you start painting. If you’re taking a short break, do a quick clean: wipe off the excess paint on a piece of paper, rinse the brush in water, and store it under a damp cloth until you can clean it thoroughly.
Thorough Cleaning
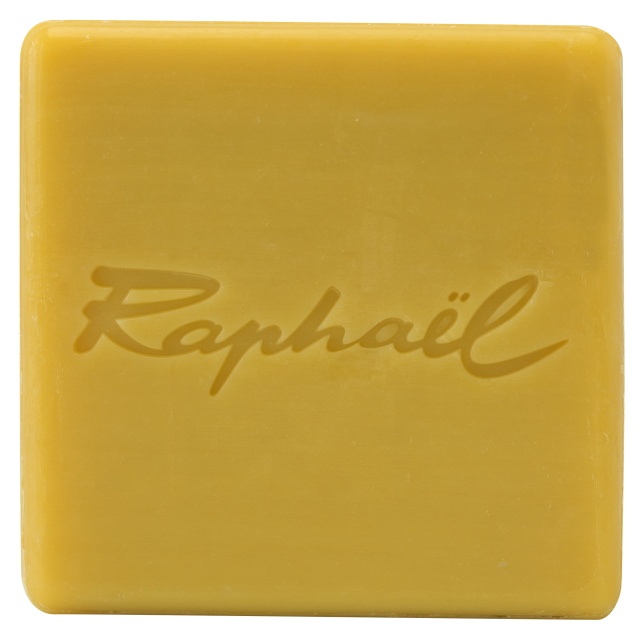
When you're done painting, a proper clean is a must: remove as much paint as possible with a cloth, rinse thoroughly in lukewarm water (use brush soap if needed), blot off excess water, and do a final rinse under running water. Always let the brush dry horizontally or hanging with the tip facing down. Never leave it standing on its tip – this can damage the glue that holds the brush together.
Read our full guide on brush cleaning for a detailed walkthrough on how to clean your acrylic brushes both during and after use.
Guide: How to Clean Acrylic Brushes ⭢
Storing Acrylic Brushes
Proper storage of acrylic brushes significantly extends their lifespan and helps you get the most out of your artistic investment. With a few simple routines, you can keep your brushes in excellent condition for many years to come.
Storing Brushes in the Studio
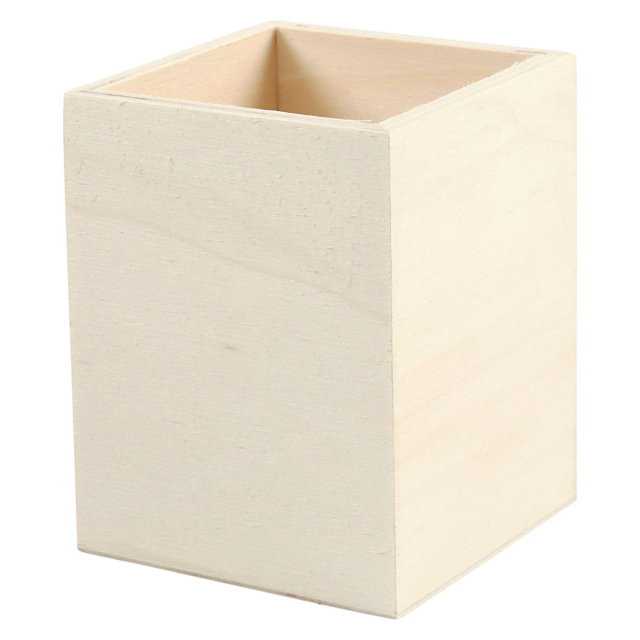
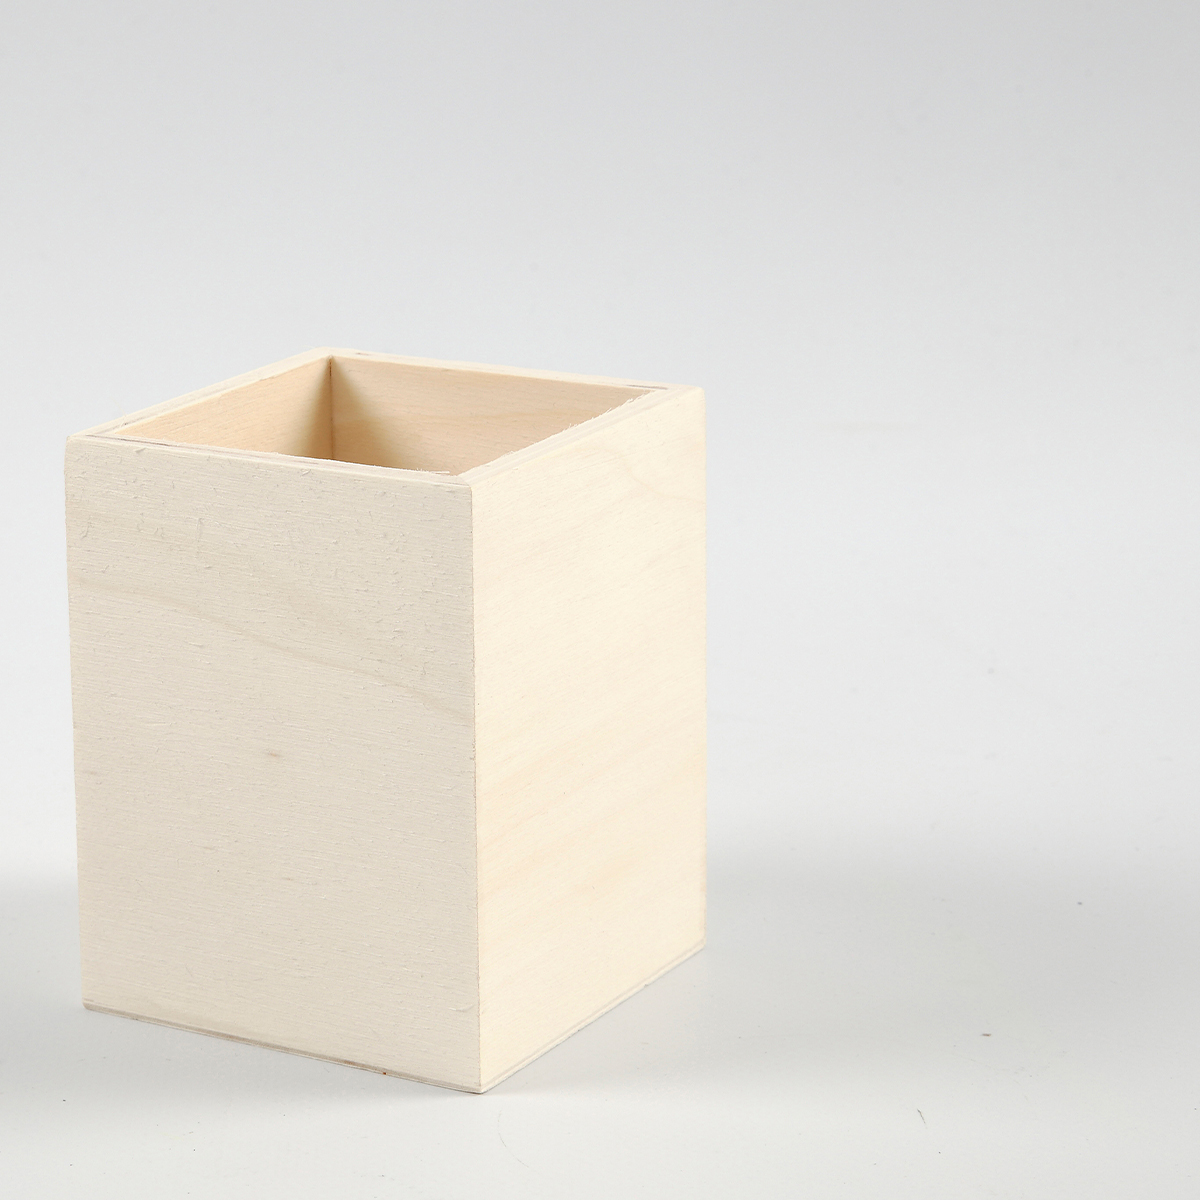
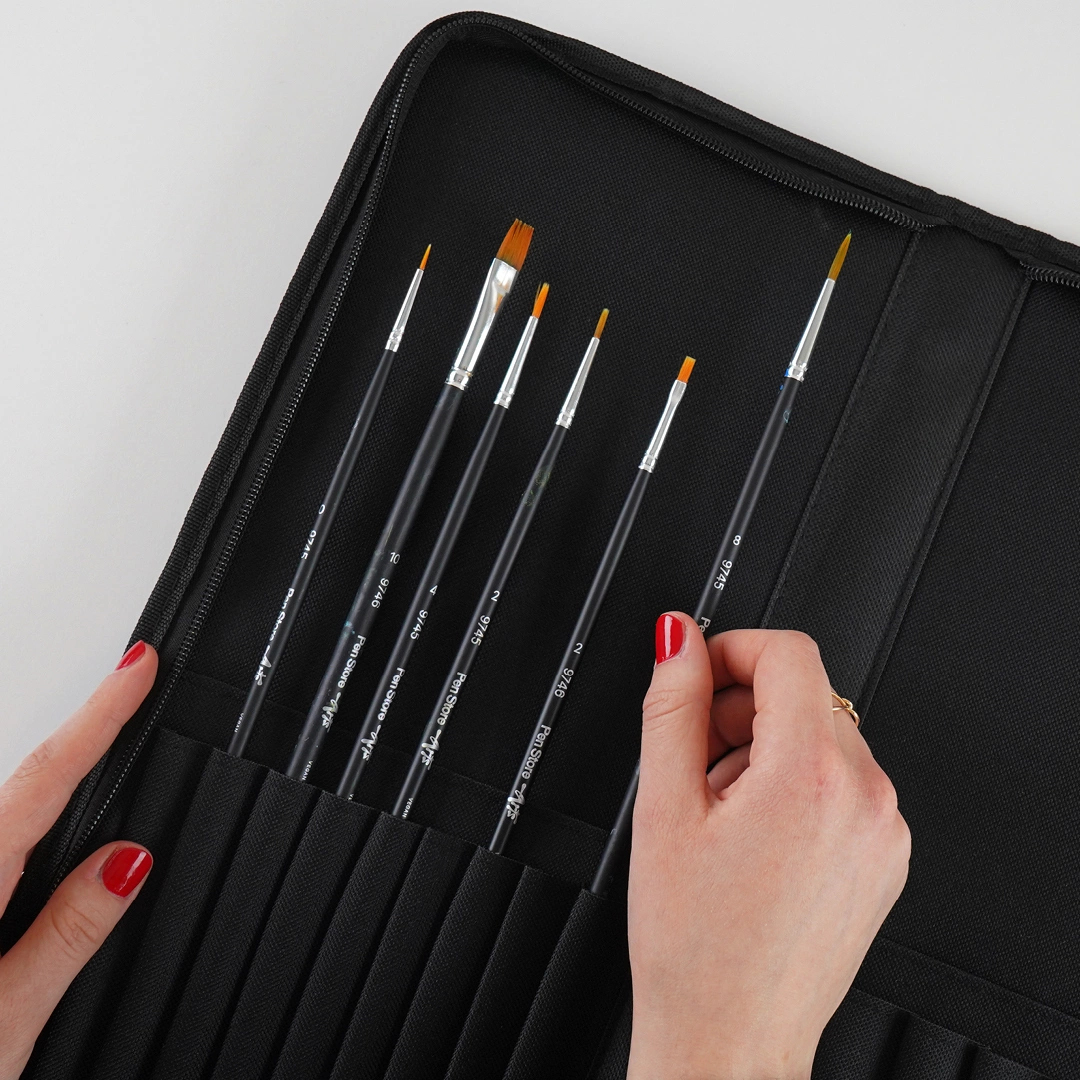
There are several smart ways to store your brushes in the studio. A popular option is to place them upright in a beautiful jar made of ceramic, glass, or metal. It’s both practical and adds a decorative touch. Just remember that acrylic paint hardens quickly and becomes permanent, so clean your brushes thoroughly before storing them.
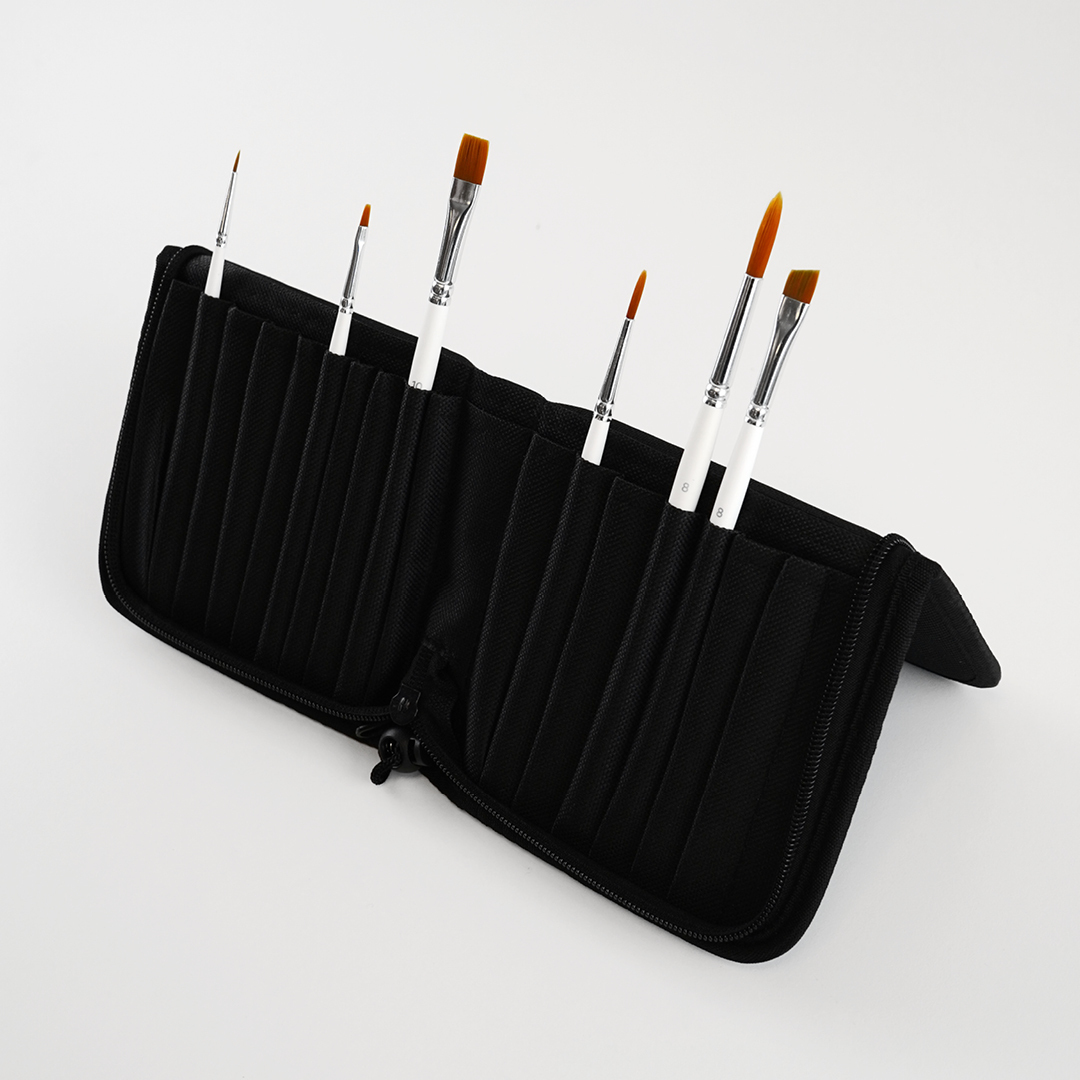
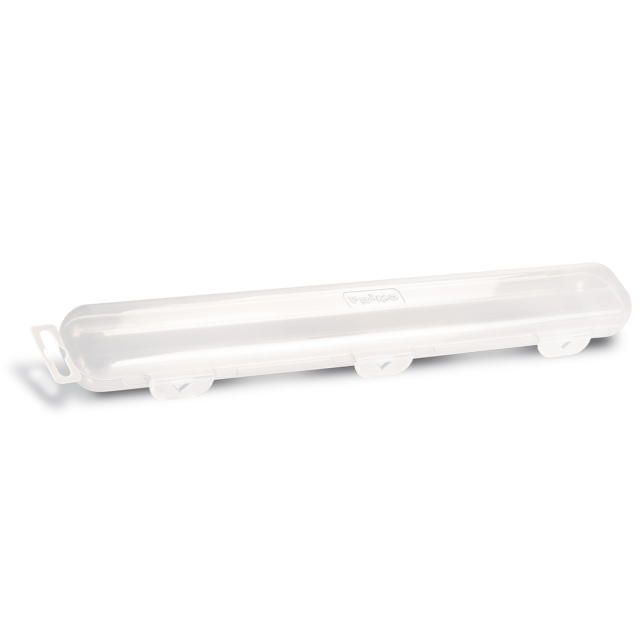
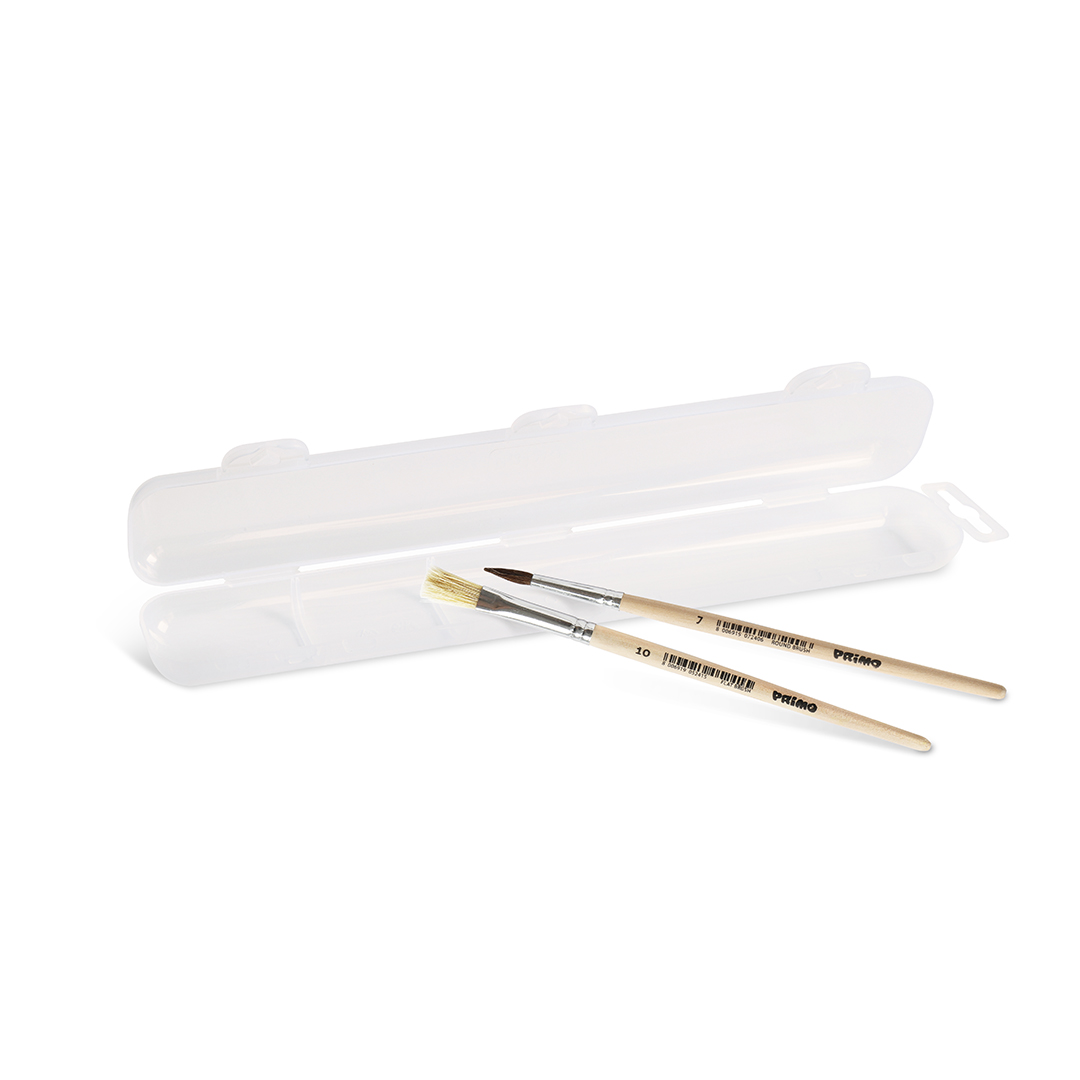
Natural hair brushes require extra care, as they can attract insects. These more delicate brushes should be kept in enclosed spaces, ideally in dedicated brush cases or lidded storage boxes. If you're using a brush roll, make sure the brushes lie flat and check regularly for any signs of moths. Brush cases help protect against pests, but make sure the bristles aren't pressed against the top or caught in the zip!
Storing Brushes When Travelling
When taking your acrylic brushes on the go, protection is key. Never toss them loose into a bag where they might get bent or damaged by other items. Always use a protective case or brush roll. Make sure the brushes are completely clean and dry before packing, or you might get an unpleasant surprise when you open the case later.
Shop Brush Storage ⭢
Rescue a Damaged Acrylic Brush: Step by Step
Forgot to clean your acrylic brush after painting? It happens to the best of us. Don’t worry, Pen Store to the rescue! Follow the steps below before throwing away that frizzy, dry, or misshapen brush.
- Try a warm water soak: It's true that you should never leave brushes standing with the tip down, so this may sound contradictory. But let us be clear, this should be done ONLY as an emergency fix. If your brush has dried out with old acrylic paint and become unusable, a warm water soak can work wonders. Here's how: fill a bowl or jar with warm (not boiling) water and place the brush head-down in the water. Let it sit for about 15 minutes, then gently rub off the paint. Adding a small amount of brush soap can help. If the damage isn't permanent, the paint should loosen, and your brush may be as good as new.
- Use rubbing alcohol: If the warm soak doesn’t help, it’s time to bring out the big guns. Pour some isopropyl alcohol (commonly sold in electronics shops or pharmacies as "cleaning alcohol") and swirl your brush around in it. This should help dissolve the acrylic paint, which you can then wipe off with a cloth. After using alcohol, always wash your brush with brush soap. Most brush soaps contain conditioning ingredients that help restore the bristles after exposure to alcohol.
- Reshape the brush: Whether your brush was rescued in step 1 or 2, it’s now time to reshape it. Lather the brush with brush soap, rinse with water, and blot off excess moisture. While the brush is still damp, gently shape the brush head with your fingers to restore its original form. Let it dry flat on a clean surface.

Brush Storage →
Acrylic Brushes →
Acrylic Paint →