Ireland (EUR)
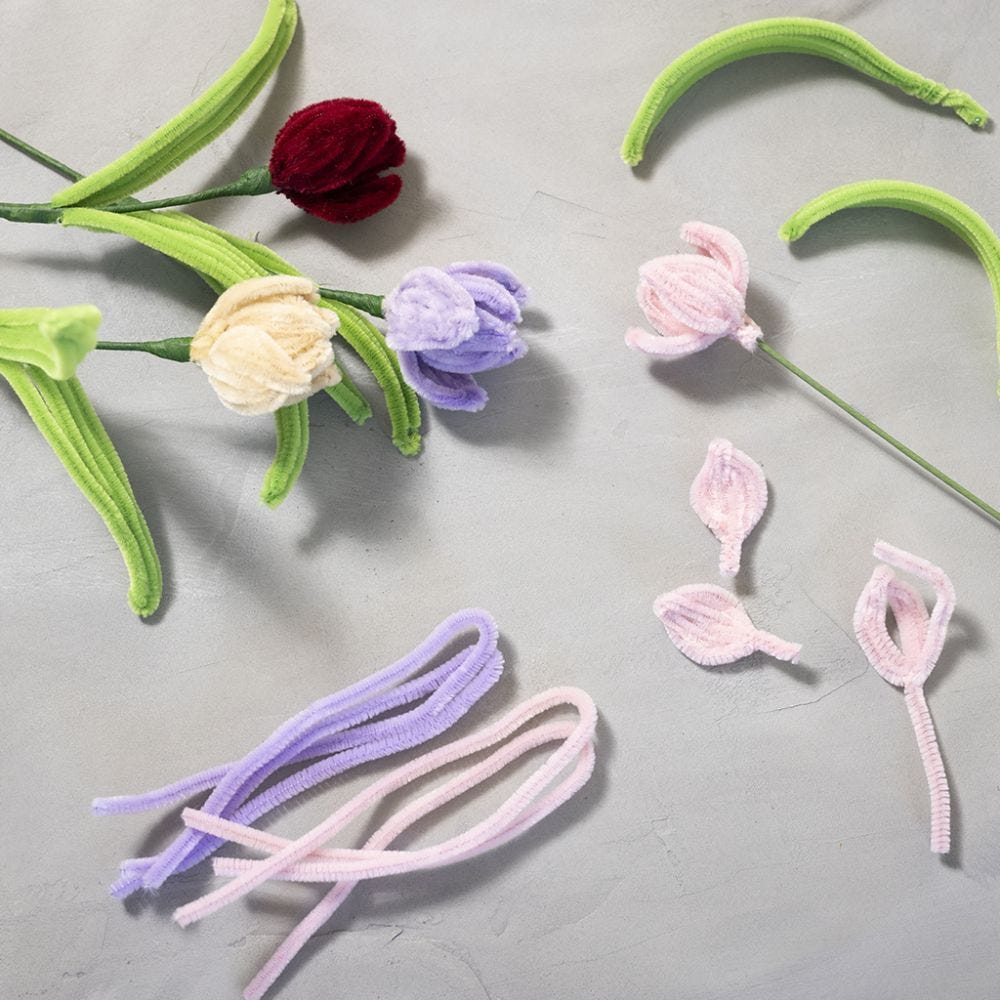
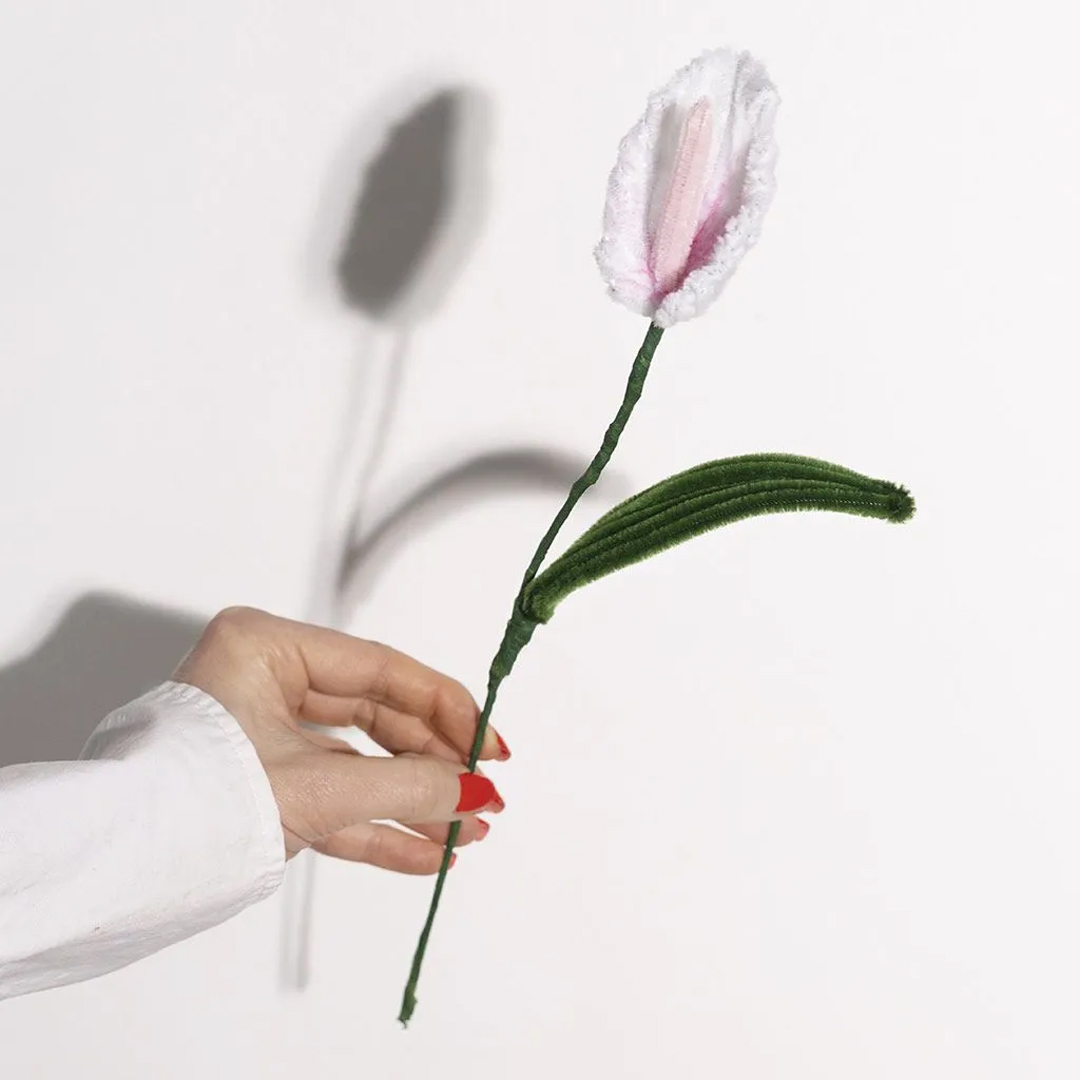
Tulips are a true spring favourite, and with pipe cleaners you can create your own colourful versions that never wilt. In this guide, we show you, step by step, how to easily make tulips using pipe cleaners, a bit of creativity and a few simple tricks. Treat yourself to a creative moment at home. Perhaps it is a bouquet to give away?
We also have a whole category filled with materials for making other types of everlasting flowers. Discover the full range here →


How to make a tulip from pipe cleaners
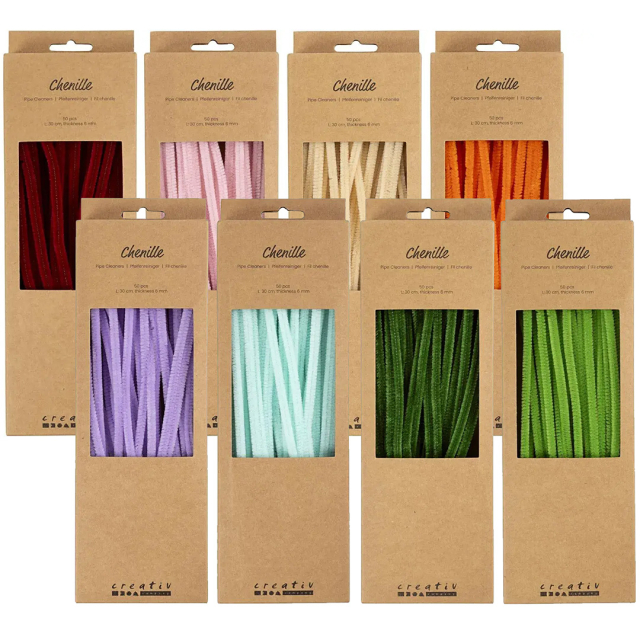
Get ready, because now it is time to shape your own tulips. If you want to make a whole bouquet, it can be nice to mix different colours and shades. Here is the material you need for one (1) tulip:
- 6 pipe cleaners for the tulip petals, in this example pink pipe cleaners
- 4 green pipe cleaners for the leaves
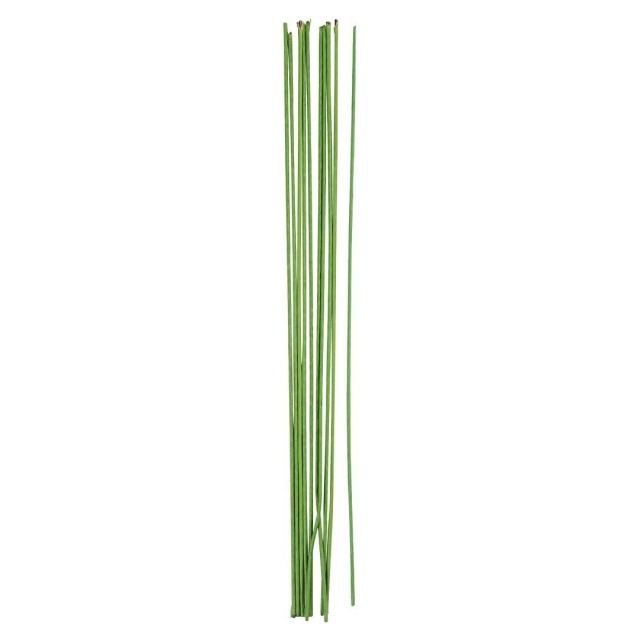
- Floral stem
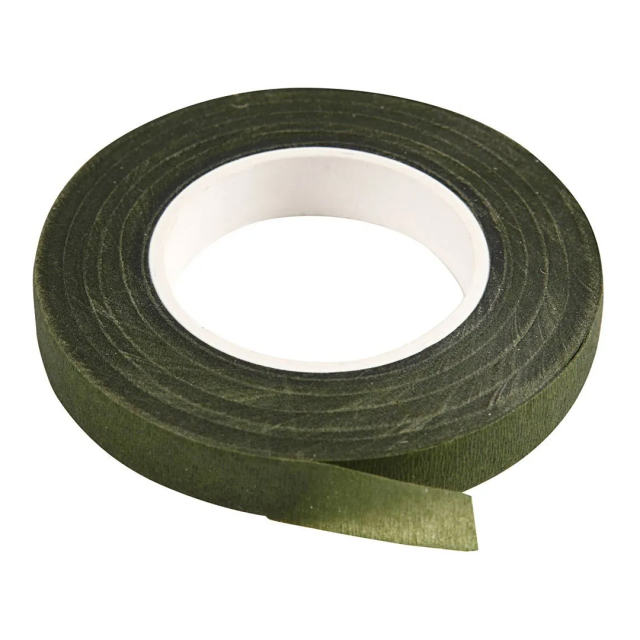
- Floral tape
- Glue gun

Get your materials ready
Pick out your favourite colours, and we will go through how to make them in the next step.
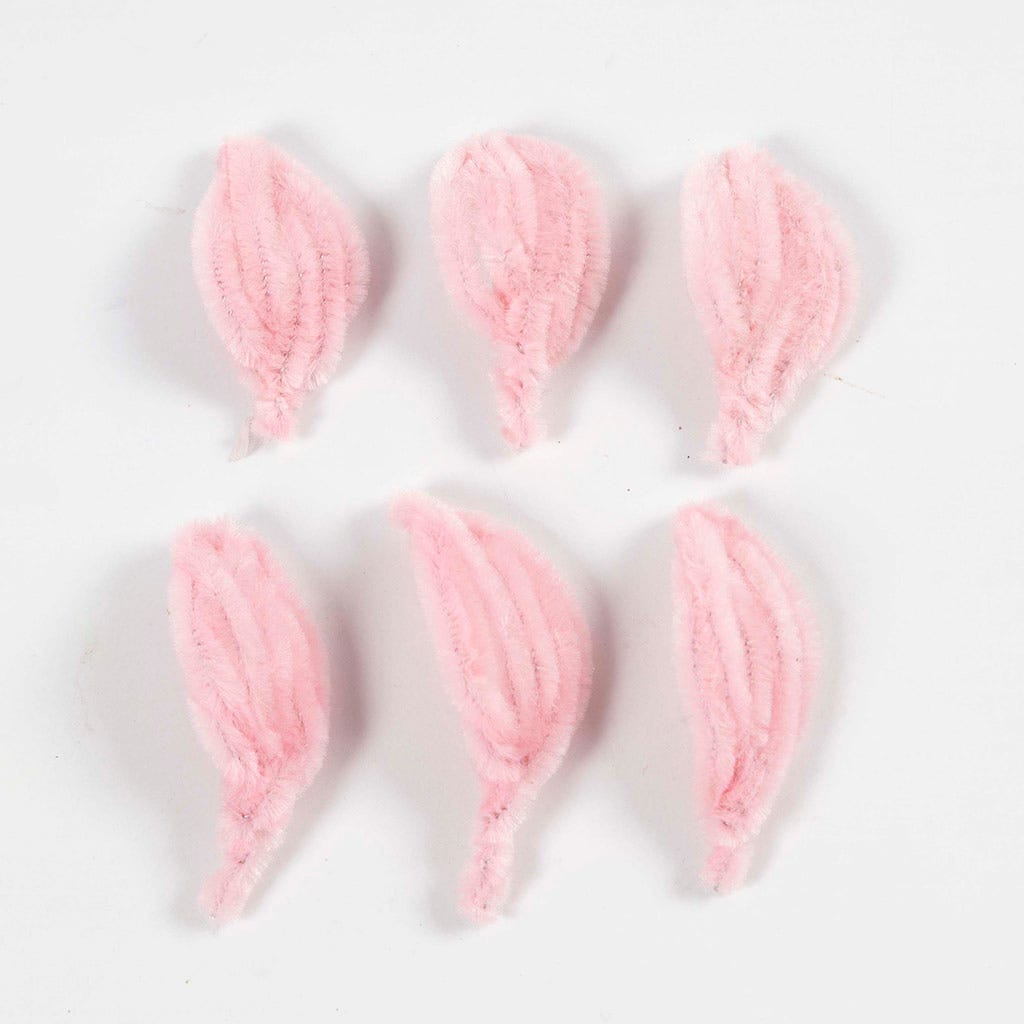
Step 1: make 6 petals
Each tulip has six petals. The first petal can be a bit tricky to get right, but by the sixth one you will be able to do it in your sleep!
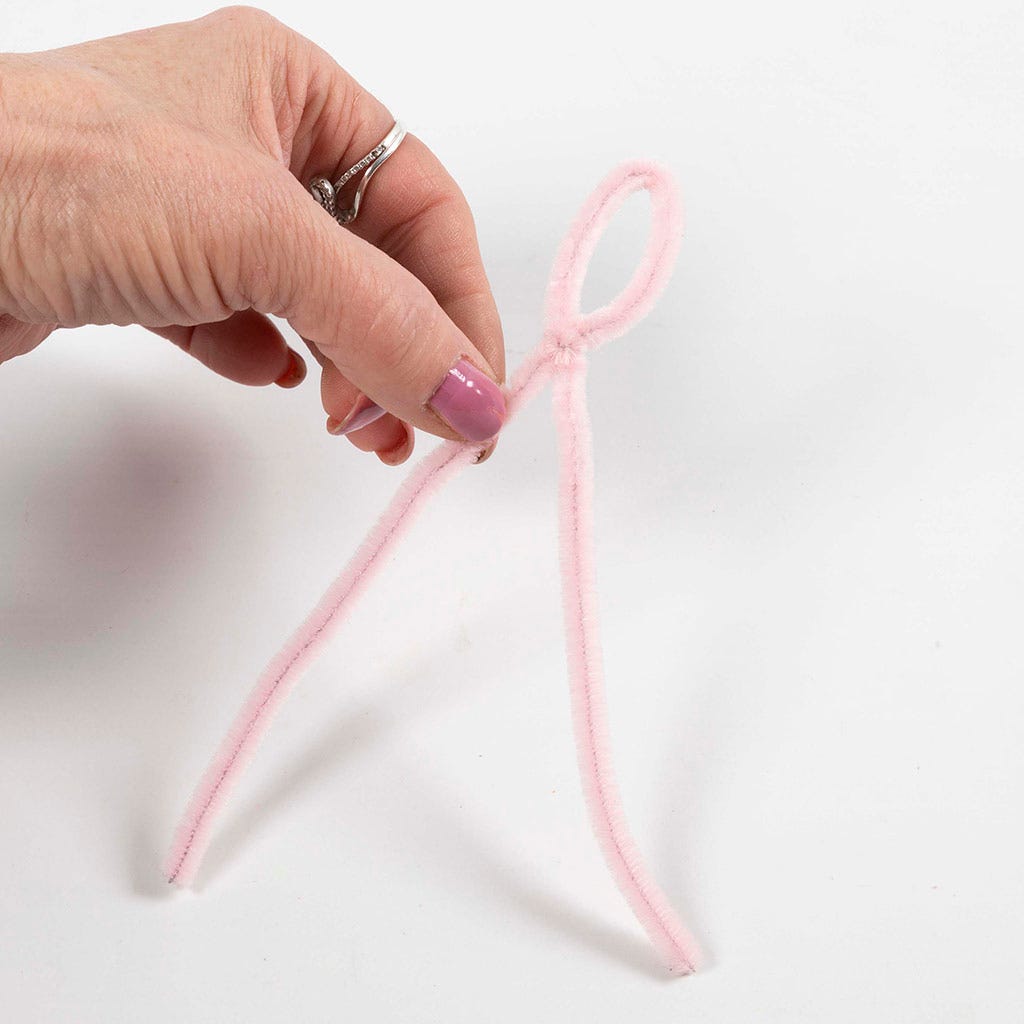
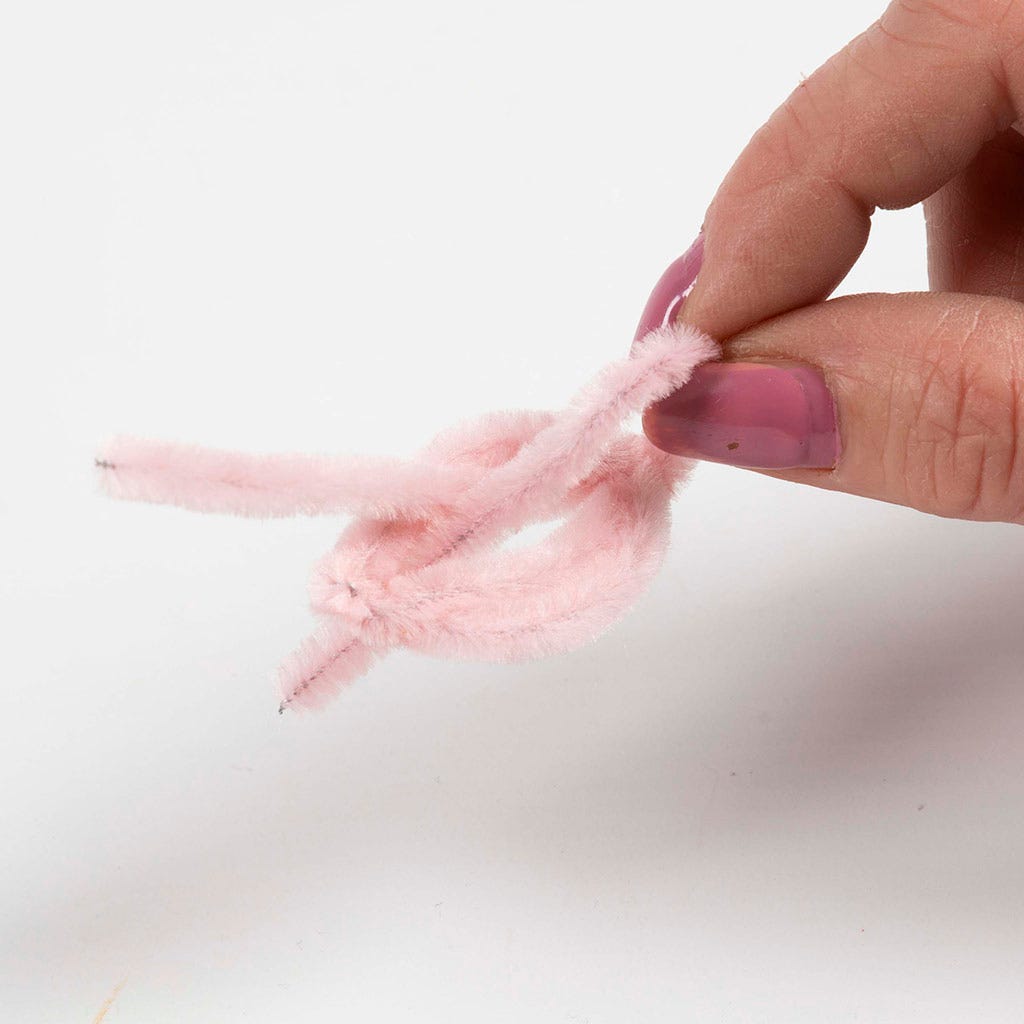
Step 2: fold and twist
Fold the pipe cleaner in half and twist it once to form a loop.
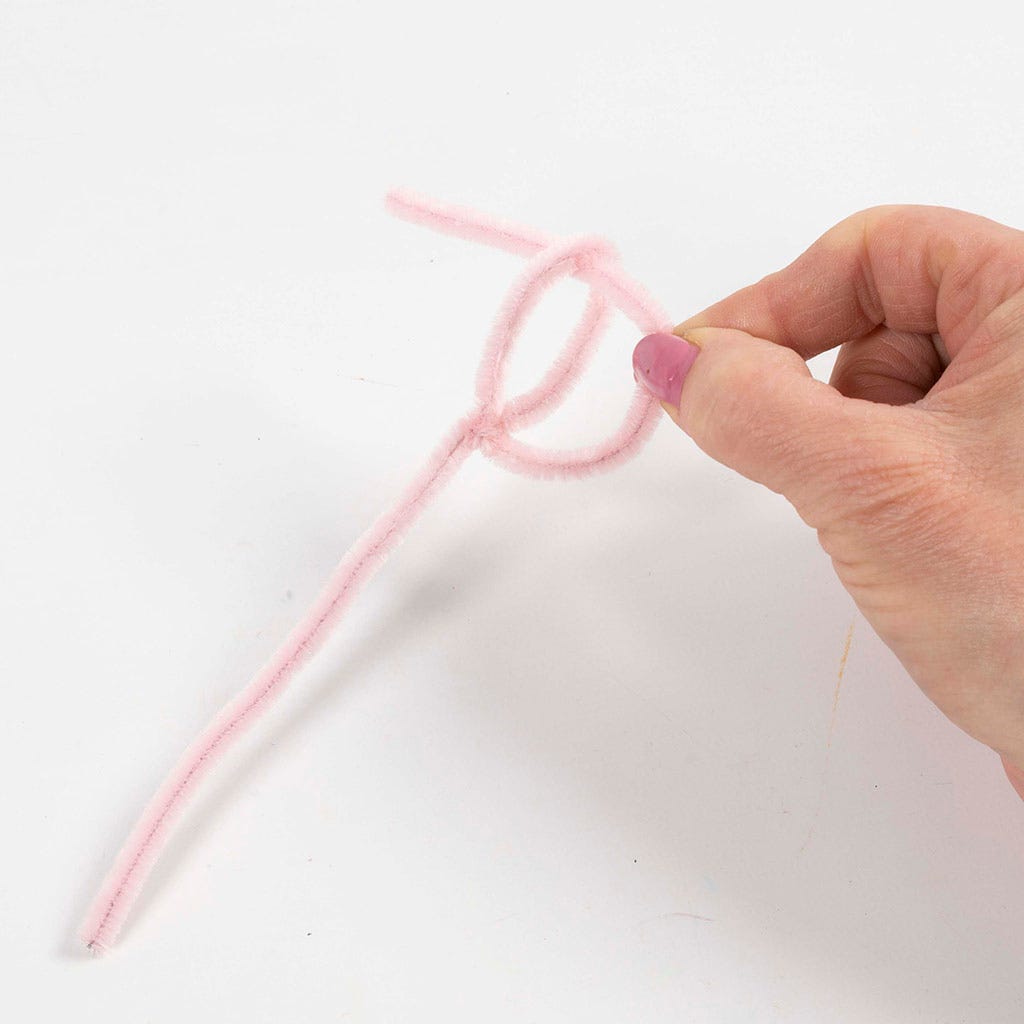
Step 3: thread through the loop
Thread one end through the loop.
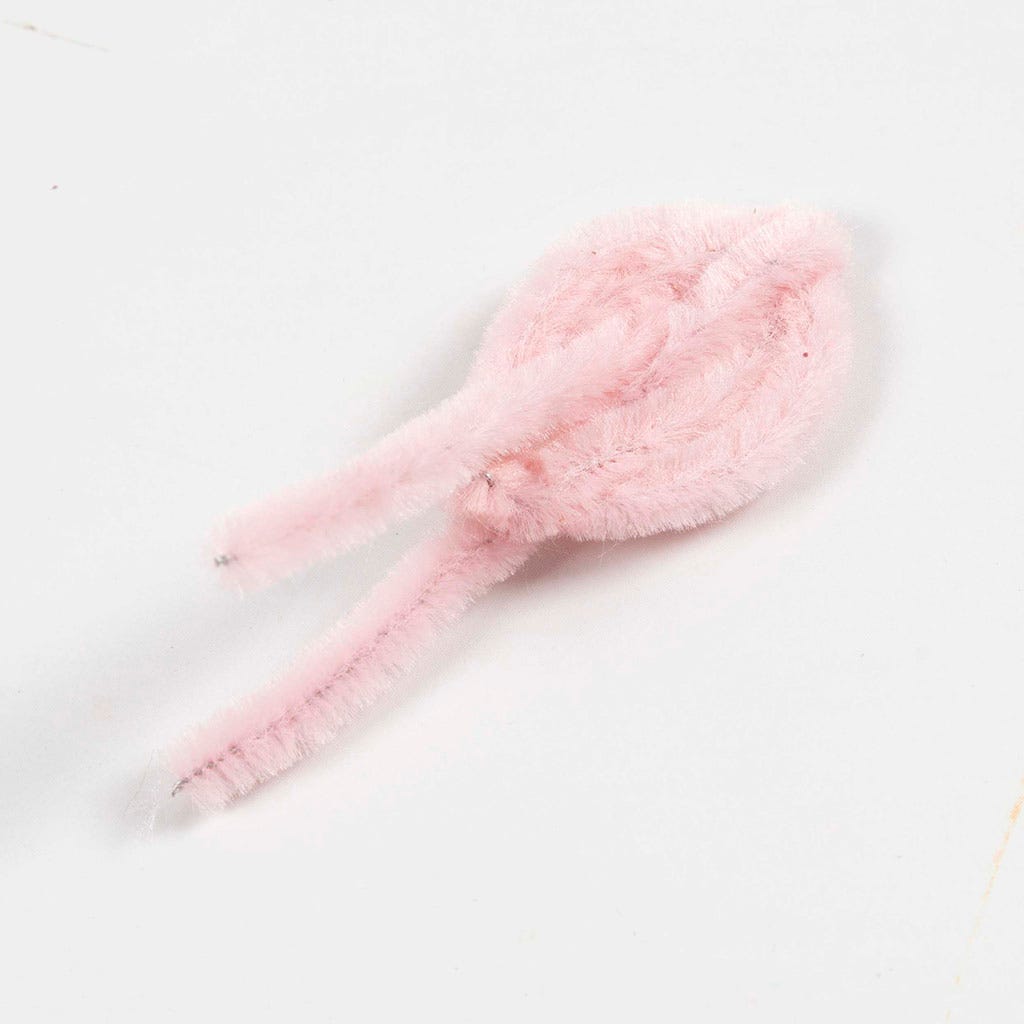
Step 4: repeat on the other side
Do the same on the other side. Thread the other end through the loop.
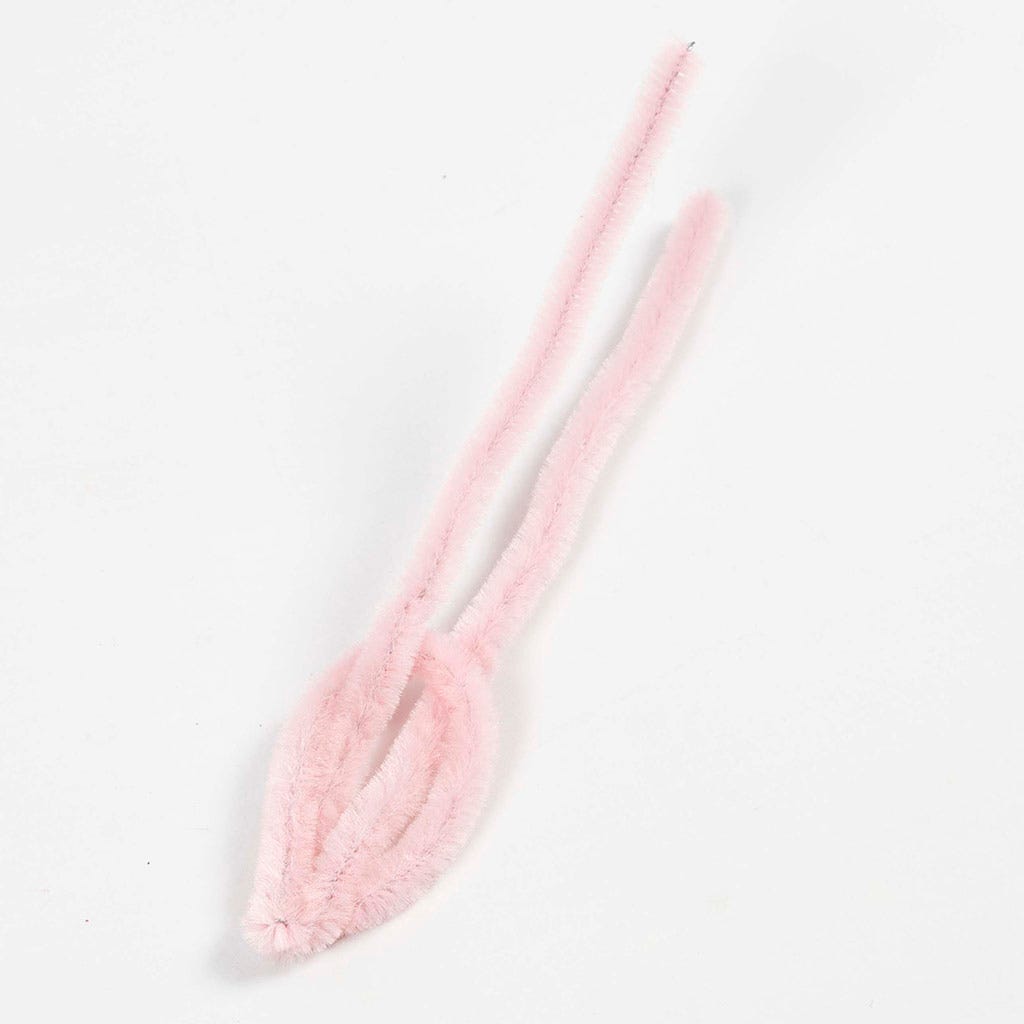
Step 5: twist the Ends
Hold both ends of the pipe cleaners and twist them once so that they lock in place.
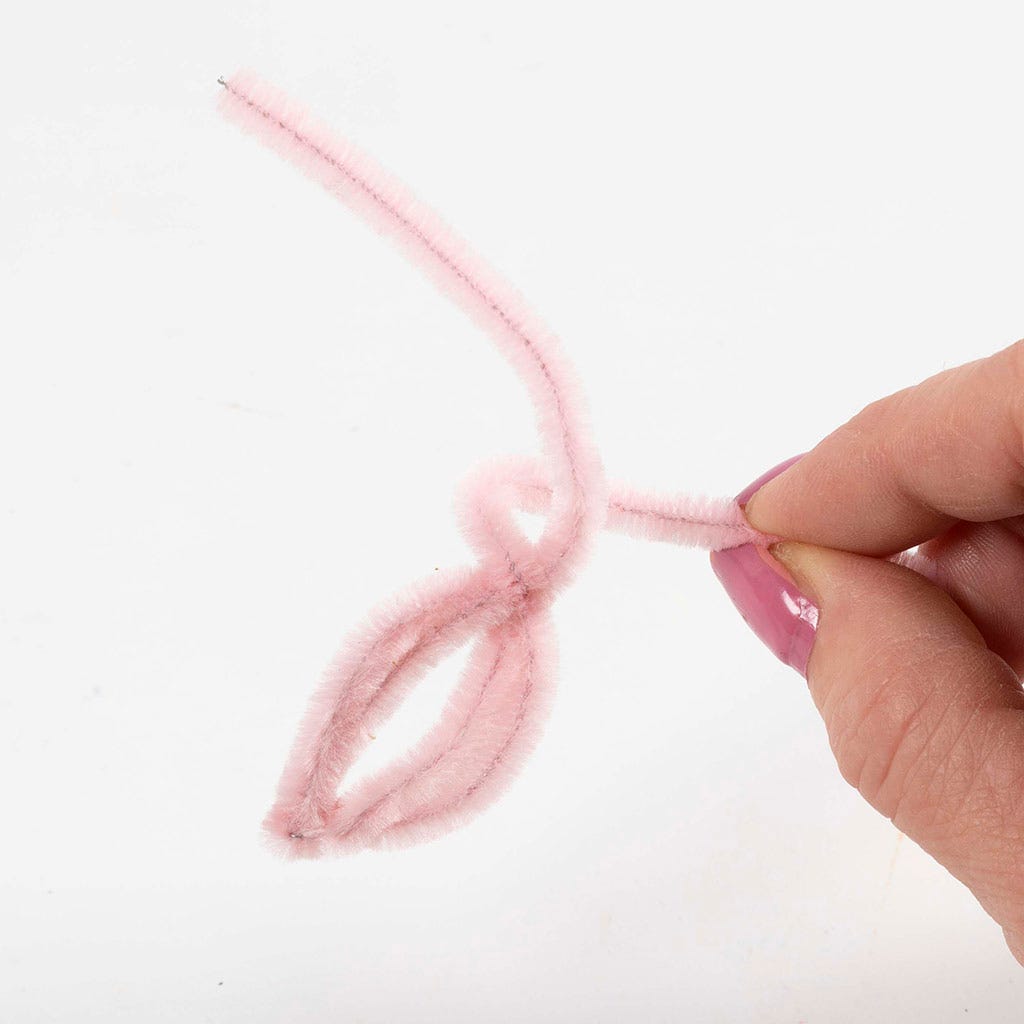
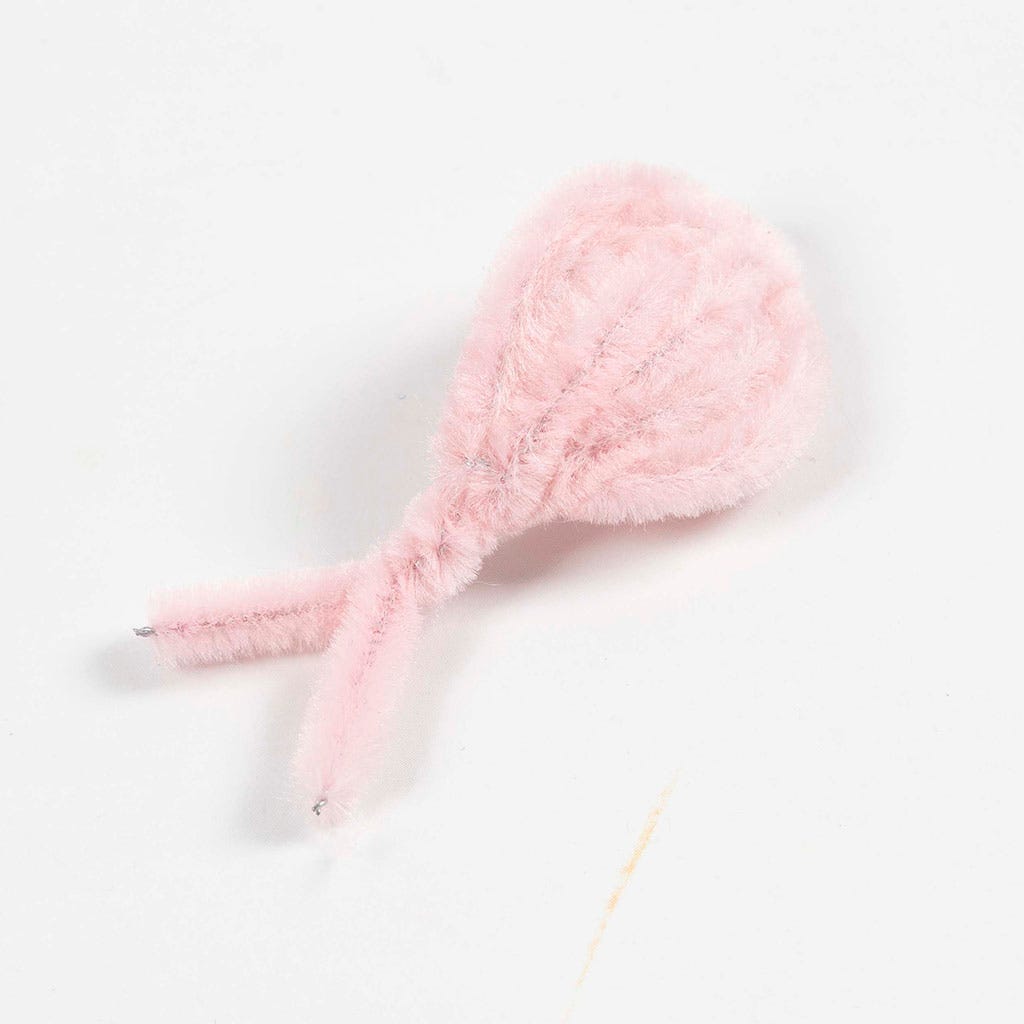
Step 6: thread through once more
Do the same again. Thread the end of the pipe cleaner through the loop. Repeat on the other side.
Step 7: shape the petals
Pinch, shape and bend the petal until it has the desired form. You want the pipe cleaners to sit closely next to each other.
Step 8: twist one last time
Twist the two ends together to form a stem. Ideally, the six petals should have roughly the same length at the base so they are easy to attach to the stem.
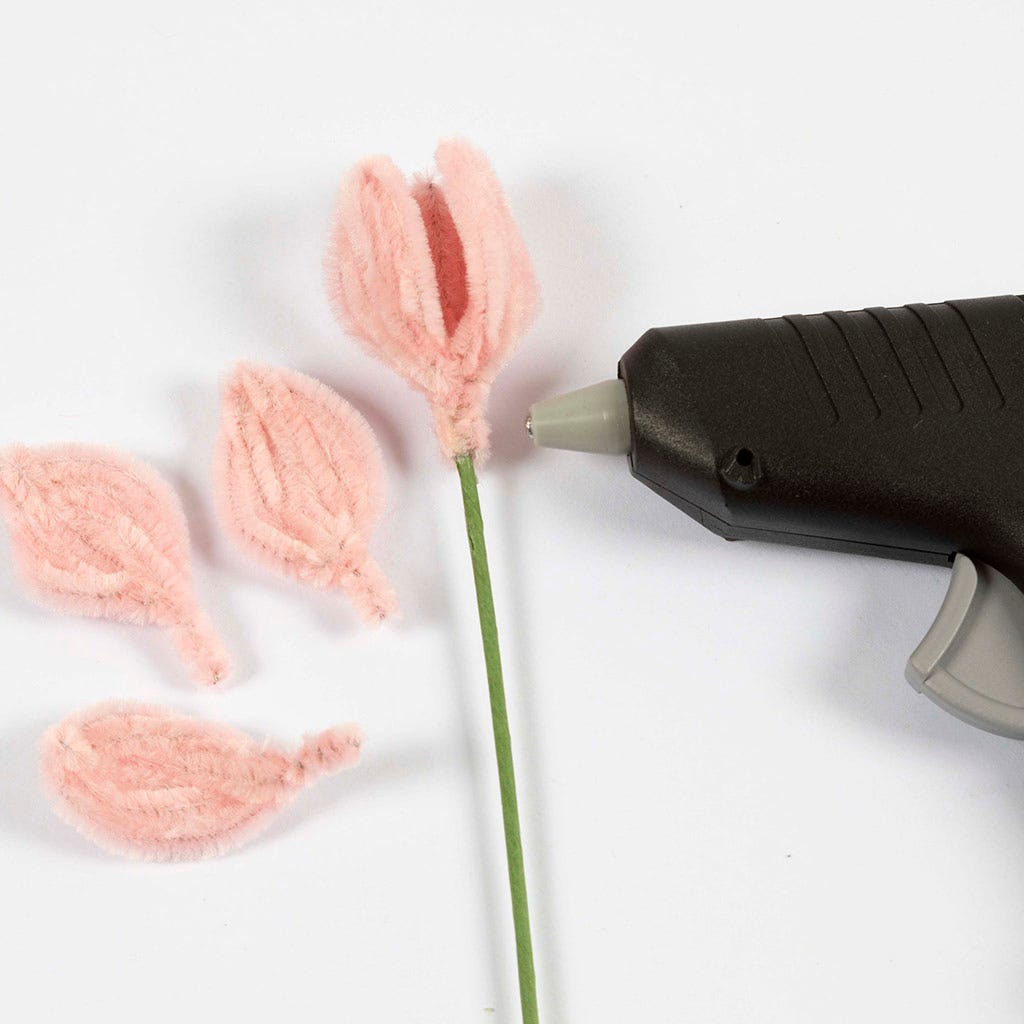
Step 9: attach the petals
Glue the petals onto the stem. Start by attaching three petals evenly spaced around the stem. Then attach the remaining petals so that they overlap the ones already in place.
Step 10: make the leaves
You will need a total of 4 green pipe cleaners to make the leaves. Each leaf requires 2 pipe cleaners.
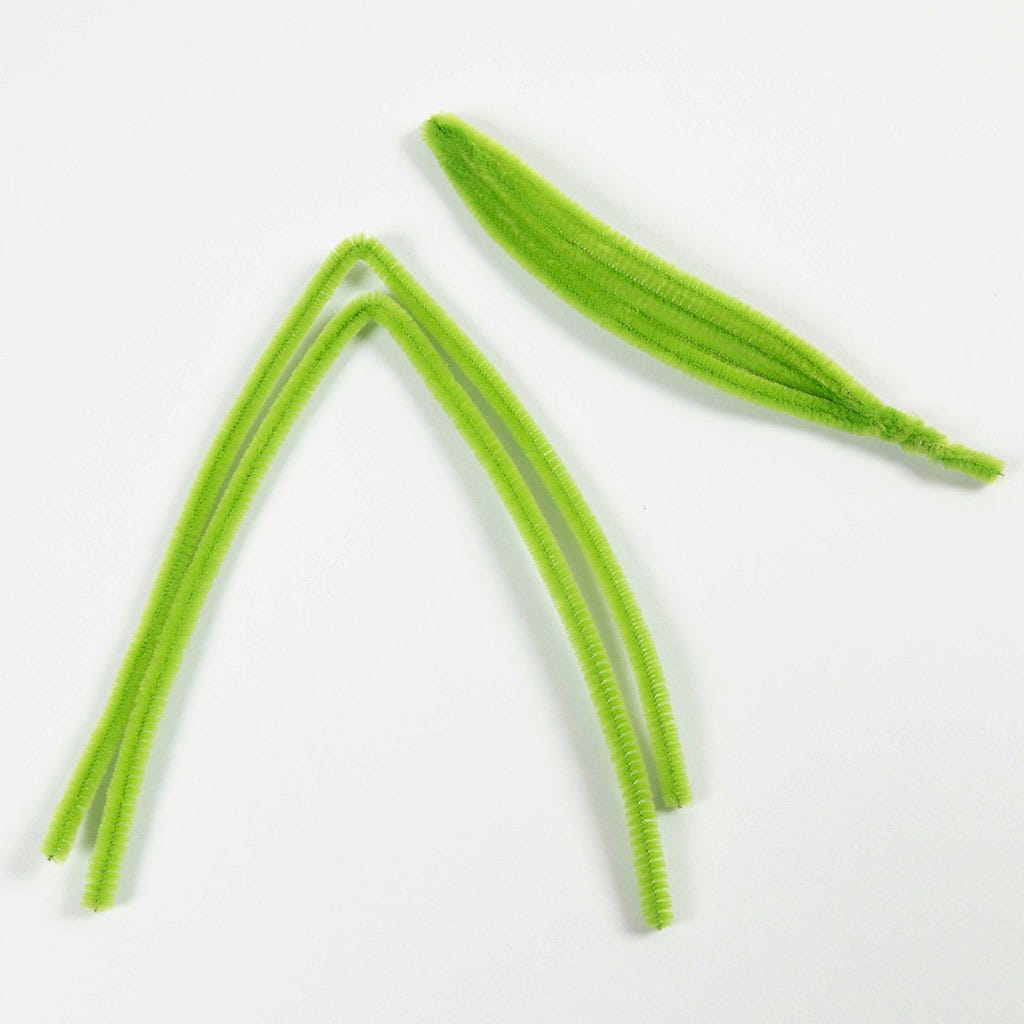
Step 11: fold in half
Fold two of the pipe cleaners in half.
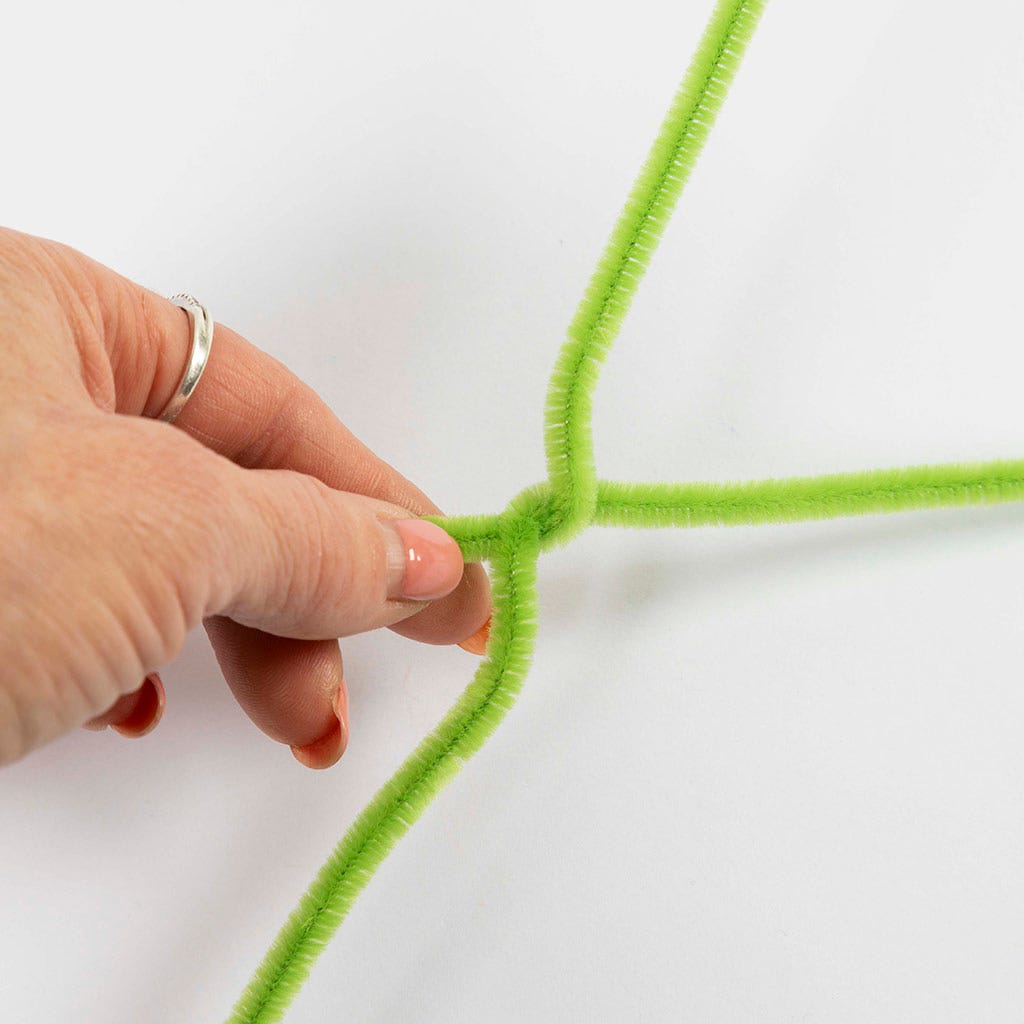
Step 12: twist together
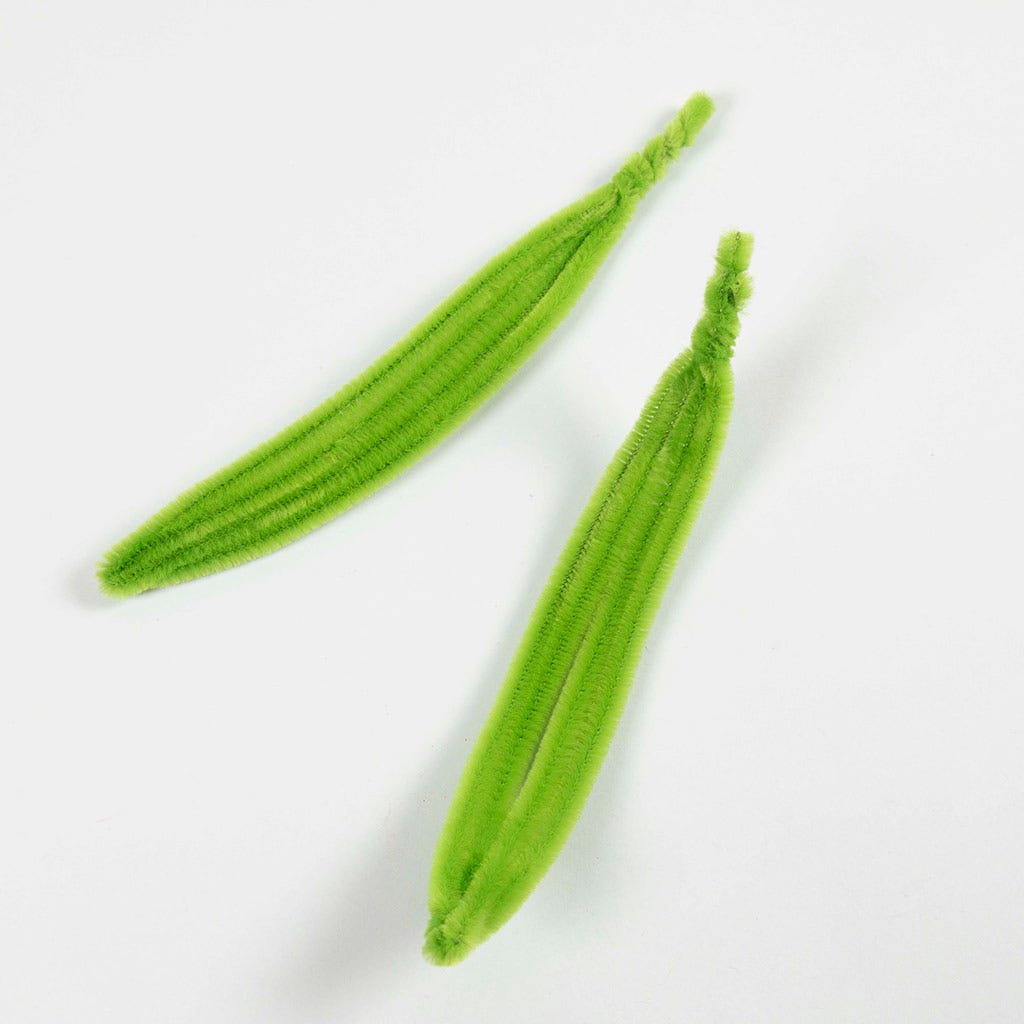
You now have two folded pipe cleaners. Hook them together and twist them around each other.
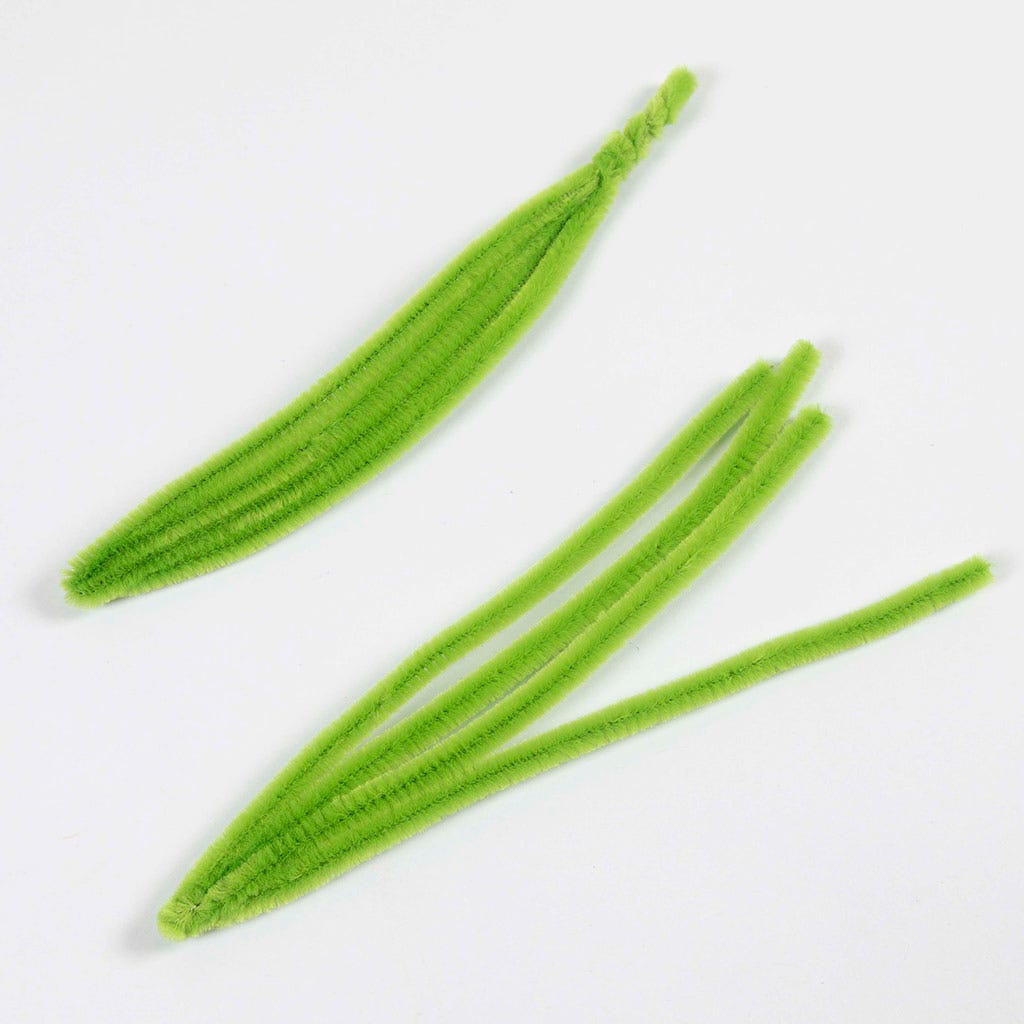
Step 13: shape into a leaf
You now have a leaf that is joined on one side with four loose ends on the other. Twist the loose ends together to form a stem of about 2 cm.
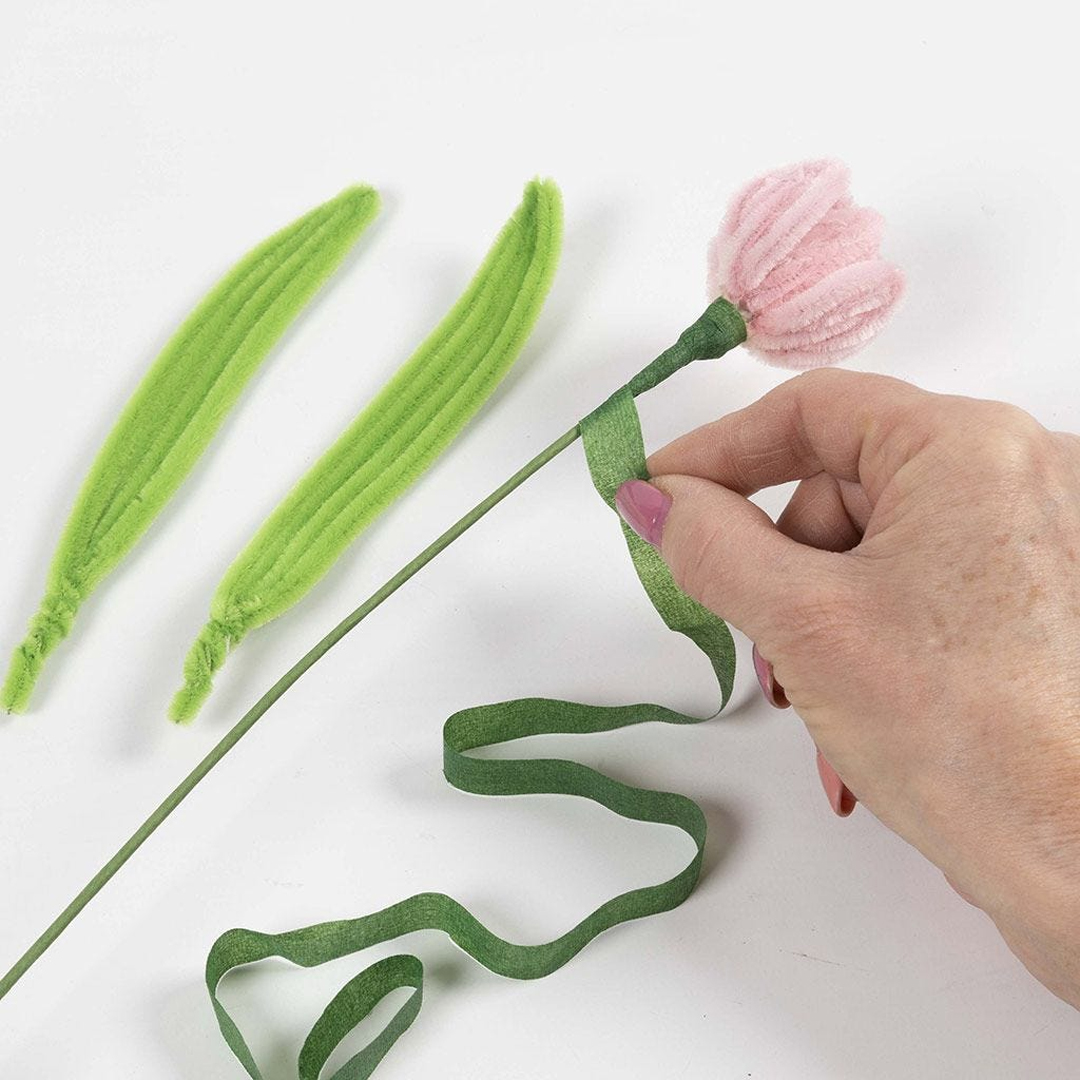
Step 14: wrap the stem
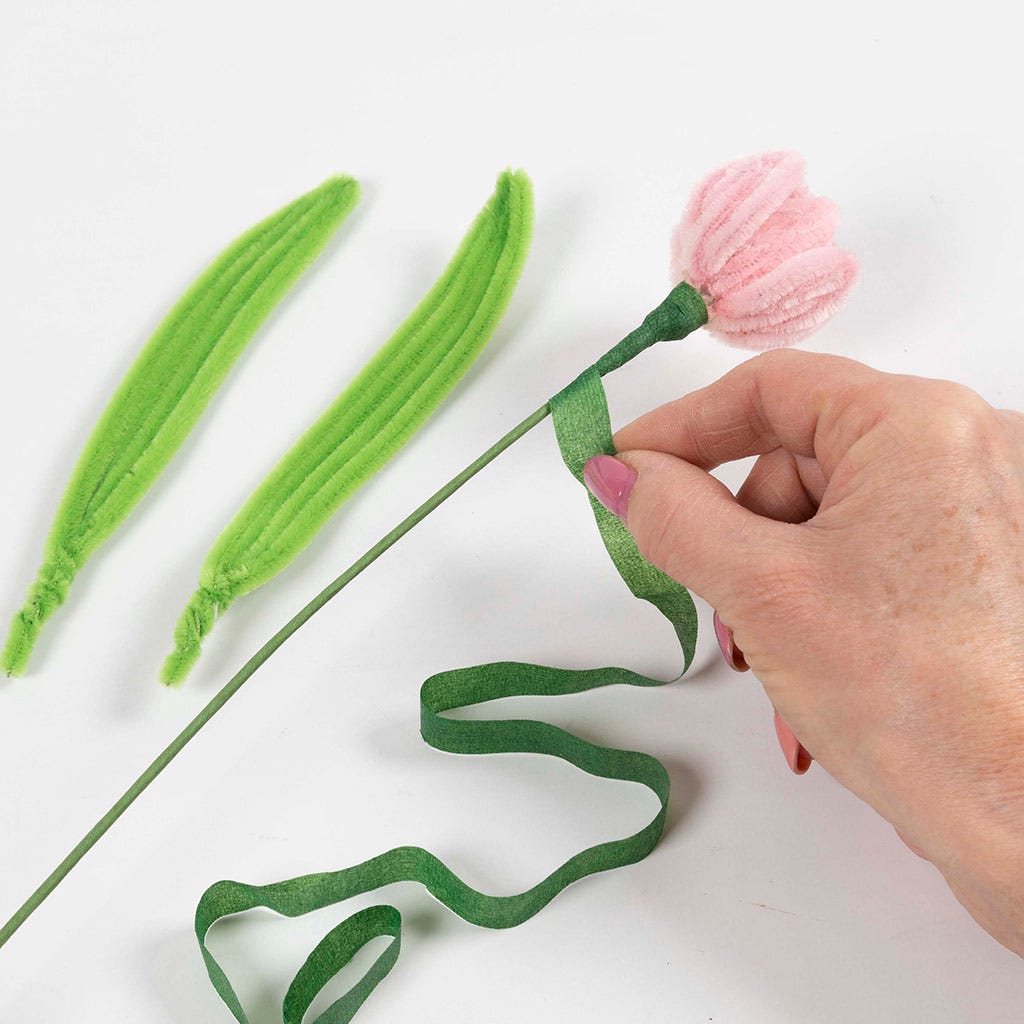
Time to cover all the glued parts and place the leaves. Start by attaching the floral tape at the base of the petals. Wrap it around the stem, but not all the way down. Stop after about 10 cm.
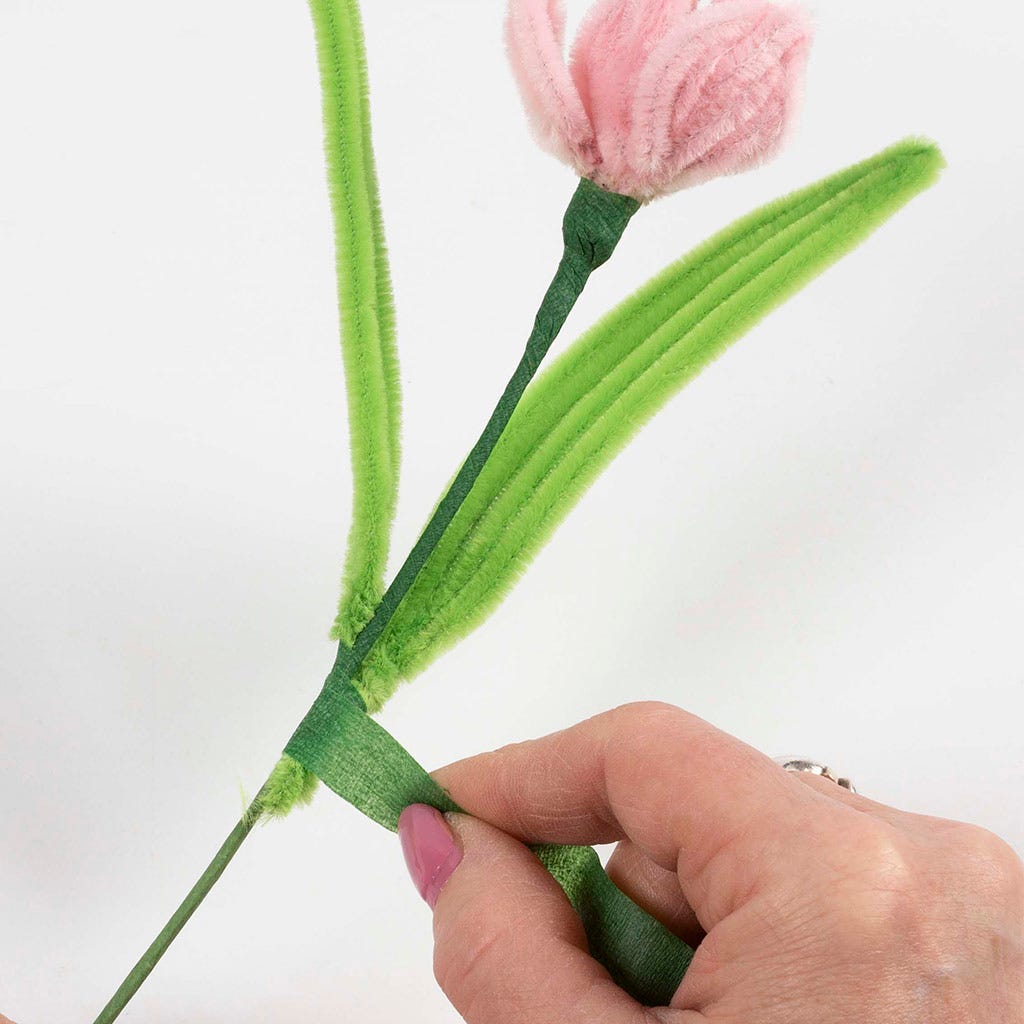
Step 15: attach the leaves
Place the leaves where you think they fit best. Wrap the tape over the twisted end of the leaves to hold them in place. Continue wrapping the tape along the rest of the stem.
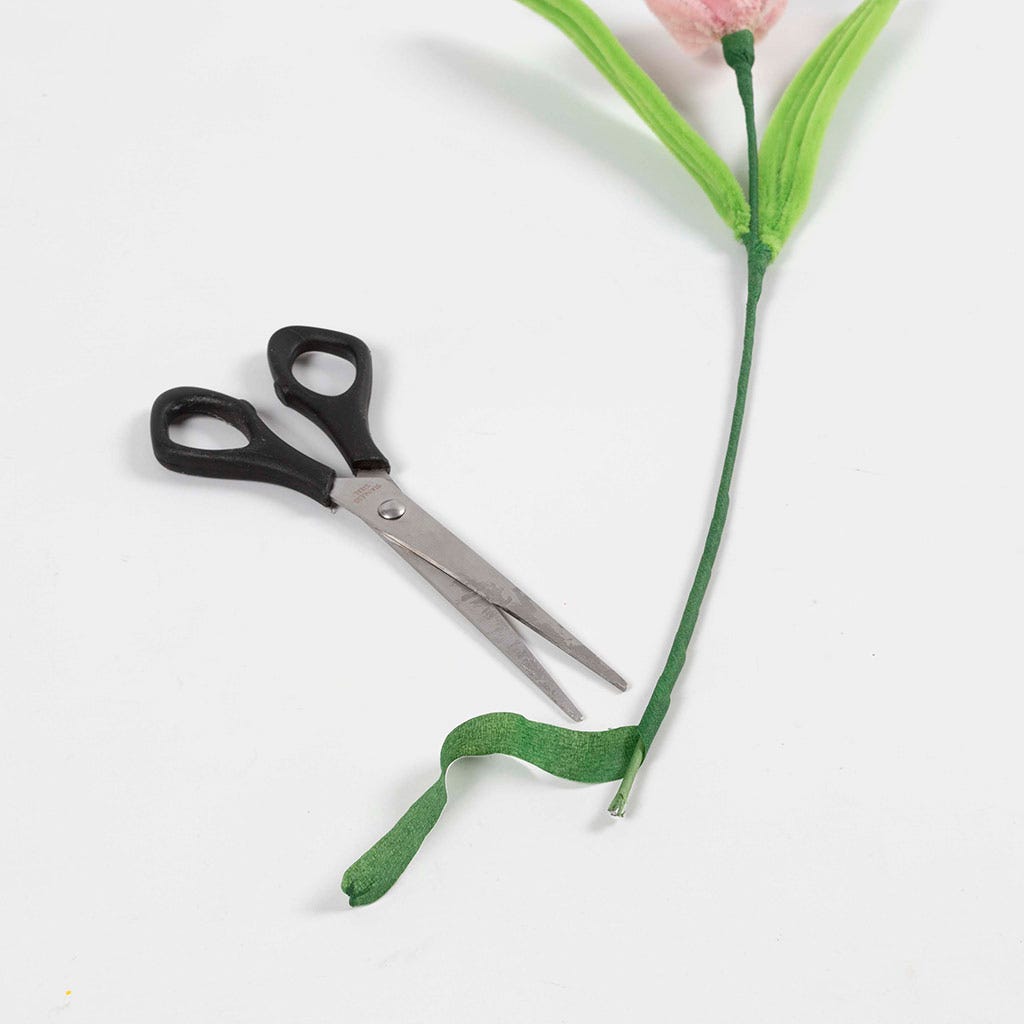
Step 16: trim the tape
Apply a little glue to the tape so it sticks properly. Once the entire stem is covered, trim off any excess tape.
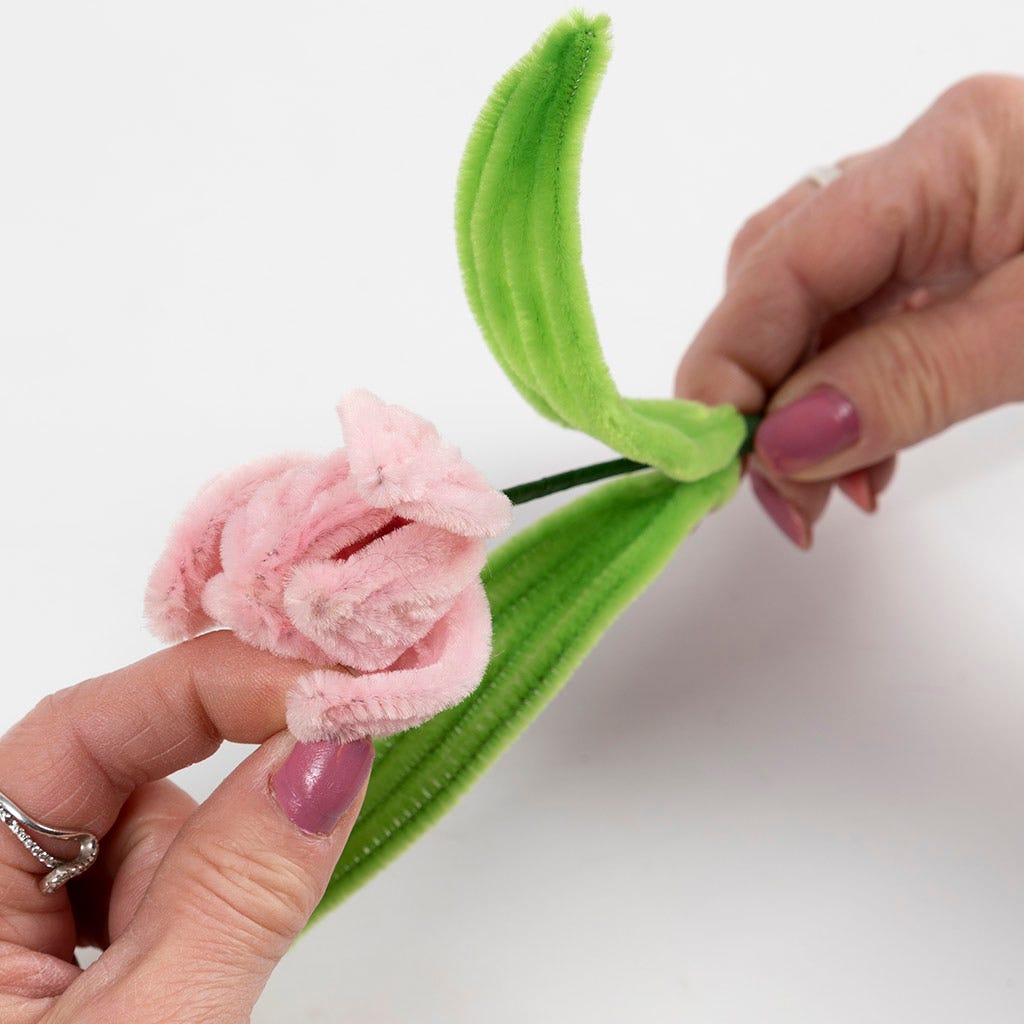
Finished!
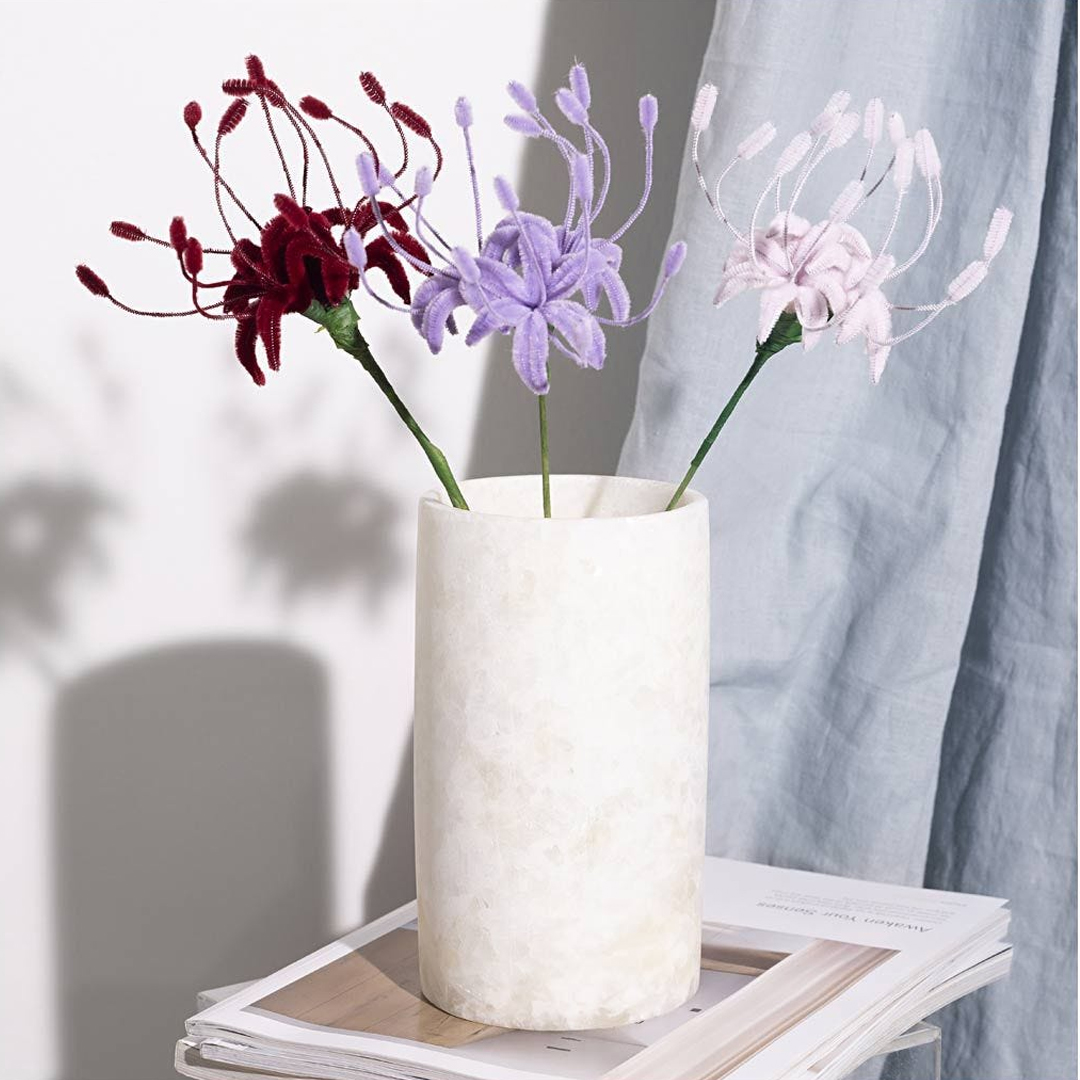
Fold, shape and adjust the final details so it looks as natural as possible. If you are making a whole bouquet, it can be nice to vary both colours and shapes.

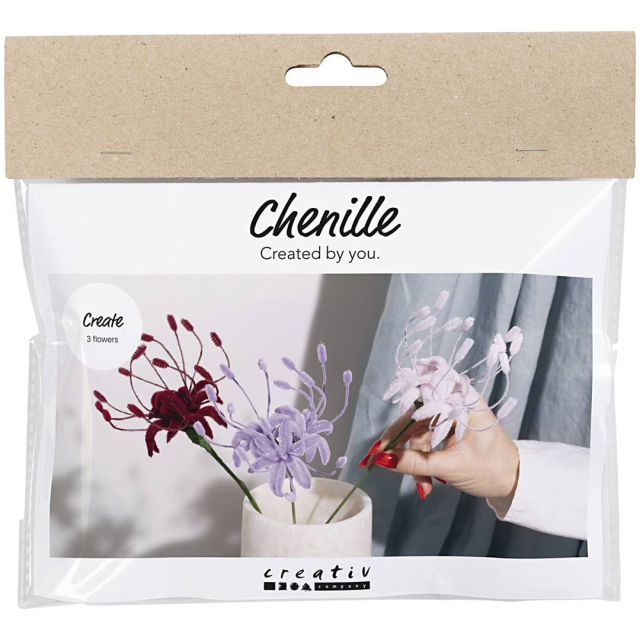
DYI Kit →
Flower making →
Crepe paper →